Brewing Process: Bottle Prep
When it comes to home brewing there are two approaches to the bottling stage. The first is kegging, which is awesome, but very expensive. The second is bottling. Bottling can be nearly free and today I’m discussing my three step process to prepare bottles for holding your precious creation.
Step 1: Bottle Procurement
Everyone has friends. And if you share the other hobby that this blog covers (board games) then you likely get together and hang out quite often. Well, if you’re a home brewer this is a great opportunity for you. During our board game nights my friends typically each bring a 6-pack of beer.
Is it weird when at the end of the night I ask to keep their empty bottles? Not at all. One friend thanked me for taking his trash. But beware… here are some tips for successful bottle procurement.
- Don’t be sneaky. Just ask if you can have the bottles.
- Don’t take any twist off bottles since they aren’t good for home brewing. (Life tip: avoid twist off bottles if you enjoy quality beer!)
- On the drive home, put the bottles in your trunk. I can’t emphasize this one enough!
Now that you’ve procured your bottles (about 50 for a 5 gallon batch) you’re ready for step 2.
Step 2: Label Removal
This is the worst part of home brewing. If I weren’t also trying to save money by home brewing I would just purchase new bottles. But I’m guessing I’m not the only one out there who removes the labels from bottles so here’s how I do it.

It’s a Utility Sink Party!
I first fill my utility sink full of hot water. Then I place the bottles in there for a good half hour. The idea here is to soak the labels and get them ready to be peeled off.
After a half hour I take one bottle at a time and peel off the label. There will likely be some residue left on the bottle. To remove the residue I take a dish scrubber or dish wand and apply a little elbow grease.
This is sort of a buy beware point, though. Some bottles have great labels that basically fall right off. Others have very gummy labels that leave behind some terrible glue that is nearly impossible to get off. In Wisconsin I’m blessed to have the New Glarus Brewing Company in my back yard. They have the best labels ever! Soak them and they fall right off.
And the best part about labels that fall right off is that you can make some really cool art with them. Here is a collage I made with the New Glarus labels:
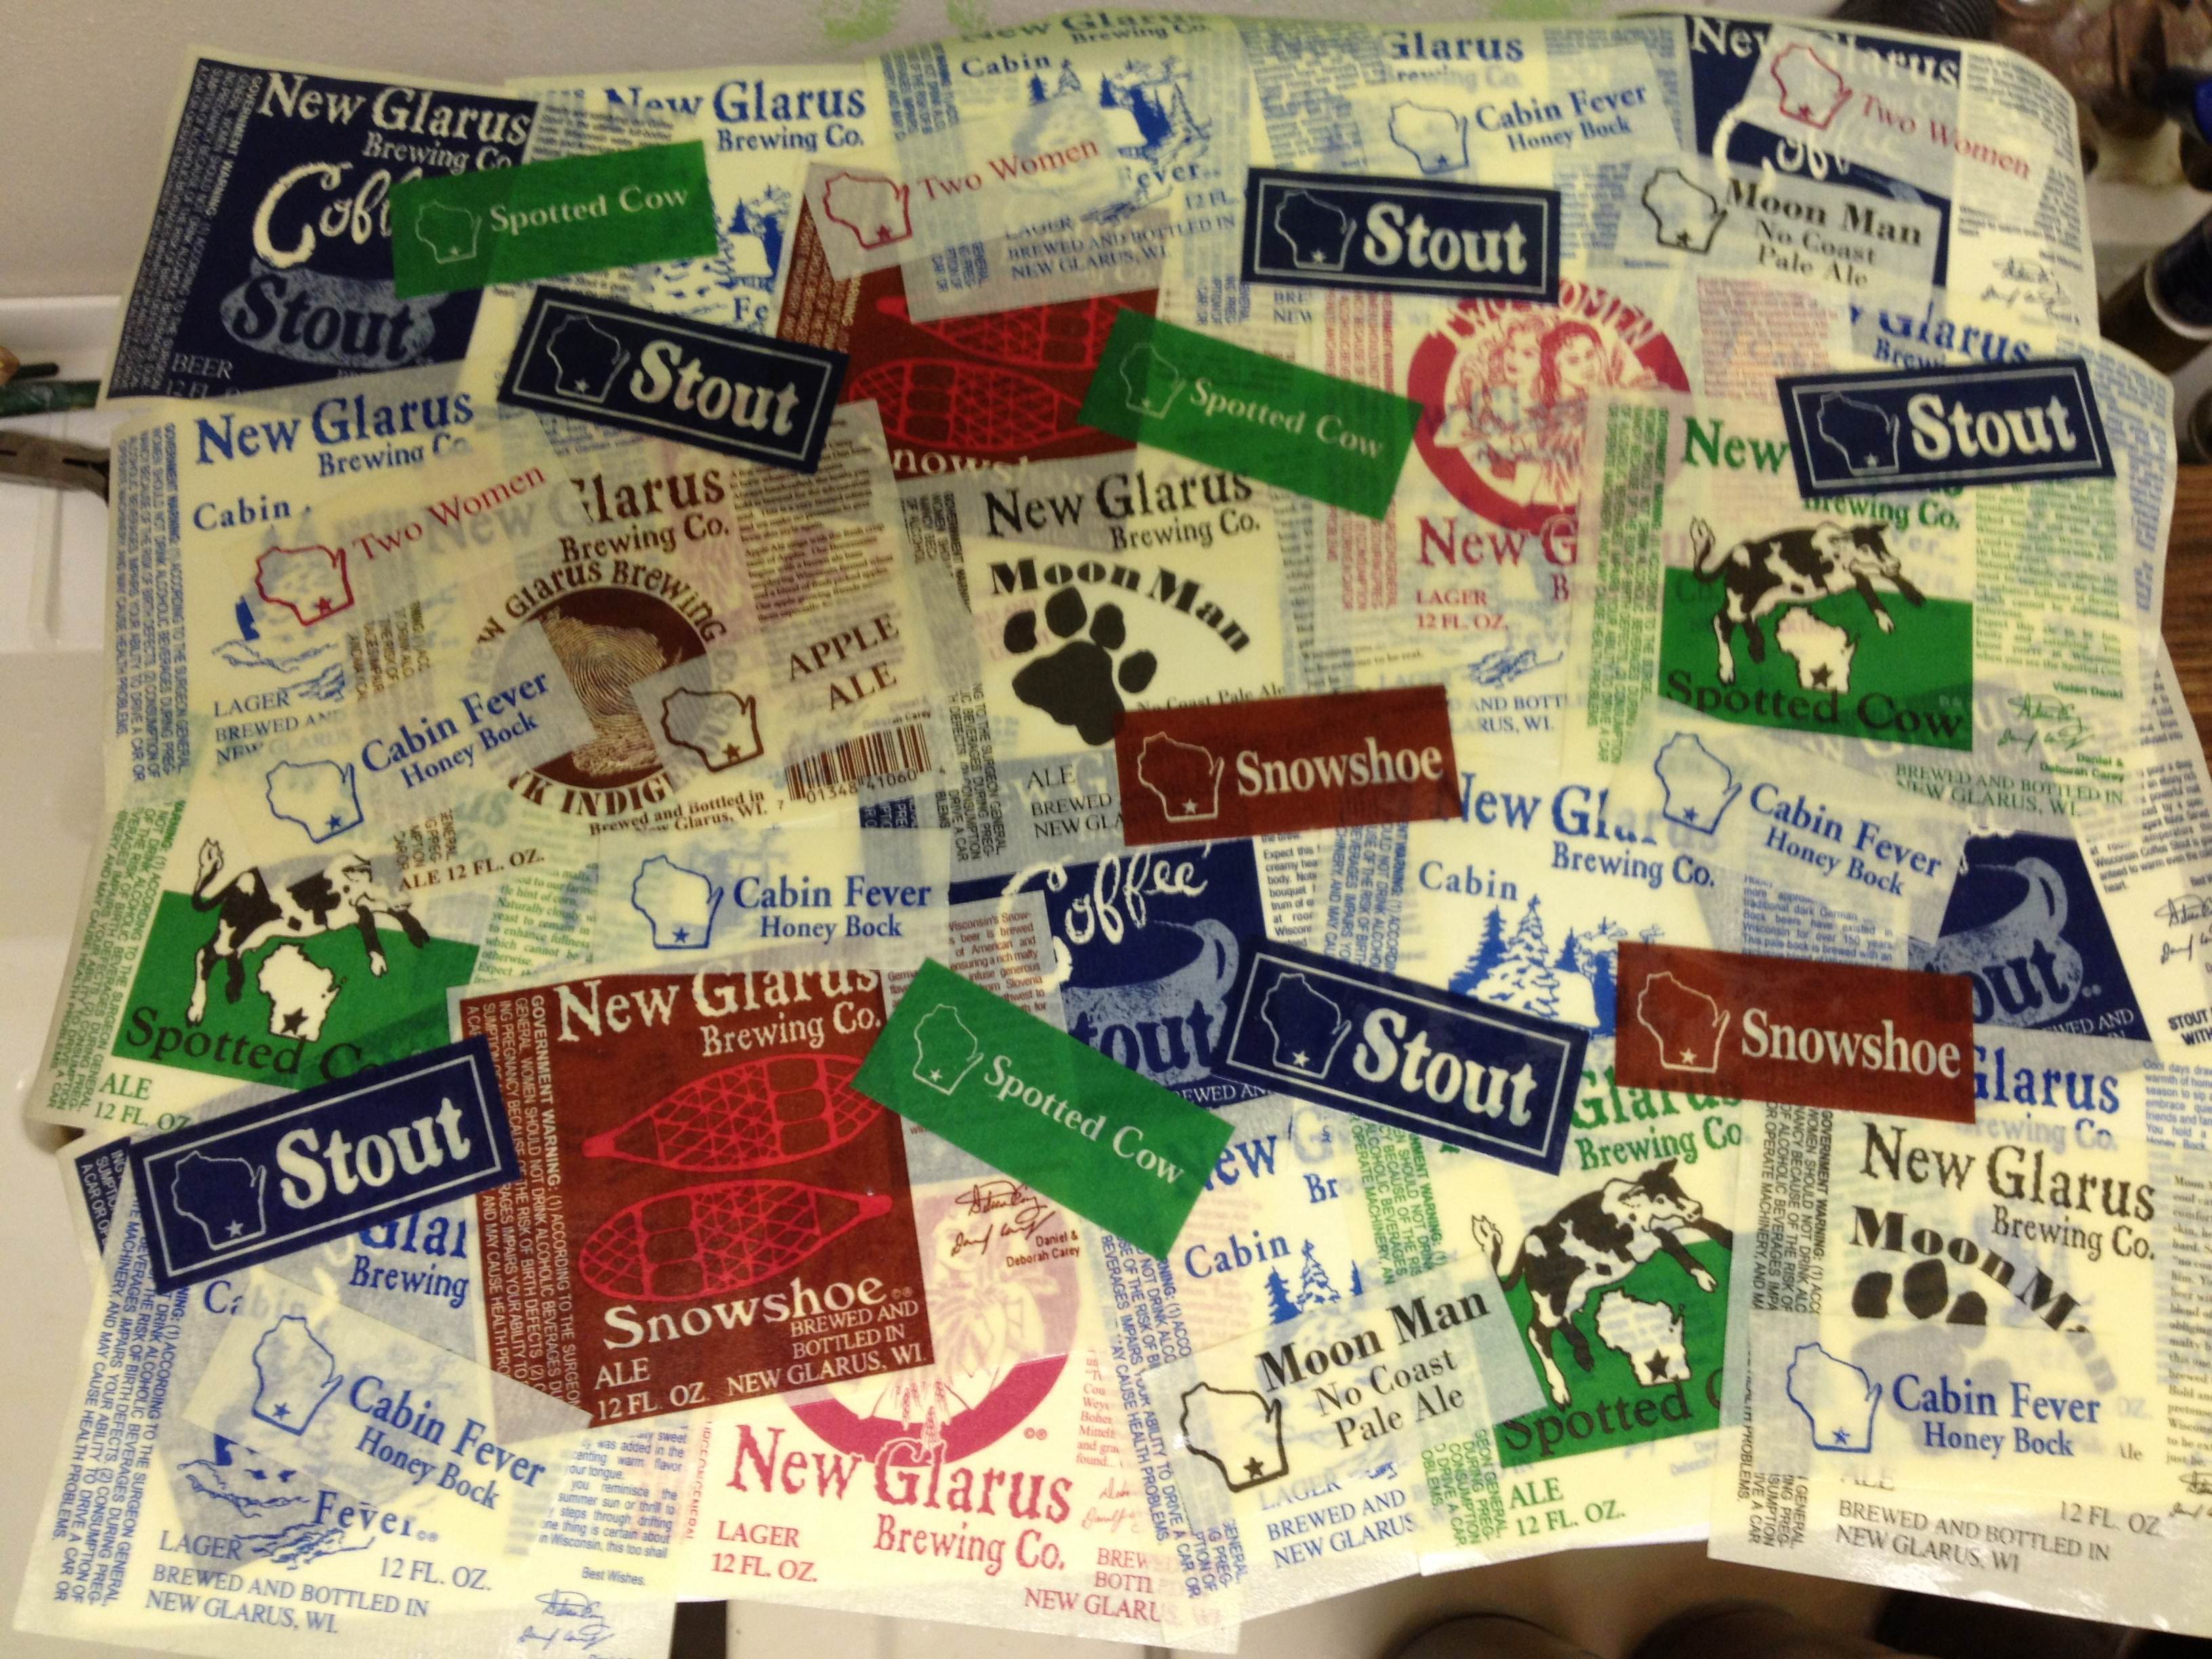
New Glarus Label Art
To get all the labels off and residue removed will take a little while. Be prepared to stand over the utility sink for a while. But once you’ve got the bottles all spic and span I like to move on to step three.
Step 3: The Dishwasher

Dishwasher parties are hotter than Utility Sink parties!
Now that your bottles are free of all denigrating marks of previous ownership they are ready to visit the dishwasher. This step helps to remove any leftover residue from the inside of the bottles and helps to sanitize them as well. And for some reason I really like how they look all lined up in the dishwasher.
The key here is to run it as a normal wash cycle, but do not use any detergent. These bottles aren’t likely to be caked with peanut butter or broccoli or any other typical dinner fare. They were filled with beer. So they really only need to be rinsed.
So run the cycle a few hours before you are going to bottle the beer. That will give you enough time to let the bottles cool off from the hot dishwasher cycle.
Bottle Prep: Simple but Tedious
And that’s it! You now have bottles that are ready to go for bottling. I would, however, make one more recommendation. And that is to do one final rinse in your sanitizer before bottling, especially if these are sitting around for too long. Better safe than sorry. If you have a preferred method for bottle prep, please let me know. I’m always looking to get more efficient!
Posted on June 10, 2013, in Homebrewing, The Barley and tagged beer, beer bottles, beer labels, bottling, brewing, homebrew, homebrewing. Bookmark the permalink. 2 Comments.

I don’t use the dishwasher for my wine bottles, so I wash them by hand. A good rinse and scrub followed by sanitizer does the trick. I have a bottle washer attachment for my utility sink.
It’s basically a little U-shaped fitting that screws on to the threaded faucet. The end points up into the air. There’s a valve that keeps it from shooting in your face. Just screw it onto the faucet, turn the hot water on full blast, and then you can rinse the bottles by just turning them upside down over the spout and pushing down. Works great for blasting the insides of carboys too.
I like how recycling beer bottles gives you another point to consider when buying a six pack.
Standing in the beer aisle thinking to myself…”Yeah, I like that Smuttynose IPA, but damnit I those labels stay on there like a robber on an ore hex with two cities and a 6.”