Category Archives: Lessons Learned
2016 Recap, The List, Looking Ahead
 At the start of 2016 I posted an article called “The List.” The article was a list of games that my gaming group owns but had not yet played. It was a pretty good sized list that grew throughout 2016. For the first half of the year I was regularly posting updates to The List and providing brief reviews of the games we crossed off. That tailed off a bit later in the year when I gamed less and lost a little interest in gaming due to life.
But here we are at the end of 2016 so I am providing one final recap to The List. Let’s take a look at how we did. Go back and visit the original article: The List.
The Final Tally
There are 57 games on The List, which does not include games like Great Western Trail, SeaFall, Grand Austria Hotel, and many more that were purchased along the way. I’ll leave those out for now since that’s too much to try and remember (I should have stuck with the regular updates).
Of those 57, 28 were played.
So 28/57 means we played less than half of the games. Ouch.
Some games got traded before we played them. Others were just not interesting enough. Mistakes were made. Excuses rose to the surface. For one reason or another we didn’t do that great with The List.
This is kind of a downer and I don’t want downers to drown out the joy that I had through board gaming in 2016. So here are my top games from the year:
Top 5 Games of 2016
 Orleans: This was/is my favorite. I love how it all works together. I love how every decision seems like a good one and that everything you are doing moves you forward rather than backward. It works really well and flows smoothly. I think I might get the expansion for 2017.
- Pandemic: Legacy: I’m not a huge Pandemic fan. But this makes the list because of the great group of people I am playing it with. We’ve had a lot of fun trying to work through the ups and (mostly) downs that the game presents. We’ve come up with creative names, like Eko “Flavor-Crystal” Farts. Overall it has provided hours of great gaming time with great friends.
- Karuba: It’s so simple to teach and play. I’ve introduced it to a bunch of people and now my family collectively owns three copies between me and my brothers-in-law.
- Scythe: I only played once and I played poorly. However, it is obvious that this game has great depth and a truly immersive experience. It takes a special game to make you feel like you are in the game. This one succeeds at that.
- The Voyages of Marco Polo: True, classic, solid Euro. Really hit the mark for me. I LOVE the variable player powers. The dice placement works really well. Overall this is a game I can’t wait to play again.
Best Expansion of 2016
 A little shameless self-promotion never hurt anyone, right? My favorite expansion from 2016 was Scoville: Labs!
What I love most about this expansion is that it adds a great layer of control to the game.
One of the things people griped about with the base game was that it was too tactical and they didn’t have enough control with what they were getting and when they would get it. That’s why i designed the personal pepper lab.
With the lab you can control exactly what you get and when you get it. This allows for a greater level of strategy rather than the more tactical base game.
Plus, as a bonus it comes with a bunch of extra peppers, which helps with the other common gripe from the base game that players would run out of peppers.
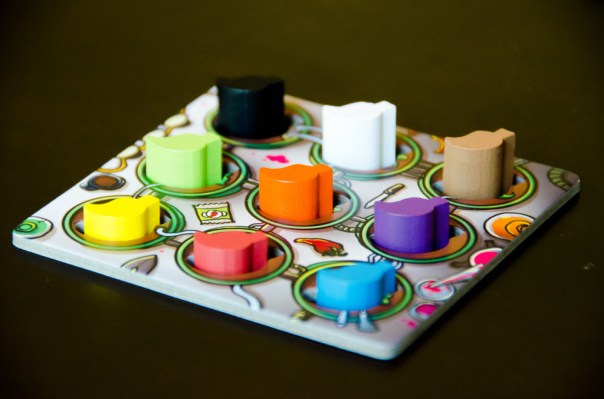
Image via BoardGameGeek.com user mpalframan (link)
Check out Scoville: Labs from your favorite local game store or your favorite online game store.
Honorable Mention Games of 2016
There are a bunch of other games I really enjoyed from 2016. My list above was capped at 5 to really highlight those games, but these games also deserve some attention.
- Covert: The highlight of this spy-themed cold war Euro is how you can create fantastic combinations of cards, which allow you to pull of some really great moves. The gameplay works well and the artwork is amazing.
- Potion Explosion: This was a hit with some of our wives, which means it’s a winner. I didn’t have high expectations for this game, but once I played it I realized that I wanted to keep playing. The part that sells it to me was the special abilities of the potions.
- Quadropolis: So clever and tight and unique. Decisions are interesting and the placement of your tiles matters SO MUCH! I really like trying to figure out the best placement for tiles relative to how other players are playing. There’s actually quite a bit of interaction here as well.
- SeaFall: I’m not sure yet whether I enjoy this game. However, the experience is really what you are paying for when you buy this one. This presents a fantastically immersive experience for gamers. Now all I have to do is try to figure out how to get out of last place before we are done with the campaign.
- Terraforming Mars: Use the Draft Variant. This is a really enjoyable engine building game (using “engine building” lightly). Players use cards and can create combinations that will help them get ahead. Without the draft variant this game wouldn’t make the list.
Looking Ahead to 2017
I’m not doing another “The List” type thing. That was too much effort to track and bother over.
Another mistake from 2016 was that my gaming group switched to once-a-month rather than twice a month. We will be going back to twice a month.
As for design efforts I have one solo design that I believe has great potential and one co-design that I believe has even greater potential. Development on these two games will be at the forefront of my efforts. It would be great if I could get another game signed, but that’s something that is outside of my control and, as such, is not a reasonable goal.
My 2017 convention schedule is sparse at this point. I’ll probably go to Protospiel-Milwaukee in the spring and Protospiel-Madison in the fall. I’ll definitely be going to Gen Con in August. I’d love to go back to Grand Con in September or BGG.Con in November. Those are both enjoyable gaming-focused cons. Maybe 2017 will be the year I finally get to Origins.
As for this website, I’d like to hear from you. Let me know what sorts of articles you are interested in reading. What would you like to see on this site? Do you want more random design efforts like the Design Me articles? Would you like more tutorials like the “How To Teach Games” type stuff? Or maybe more game design related content like blank card templates or usable vector icons? Please feel free to comment here or on Twitter and let me know what sort of content you would be the most interested in.
Thanks for reading! I wish you a great 2017.

How To Make A Quad-fold Board
When designing games it often becomes helpful or necessary to have a quality prototype, which often includes a quad-fold board. There are easy ways to do it, like taping a few pieces of paper together. And there are more difficult ways to make them. I usually only make them when I would rather have it fold to fit in a box. Today I want to share my method for producing a decent quad-fold board for your game design purposes.
Components
Here are the components I use when making a quad-fold board:
- Matte board (I buy bulk scrap matte board at Hobby Lobby since it is so inexpensive)
- Photo Paper (I use Kodak Glossy Photo Paper)
- Glue Stick (Or adhesive of your choice)
- Tape (I prefer masking tape)
- Rotary Cutter (I use this one)


The methods in this article are based on the fact that I have a 12 inch rotary cutter that cannot cut through two pieces of matte board at the same time. If I could cut through two matte board pieces at a time then I would probably use a different method.
Methodology
My assumption here is that you already have artwork you’ve created. If you have the artwork ready, then here are the steps I follow to make my quad fold boards…
Print the Artwork
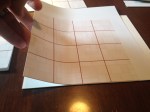
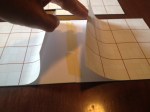
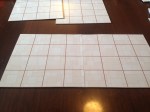
When I work with larger sized images I usually print them from either MS Publisher or MS Powerpoint. Publisher will require you make a larger template, but that is pretty easy to do. When you print this way you will print on several sheets of paper.
Once they are printed I will cut off the white margins for all the interior edges that will join up together. You can see an example of the cut photo paper above in the image with the glue stick.
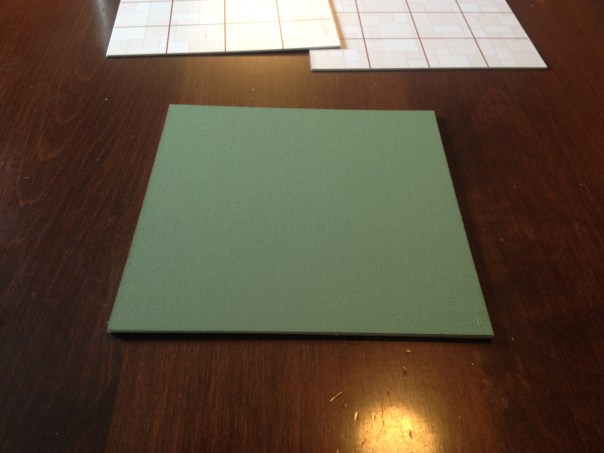
Glue the First Two Pieces
Depending on whether you want your board to fold with the artwork out (unusual) or inward (common) you will either have to do one or two of these procedures respectively.
-
- Place glue on most of the area except by the joint.
-
- Glue down the first piece, lining up the edges as best as you can.
-
- Repeat for the other half. Trim off excess areas before proceeding.
-
- Lift the non-glued portions. Tape the two pieces together.
-

- Apply glue to each and press down.
-
- Half of your board is completed!
As I mentioned earlier, you will do this once if you don’t care that your artwork folds outward. If you prefer your artwork to fold inward, then repeat this process with the other two pieces of your quad-fold board.
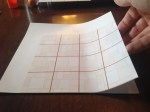
Before moving on I always like to check how smoothly the board folds. Here’s my example:
Completing your Board
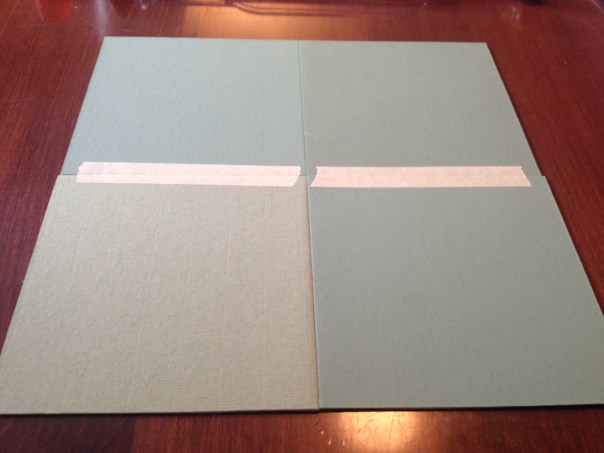
With a set of two pieces taped together you are now set to complete your board. This step is pretty simple. With all four pieces laid out, flip them all over together. Make sure they go into the correct places when flipped. You don’t want to flip them where they are but rather flip them and swap them horizontally. Before I start I put a piece of tape in the corners that line up in the middle of the board. This helps me know that I have the pieces together the right way.
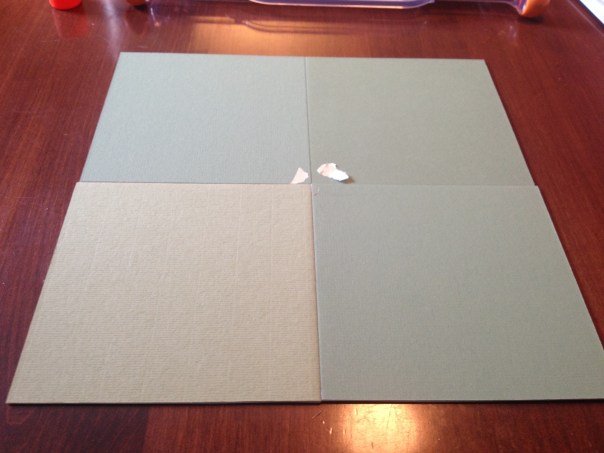
With them in the correct locations, all you need to do is apply two more pieces of tape as seen here:
Completed Quad-Fold Board!
And there you go! You now know how to make a quad-fold board for your game designs. Just keep in mind that if you would prefer the artwork to fold inward then do the “Glue the First Two Pieces” process twice. Then flip them and use only one piece of tape on one of the seams.
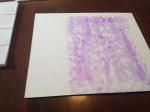
Here’s is my completed board for this article:


And here is the quad-fold board I made for a high quality prototype of Scoville using Joshua Cappel’s artwork:


Another Option
If you are not equipped with printing capabilities or if you would prefer to not do this on your own, then feel free to utilize The Game Crafter as they can create a quality quad-fold board for you. You just upload your artwork in the correct size and pay a little money and they’ll make your board and mail it to you.
They have the following options available:
- Bi-fold Board (9 x 18 inches)
- Accordion Board (8 x 16 inches)
- Quad-fold Board (18 x 18 inches)
- Six-Fold Board (27 x 18 inches)

So how do you make your quad-fold boards? Do you use a different method? I’d love to hear if there is a better way (I’m sure there is).
Game Design Starter Kit

Move beyond the Concept phase!
One of the barriers to game design is a lack of components. If you had blank cards sitting around, you would be more likely to start designing a card game. If you had some dice, you might design a dice game. The point is that if you had game design components available to you, then you are much more likely to move your game designs from the Concept phase to the Prototype/Playtesting phase.
Today I am listing some of the items that I find most useful in putting together a prototype. The hope is that you can find what you need to move your game design along.
Getting to the playtesting phase is often the biggest hurdle, but it’s the critical step in determining if your game design has any potential.
Before I get to my recommendations, which are brief, I want to remind you of the series I wrote about sourcing game design components. These articles are much more thorough:
- Sourcing Components: Cards
- Sourcing Components: Meeples
- Sourcing Components: Chits
- Sourcing Components: Dice
So check those out and then come back here for the basics to get you from the concept phase to the playtesting phase of your game designs.
Here is my checklist of excellent items to have in case you are ready to move from concept to prototype. To make it easier for you I have provided two lists, one for Amazon, and one for EAI Education (my preferred source). This way you can choose one and buy everything you need from one place.
Amazon:
- 100 Assorted Blank 16mm Dice ($18.95)
- 500 Assorted 1cm Cubes ($15.56)
- 500 Blank Playing Cards ($13.50)
- 100 Assorted Mini Meeples 12mm ($25.00)
EAI Education:
- 144 Blank White Dice 5/8″ ($19.95)
- 1000 Assorted 1cm Cubes ($16.95)
- 54 Blank Playing Cards ($0.99)
- 30 Playing Pawns (These are ugly but they work) ($0.95)
With cards, dice, meeples, and cubes you are basically ready to roll out your game design prototype. Of course there are other things that you may want, but as for a Game Design Starter Kit I recommend these four items very highly! Please let me know if you have any questions.
2014 Year in Review
You’ve probably been seeing this sorts of articles all over the interwebs. If so, thanks for reading mine as well.
First things first, my wife and I had our third baby this year. That means I didn’t accomplish as much as I wanted. And that’s still the case. I’m lucky to have signed Scoville when I did since we were sort of “between kids.” Since we had our third my homebrewing and board game design endeavors have faded.
But I’m not one to make excuses. Having our third child was our biggest accomplishment of 2014. However, this blog isn’t about babies and being a daddy. It’s about beer and board games. So let’s start with the Barley and see what I actually managed to accomplish…
Barley Review
My goal for homebrewing in 2014 was 6 batches of beer. In that list was a pumpkin ale, an IPA, and a lagered Oktoberfest. I did none of those.
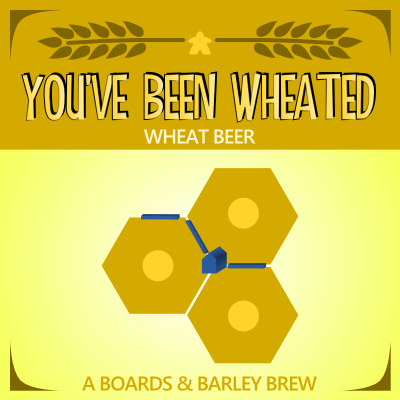
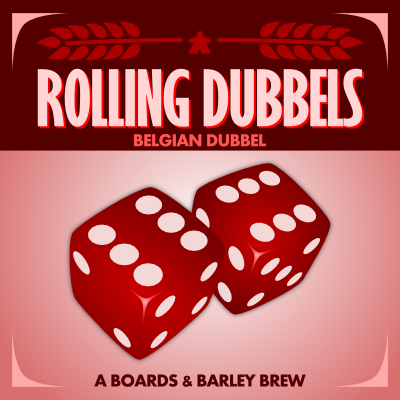
I ended up brewing three batches, one of which is sitting in a carboy waiting to be bottled. The brews were a brown ale called “Nobody Plays Brown,” a hefeweizen called “You’ve Been Wheated,” and the third is a Belgian dubbel called “Rolling Dubbels.” For each I created a beer label, which was quite fun to do. Here are the labels:

The brown ale and hefeweizen are currently in corny kegs in my basement refrigerator. I have a very generous neighbor who has loaned me a bunch of brewing equipment including the kegging stuff. The dubbel is sitting patiently for me to devote an evening to bottling.
Overall I’m a little disappointed that I didn’t brew more. That’s something I’ll try to remedy.
On the consumption end of brewing I had a pretty successful year. I began using UnTappd and have been able to have a great record of the brews I’ve enjoyed. In 2014 I logged 107 distinct beers. That’s a new brew every 3.4 days… not too shabby.
So despite the lack of homebrewing I’d say that it was a successful beer year. It’s unlikely I’ll be able to log 100+ new unique beers in 2015, but I’ll try my best.
Boards Review
 Obviously the highlight of my 2014 from a board game perspective was the successful Kickstarter campaign that Tasty Minstrel Games ran for my first published design, Scoville. It raised over $106,000! It was amazing to watch all that support come in during the campaign and I cannot thank all you backers enough.
The next highlight was getting to play Scoville with a final production copy at Gen Con. Punching out the little peppers, holding the pepper shaped bits, and planting and harvesting on the nice thick board with my close friends was a great memory.
On the design front, I didn’t sign any games in 2014. But I blame that on the fact that I didn’t really design any games in 2014. The biggest effort was for The Grand Illusion. This is a game where you are a street performer trying to work your way up to having a big time show in a theater where people come to watch you perform a grand illusion. Thematically it was my favorite game to work on. I love the theme of Victorian era magicians competing over audiences. My efforts for The Grand Illusion included making several prototypes, ordering a deck of cards from The Game Crafter, and playtesting it about a half dozen times. The end result was that it felt like it was lacking. So I shelved it.
Otherwise the only other thing of consequence from 2014 was a new design called Ziggurat. This is a resource management game where players are trying to be the best contributors to build the ziggurat. This game has one of those unique elements which sets it apart. It has been played about a dozen times now. While it plays through to the end, plays smoothly, and players are generally positive about it, it too feels lacking. It currently struggles from a “One path to victory” mentality and is devoid of any catch-up mechanisms. To alleviate that I want to add some private scoring conditions as well as allow scoring via different paths. This will make the game more “Euro-y” as well as more enjoyable. I’m hoping that Ziggurat will become my next signed game and I have big plans for it in 2015.
2015: Year of the Ziggurat
Unlike beer consumption, which I track with UnTappd, there is no app to track board game plays. Please don’t tell me to use the Board Game Geek site to track my plays as I do not care for that interface. I’ve documented the games I played all year in my Monday Brews articles. However, I do not feel like reading through all of them and trying to figure out how many games I played, let alone how many unique games. It was a lot. But I have one favorite…
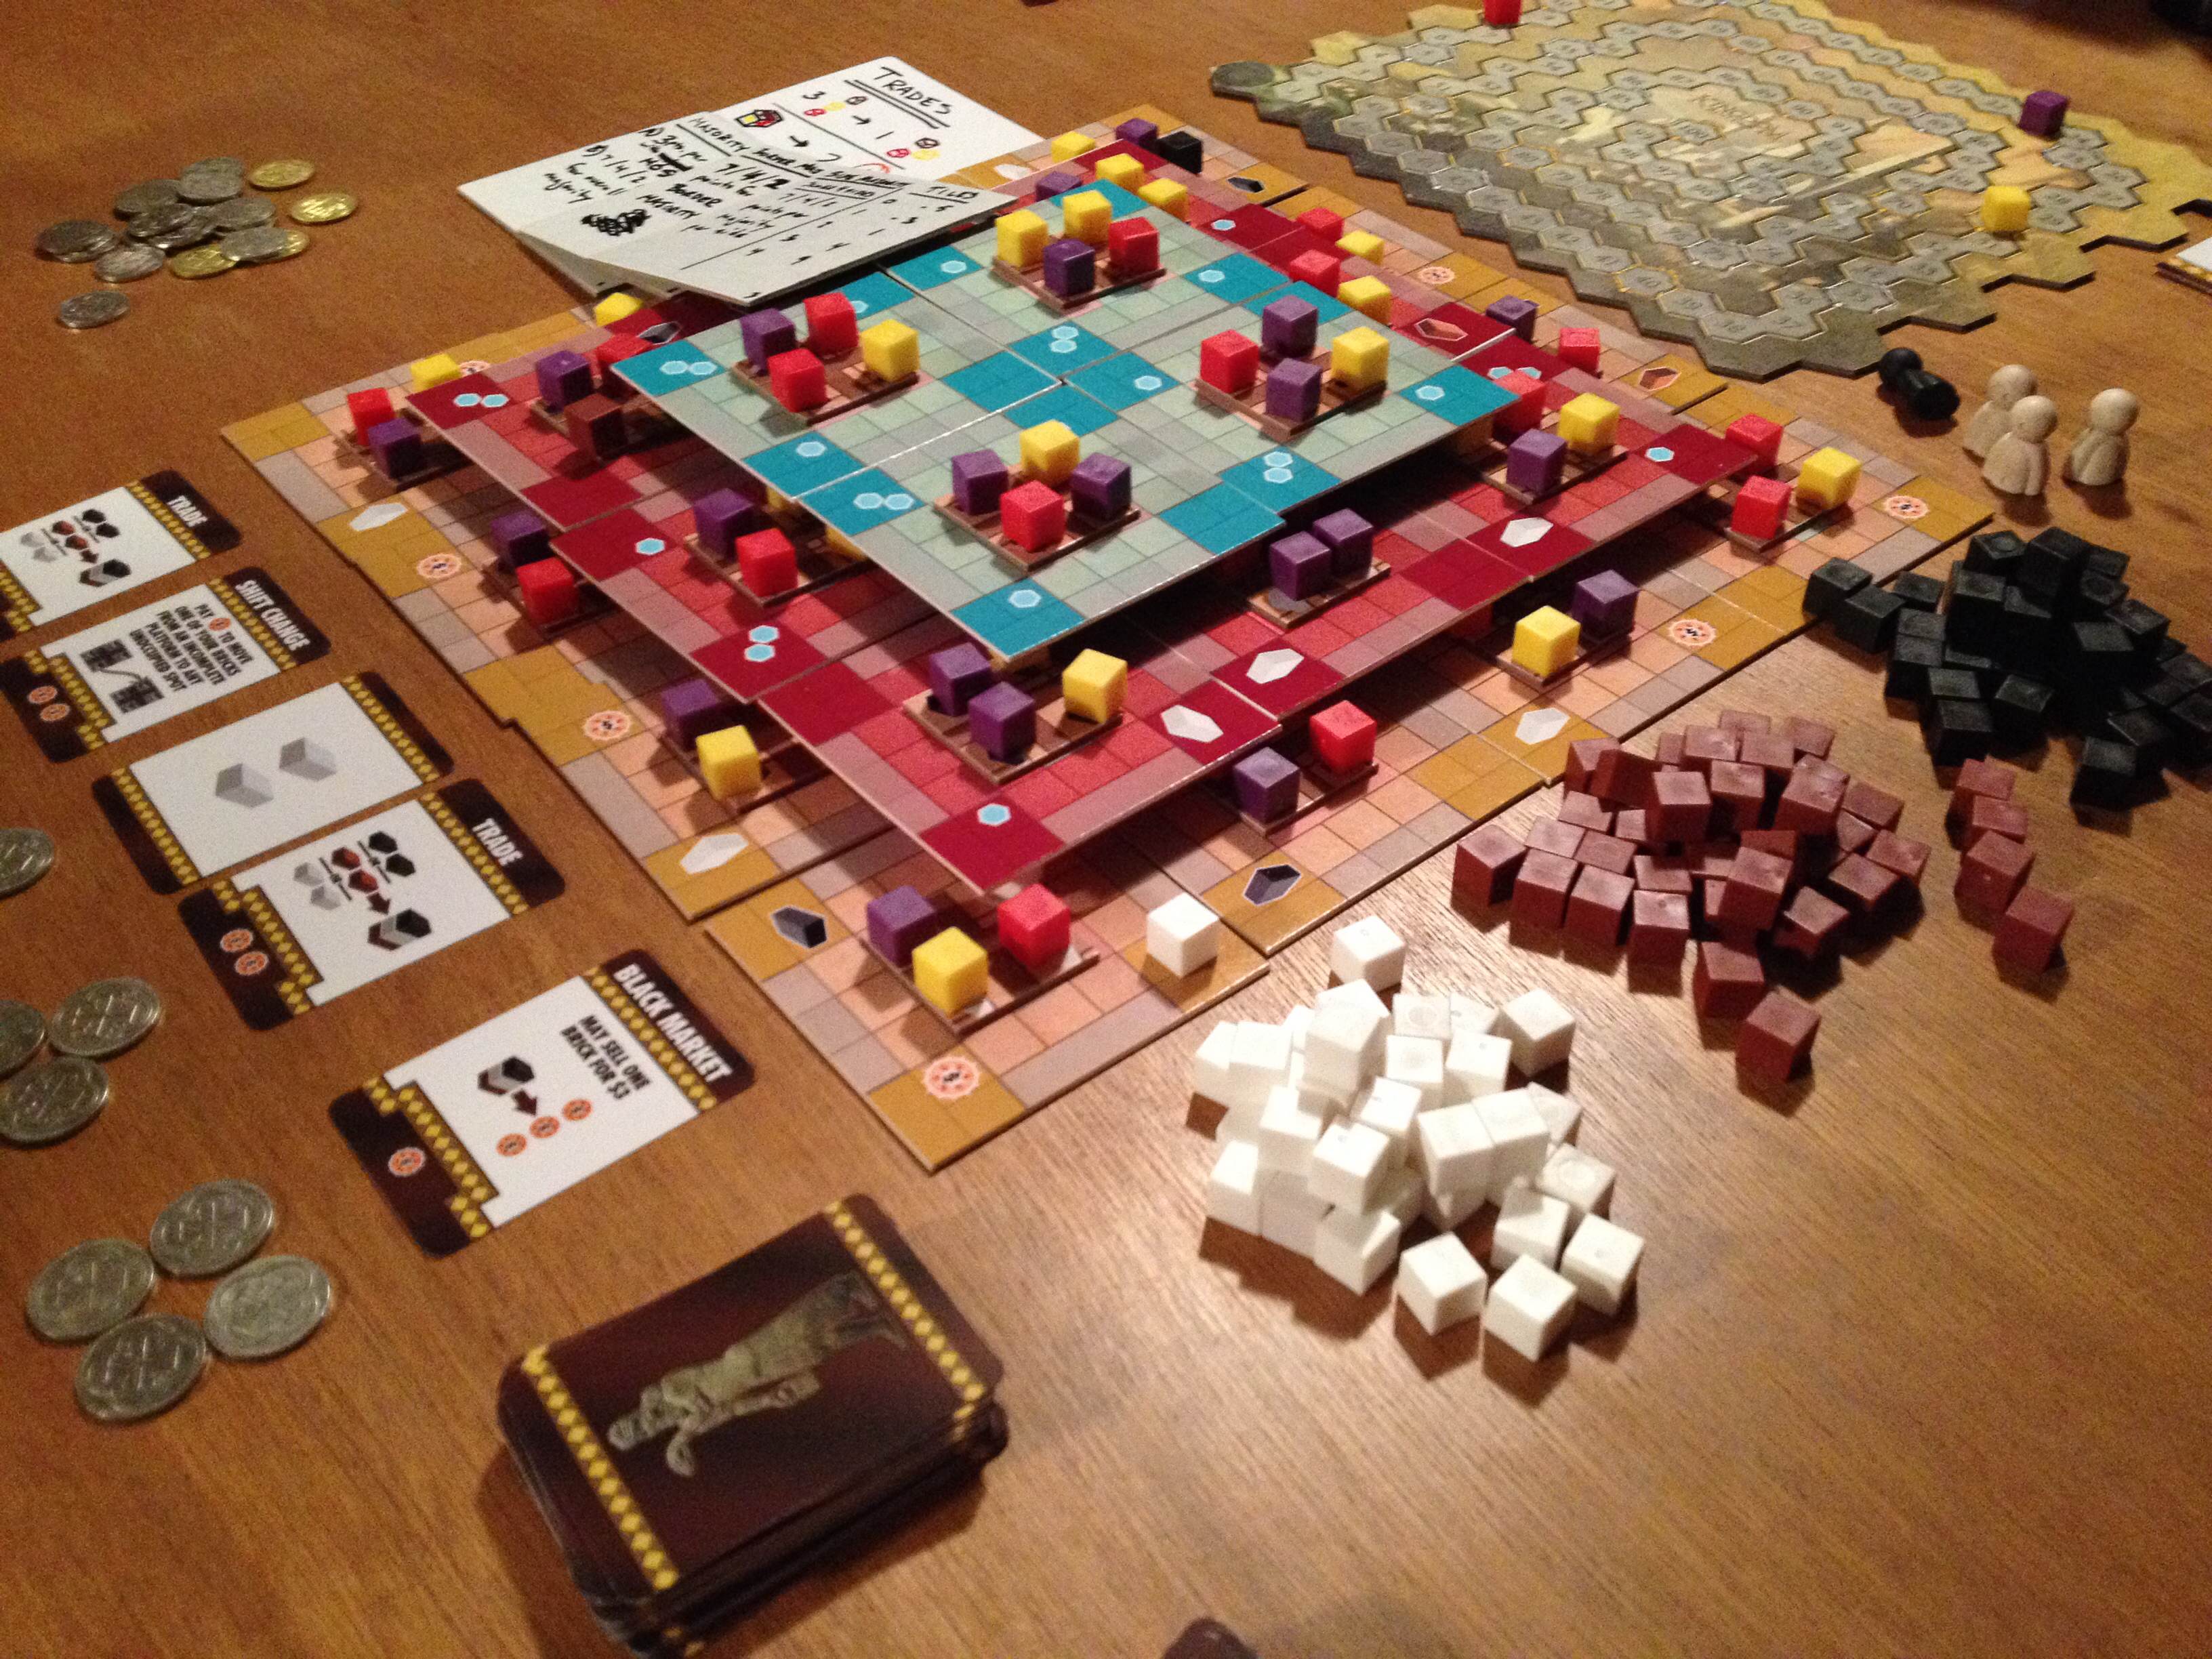
2014 Game of the Year – Five Tribes
 When my friend Ben and I were in the exhibit hall at Gen Con we wandered past a demo of Five Tribes by Days of Wonder. We were immediately in awe of its beauty. The game simply looks fantastic. As we stood and watched the demo we quickly realized that this would be a good game, and a game we would like to own. Ben went to the counter and asked if they had any left, which they did not. However, he was told that they would have something like 50 or 100 copies the next morning when the exhibit hall opened.
So Ben got in the hall and in line as early as he could and was fortunate enough to snag a copy. His copy has since been played more than any other game by our gaming group.
The game not only has beautiful artwork, but it also has excellent wooden components. The palace and oasis pieces are particularly nice. Days of Wonder has a really excellent game with this one.
HONORABLE MENTION:
Istanbul: This game is clever and interactive. Players move their merchant around the markets in Istanbul trying to purchase or earn rubies. By making clever use of their assistants they create opportunities to earn those rubies. I love that the game is pretty easy to learn and understand while simultaneously creating interesting and deep decisions.
Moon Yeti Games
![]() The final thing of note for this 2014 Year in Review is that three friends and I decided to begin a board game publishing company. We will be Moon Yeti Games and our plans are to publish great games with beautiful art and high quality components.
The final thing of note for this 2014 Year in Review is that three friends and I decided to begin a board game publishing company. We will be Moon Yeti Games and our plans are to publish great games with beautiful art and high quality components.
The highlight of 2014 for Moon Yeti was that we gave away about 100 copies of our first game, Mutiny, at Gen Con. Adam Buckingham designed a 4-card social deduction and back-stabbing game to go on the backs of our business cards. We played it a ton and settled on a design, had them printed, and gave them away at the convention. That was pretty awesome.
Moon Yeti is currently developing a version that goes up to 8 players. We hope to have it for sale through our website over the next few months.
For more information, check out moonyeti.com. Thanks for reading and I wish you a fantastic 2015!
Brewology 101: Kegging

You’ll never want to bottle again!
I have an awesome neighbor who used to brew. One of the ways he is awesome is that he is letting me borrow (indefinitely, I believe) his 6 gallon carboy, wort chiller, and double keg system!
A friend came over the other night to help me with kegging. I had never done it before and I was a little nervous.
But before we get to the kegging I wanted to mention my process for bottling:
- Save bottles from friends. You typically need 45-50 bottles per 5 gallon batch. (Time requirement: months)
- Soak bottles and peel labels off. (1 hour)
- Wash bottles in dishwasher. (1 hour)
- Transfer beer from carboy to plastic fermenter. (15 minutes)
- Sanitize a group of 10 bottles. (3 minutes)
- Fill and cap ten bottles. (10 minutes)
- Repeat Steps 5 & 6 four more times. (~45 minutes)
- Clean counter, plastic fermenter, carboy, tubes, etc. (30 minutes)
All told the bottling process usually takes about 3 hours on any given evening, which doesn’t include the bottle soaking/label peeling portion. It’s not enjoyable work. Thus, I was very happy when my neighbor loaned me his kegging gear.
What is a Keg?

Cornelius (“Corny”) Keg
A keg is basically just a metal tank in which to put beer. The keg allows for the introduction of high pressure (~10-25 psi) Carbon Dioxide to the beer.
Soda producers and beer producers often use these types of kegs to store their product. These will be distributed to restaurants and bars where they will be connected to the taps.
You can buy these types of kegs online or at a local brewing store for roughly $50.
![]() But you’ll also need some other equipment. The American Homebrewers Association has a nice run-down of the equipment you’ll need here.
But you’ll also need some other equipment. The American Homebrewers Association has a nice run-down of the equipment you’ll need here.
These include connectors for the keg, plastic tubing, a CO2 tank, and a pressure regulator. I’m not providing an exhaustive list of the items you need. You can find that elsewhere. Rather, today’s kegging article if focused on the kegging process.
Racking Your Beer
Usually a homebrewer till use a carboy for secondary fermenting. If this is the case for you, you’ll want to rack your beer before transferring it to the keg. This is a simple process.
First, make sure everything that will touch the beer is sanitized. I use One Step for my sanitization. This means you’ll need to sanitize your plastic fermenter, the transfer tubing, the keg, etc.
Then I prefer utilizing an auto-siphon to draw the beer out of the carboy and into the plastic fermenter. By doing this step you help eliminate much of the sediment from the beer getting into the keg.
Fill the Keg!
This is the portion of the brewing process that replaces bottling. Instead of doing all those steps I listed above, simply use your auto-siphon to transfer your beer from the plastic fermenter into the keg. So. Much. Easier!
Do You Have Gas?
I hope you’ve got gas. Once the beer is in the keg, seal the keg and hook up your CO2 tank. Here’s where you’ll need a little information. You’ll need to know the temperature of the beer so that you can apply the right pressure. Here is a handy (?) chart to help you set your pressure correctly (Click for full size):
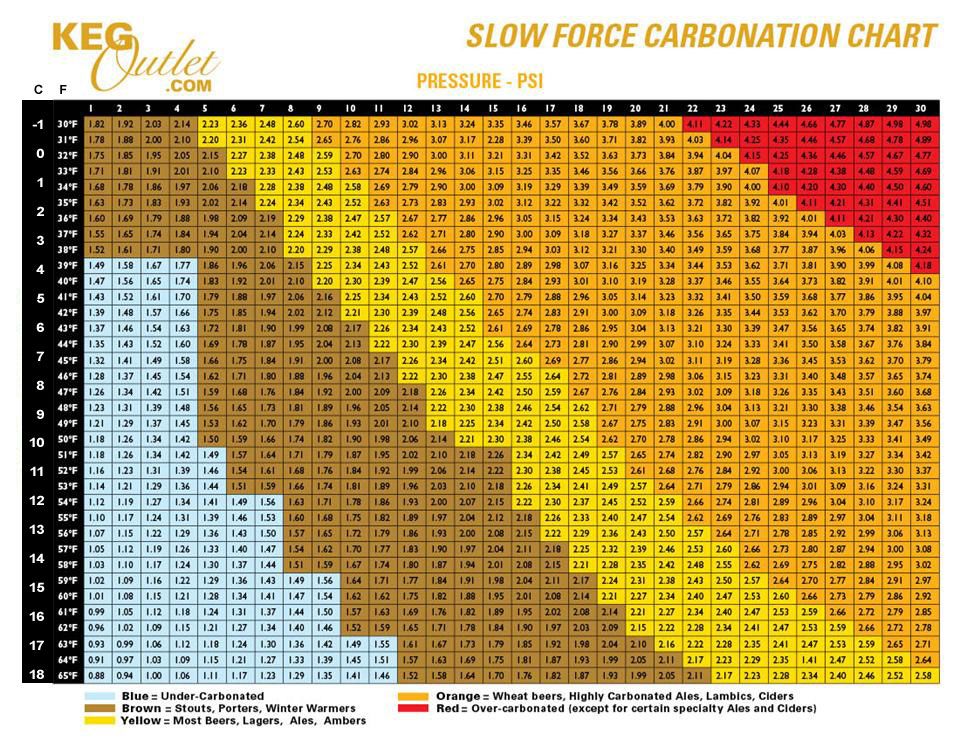
Image courtesy of KegOutlet.com
Some people force carbonate their kegged beer. This can be seen in the video below. Basically this utilizes a higher pressure of CO2 for a few days. Once those few days have passed, hook up your dispensing line, lower the pressure to dispensing levels (10-20 psi) and try your brew!
Today was a very brief article on kegging. Here are some picture of my kegs and equipment:
")
")
")

Helpful Video:
