How To Make A Quad-fold Board
When designing games it often becomes helpful or necessary to have a quality prototype, which often includes a quad-fold board. There are easy ways to do it, like taping a few pieces of paper together. And there are more difficult ways to make them. I usually only make them when I would rather have it fold to fit in a box. Today I want to share my method for producing a decent quad-fold board for your game design purposes.
Components
Here are the components I use when making a quad-fold board:
- Matte board (I buy bulk scrap matte board at Hobby Lobby since it is so inexpensive)
- Photo Paper (I use Kodak Glossy Photo Paper)
- Glue Stick (Or adhesive of your choice)
- Tape (I prefer masking tape)
- Rotary Cutter (I use this one)


The methods in this article are based on the fact that I have a 12 inch rotary cutter that cannot cut through two pieces of matte board at the same time. If I could cut through two matte board pieces at a time then I would probably use a different method.
Methodology
My assumption here is that you already have artwork you’ve created. If you have the artwork ready, then here are the steps I follow to make my quad fold boards…
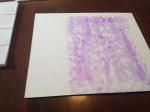
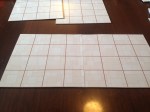
Print the Artwork
When I work with larger sized images I usually print them from either MS Publisher or MS Powerpoint. Publisher will require you make a larger template, but that is pretty easy to do. When you print this way you will print on several sheets of paper.
Once they are printed I will cut off the white margins for all the interior edges that will join up together. You can see an example of the cut photo paper above in the image with the glue stick.
Glue the First Two Pieces
Depending on whether you want your board to fold with the artwork out (unusual) or inward (common) you will either have to do one or two of these procedures respectively.
-
- Place glue on most of the area except by the joint.
-
- Glue down the first piece, lining up the edges as best as you can.
-
- Repeat for the other half. Trim off excess areas before proceeding.
-
- Lift the non-glued portions. Tape the two pieces together.
-

- Apply glue to each and press down.
-
- Half of your board is completed!
As I mentioned earlier, you will do this once if you don’t care that your artwork folds outward. If you prefer your artwork to fold inward, then repeat this process with the other two pieces of your quad-fold board.
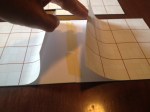
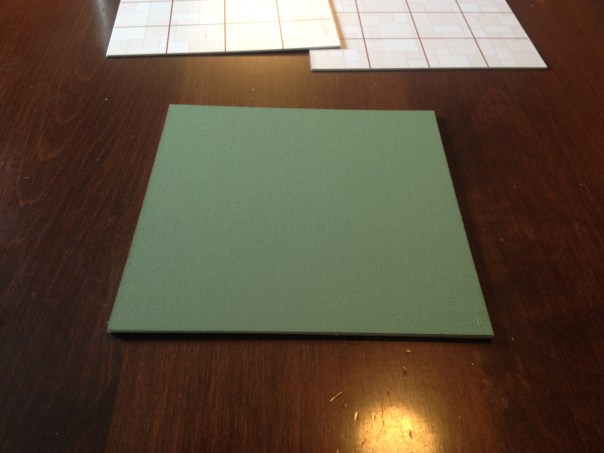
Before moving on I always like to check how smoothly the board folds. Here’s my example:
Completing your Board
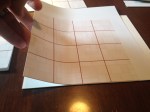
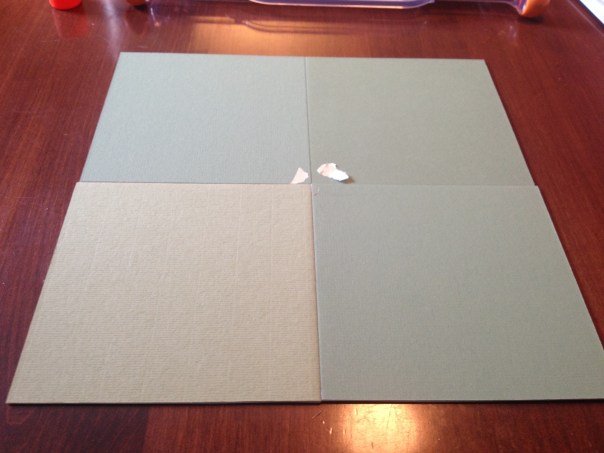
With a set of two pieces taped together you are now set to complete your board. This step is pretty simple. With all four pieces laid out, flip them all over together. Make sure they go into the correct places when flipped. You don’t want to flip them where they are but rather flip them and swap them horizontally. Before I start I put a piece of tape in the corners that line up in the middle of the board. This helps me know that I have the pieces together the right way.
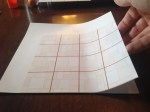
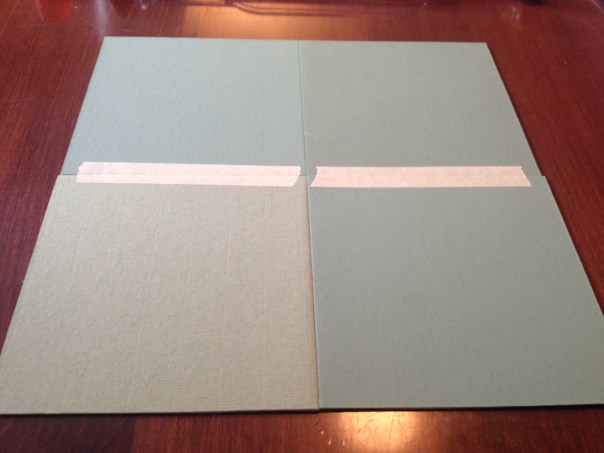
With them in the correct locations, all you need to do is apply two more pieces of tape as seen here:
Completed Quad-Fold Board!
And there you go! You now know how to make a quad-fold board for your game designs. Just keep in mind that if you would prefer the artwork to fold inward then do the “Glue the First Two Pieces” process twice. Then flip them and use only one piece of tape on one of the seams.
Here’s is my completed board for this article:


And here is the quad-fold board I made for a high quality prototype of Scoville using Joshua Cappel’s artwork:


Another Option
If you are not equipped with printing capabilities or if you would prefer to not do this on your own, then feel free to utilize The Game Crafter as they can create a quality quad-fold board for you. You just upload your artwork in the correct size and pay a little money and they’ll make your board and mail it to you.
They have the following options available:
- Bi-fold Board (9 x 18 inches)
- Accordion Board (8 x 16 inches)
- Quad-fold Board (18 x 18 inches)
- Six-Fold Board (27 x 18 inches)

So how do you make your quad-fold boards? Do you use a different method? I’d love to hear if there is a better way (I’m sure there is).
Posted on August 12, 2016, in Game Design, Lessons Learned, Prototyping, The Boards and tagged board games, game board, game design, game design prototyping, game prototypes, prototyping, quad-fold board, the game crafter. Bookmark the permalink. 2 Comments.

Another commercial option is Print & Play Games. They can make multi-piece boards in a head-swimming variety and virtually any size. I have used them for several years and am very satisfied with their work. I also source my boxes, cards, etc., with them, as they handle it all.
http://www.printplaygames.com/prototypes/boards
Pingback: Design 101 for Foldable Game Boards - Hero Time Academy