My First Brew: Alberti Amber

Yes… Yes we do!
If you’ve been following this blog then you know I’ve purchased my first beer brewing kit. 2013 just seems like a great year to get started. I’ve wanted to brew for about 5 years now. So it’s about time I leveled up in Manliness and actually brewed.
Achievement Unlocked!
Two Saturdays ago I connected my propane tank to my turkey fryer and boiled some wort! It was an interesting learning process and I’m proud to be able to report on it today on B&B!
Pre-Brew Nerves
Some of us who run, and by “us” I mean “you,” have experienced something known as Raceday Nerves. It’s where you’re all nervous before you start a race. I’ve been there too. I ran a couple half marathons two years ago and have definitely had those butterflies. Why do I bring that up? Because for some reason I had a little pre-brew jitters. I guess it was because I was hoping to not mess up.
There was nothing I could do about the nerves so I just got to it. Here’s my homebrew setup:
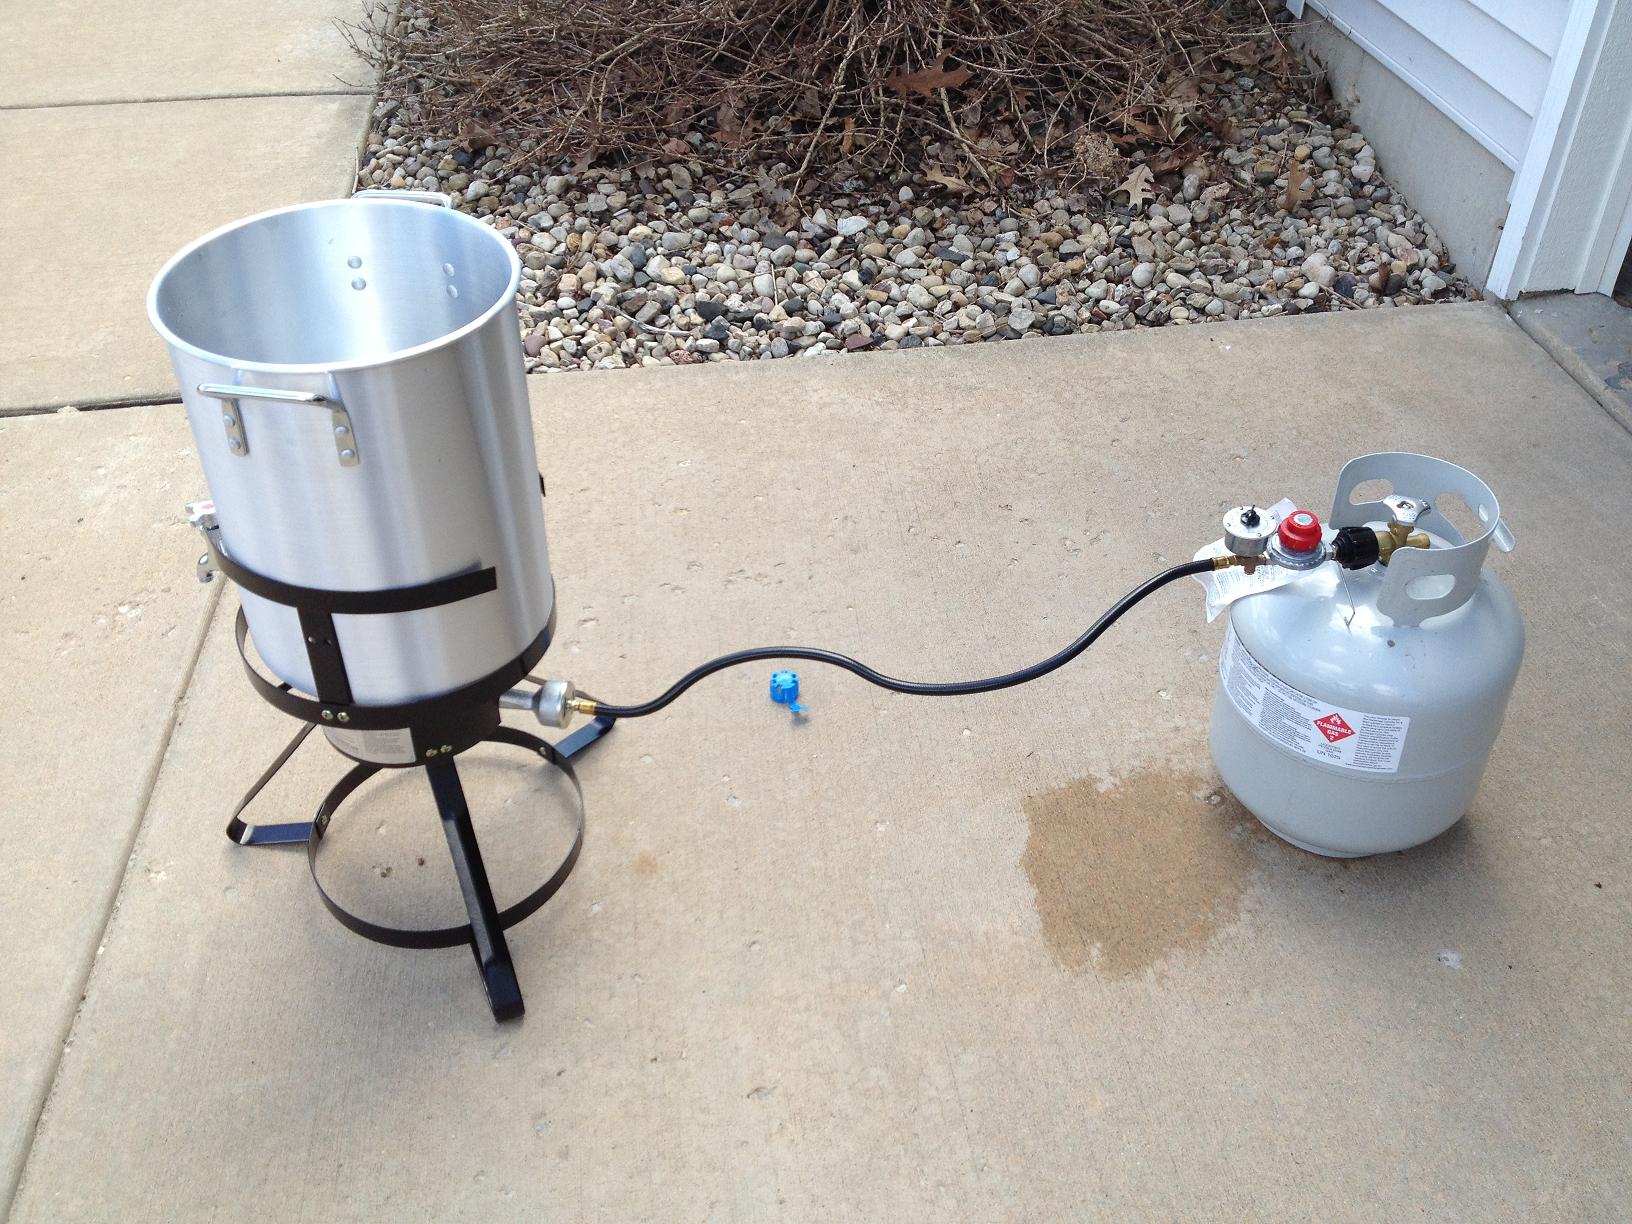
This way the stink was outside rather than inside with my wife!
It looks all shiny and new there. That lasted about 3 minutes until the flames started to cause the black paint on the turkey fryer stand to bubble, crack, and burn away! Yikes. And of course as the paint and the bolts were flaming my neighbor walked up and asked what I was up to.
Who wants to boil some Wort?
Pre-warming for precise Wort extraction!
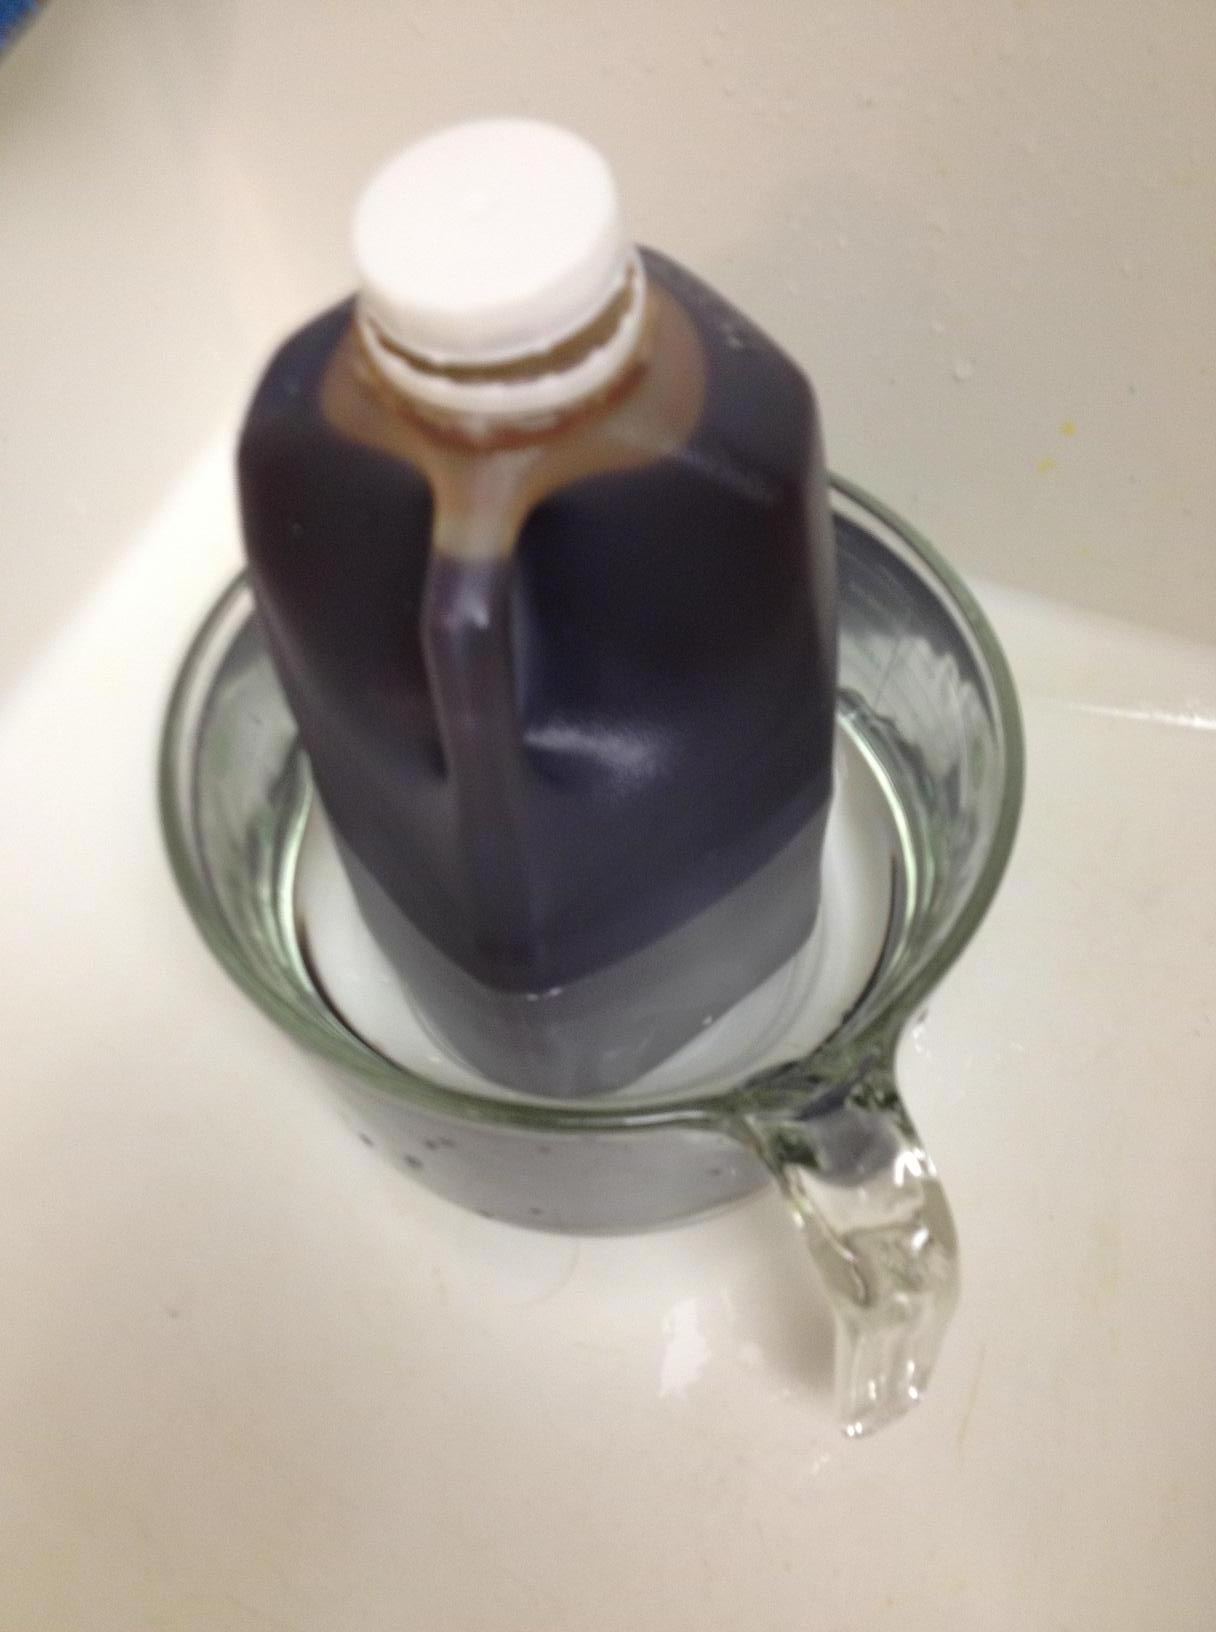
For my first brew I wanted it to be as simple as possible. That means I was brewing with a pre-made extract. This is a liquid that comes in a half gallon jar. You can see it over there →
Brewing this way is pretty “easy.” You just boil the wort for about 40 minutes, then cool it, put it in the fermenter and add the yeast.
Eventually I will get to the point where I’ll be choosing the grains and hops that I use so that I can brew actual, legit home recipes. But as a first timer I think I made a good choice.
In some ways it relates to board game design. I could have chosen to go with a complicated all-grain brew and thrown a bunch of awesome stuff in there. But it probably wouldn’t have all worked together, especially on the first try.
In board game design it seems like it would make sense to put a bunch of awesome mechanics together and expect an awesome game. But what ends up happening is you get a game where things feel non-thematic, unrelated, and almost like they’re work. *Cough* Archipelago *Cough*
So I didn’t want to put a bunch of awesome stuff together and hope for the best. I took this first batch as an opportunity to learn a little bit!
Gettin’ Hot in the Pot

Beware of the “Foam Over”
With my wort warmed up and the water boiling I was ready to begin! I was pretty nervous about this part. Reading through the directions it was pretty clear that this part could involve a “foam over,” not to be mistaken with a comb over.
Fortunately my turkey fryer is a 7.5 gallon pot and I was only boiling 2 gallons of water and the wort. There were a few times that the foam rose up near the top. If I had been boiling it on the stove it definitely would have foamed over.
By using the knob on the turkey fryer it was pretty easy to control the heat to the pot. Therefore any time I saw the foam building I was able to turn down the heat just a bit and watch the foam dwindle. I was really thankful that I paid for the turkey fryer since it gave me so much peace of mind when boiling the wort.
Here a peek into the pot:
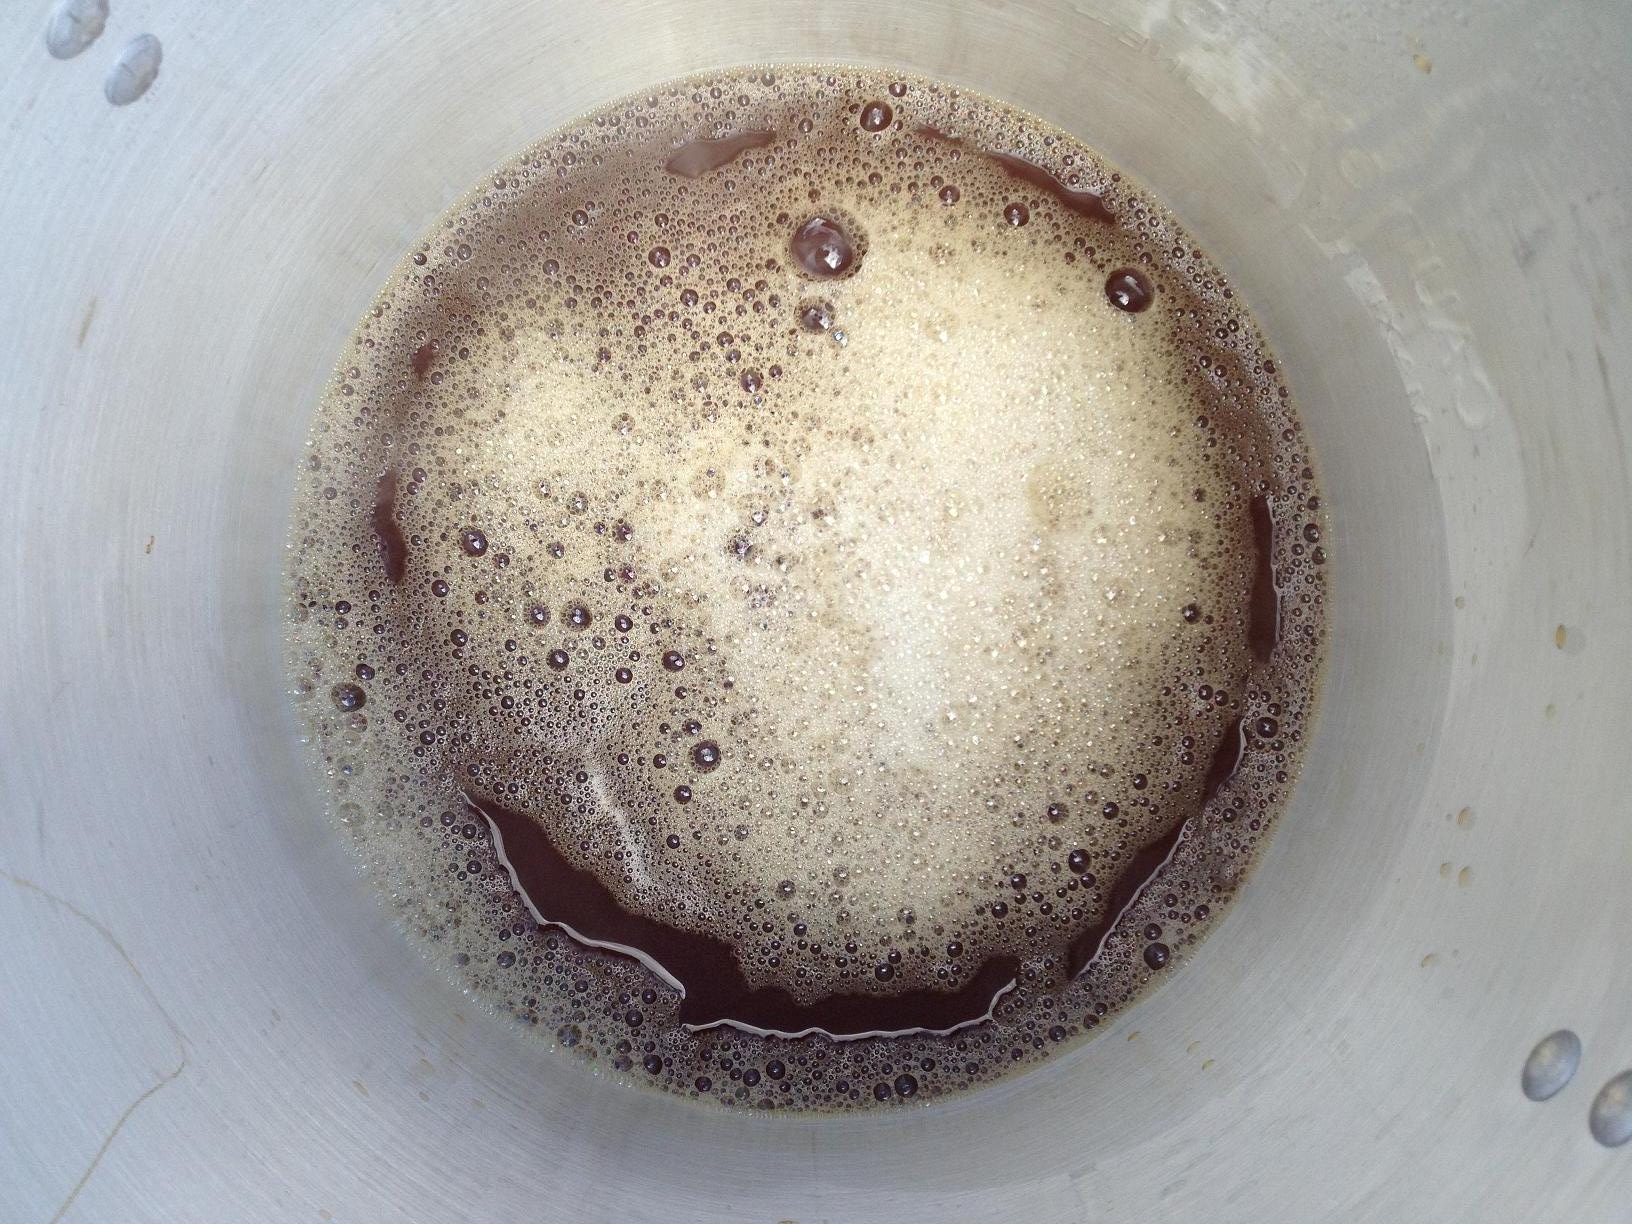
I wish I knew if this looked right!
When the wort started boiling I added the Willamette hops. After 30 minutes I added a half ounce of Kent Golding hops. And then after 8 more minutes I added another half ounce of the Kent Golding hops. And two minutes later it was done!
Am I a Brewer Yet?
Once the wort was boiled and the nervous part was over with it was time to cool the wort. I filled my utility sink full of ice water and placed the whole pot right in there on a metal trivet. With active stirring it cooled the wort pretty quickly. In a previous article I had mentioned making a wort chiller. I may still do that, but this cooled it down in about 12 minutes.
The next part was a little tricky too. It was time to transfer it over to the fermenter, which is a fancy word for plastic bucket. Without much hesitation I poured it right in. It felt really good to be done with the boiling portion of the brewing process.
Here’s what I left behind in the pot:
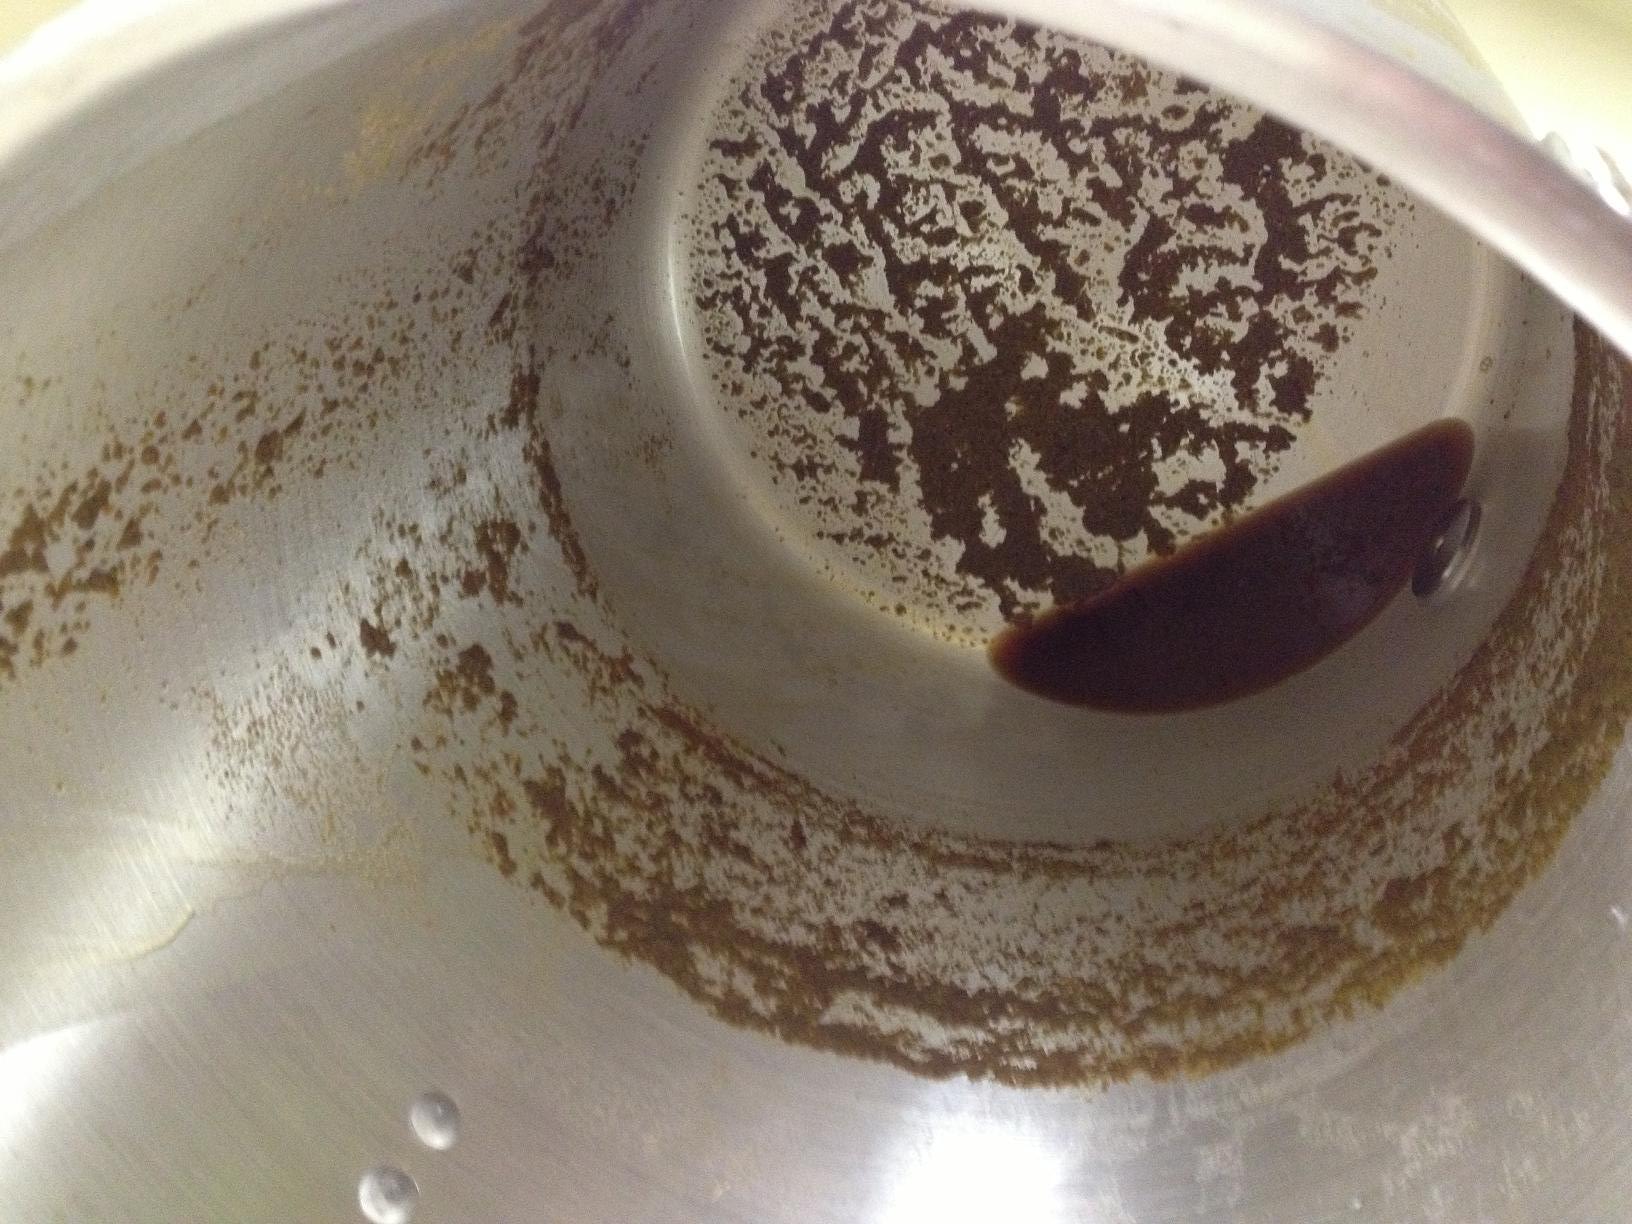
Some might call that “nutrition.” I call it grit!
So the beer was brewed. What’s next?
The Waiting Game
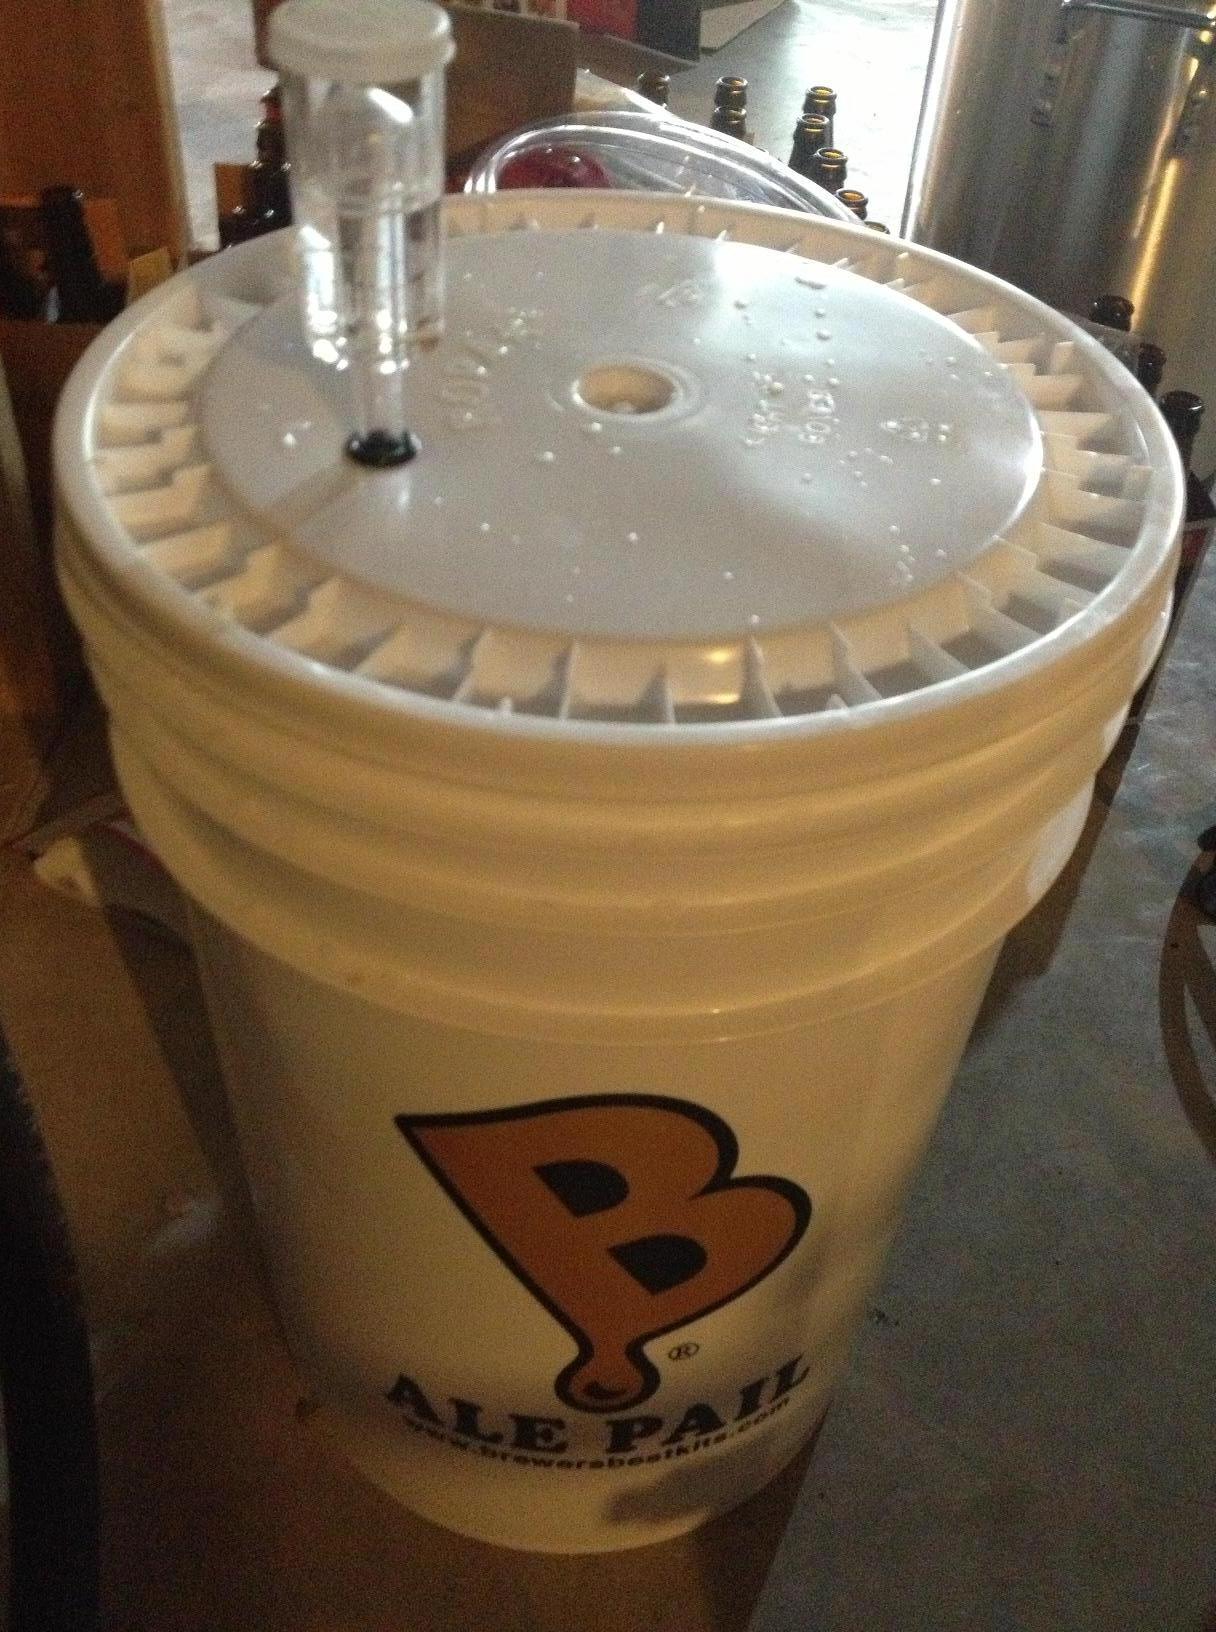
X-ray vision would have been great so I could see how my beer was doing!
With the boiled wort in the plastic bucket (I just can’t call it a fermenter) it was time to wait. I was super excited about the waiting game. I was really looking forward to seeing some bubbles coming through the fermentation lock.
I was prepared to see no bubbles. My confidence in my brewing ability was so high that I was expecting to fail.
Fortunately a day later I saw the first bubbles! It was a great moment in my life. I put it right up there with taking the ACT for the fourth time in high school and that moment in baseball practice when I got hit, well… you know where.
So the bubbles, while exciting, really weren’t much to look at. I figured they would happen. I was just slightly worried that it would foam over through the fermentation lock.
Thankfully it did not. And I was able to move onto the second stage of fermentation… the Carboy!
Carboy is a Cool Word
So the next step is to transfer the beer over to the glass carboy. This doesn’t have to be done, but all the books and experts make it sound like it’s the right thing to do. So I did it.
I had purchased an auto siphon, which really made the transfer pretty easy. I hoisted the bucket up on a box and cracked it open. It really smelled good! I put the siphon in the bucket, being careful to keep it off the bottom, and then pumped and let it do its work.
Here’s how it looked during siphoning and after all was said and done:

Siphoning (left) and fermenting (right)
I AM a Home Brewer! What’s with “Alberti?”
So at this point my beer has been in the carboy for about 4 days. It is a little cold in my basement where it is fermenting and I think that has caused it to ferment less than it perhaps should have. But the bottom line is that there are several gallons of my own beer sitting in my basement!
So the next step will be bottling at some point in the next week or so. That should be interesting. I bought a bottom up bottle filler, though. That should help the process a bit!

Like cracking a cipher, let’s crack an Alberti Amber!
So why did I name it “Alberti Amber?” This beer is named after Leon Battista Alberti, who was a 15th century Renaissance man. I like to consider myself sort of a Mediocre Renaissance Man and so it’s fun to name these beers after men I look up to. Alberti is a favorite renaissance man of mine due to his Alberti Cipher work in cryptography. I have a little man crush on unsolved ciphers and maybe my beer will help me solve some of them. Probably Not.
So it’s been a fun, if nerve-wracking, process brewing my first batch of beer. I think the second time will go much smoother. Or at least I’ll be more comfortable with it. All I have to do is figure out what style of beer I want to brew next! Helmholtz Honey Bock? Franklin Cream Ale? We shall see!
Posted on April 30, 2013, in Homebrewing, Lessons Learned, The Barley and tagged amber ale, brewer, brewing, comb over, foam over, homebrew, homebrewer, hops, kent golding, turkey fryer, willamette, wort. Bookmark the permalink. 2 Comments.

Pingback: The Monday Brews 6-3-13 | Boards and Barley
Pingback: Monday Brews 4-7-14 | Boards and Barley