Blog Archives

3D Printing for Game Prototypes
When I got started in game design I hunted all over the internet forums to find the best deals on game design components. I searched for meeples, cubes, blank cards, and more. And I ended up paying a bunch of money for those things. I wished I could afford a MakerBot or other 3D printer but I wasn’t willing to spend $1,500+ at the time.
Times have changed and huge advancements in 3D printing technology has allowed the prices to drop. This has opened the door for many designers to be able to purchase their own 3D printer for game design purposes.
Which 3D Printer?
This is probably the most common question that potential consumers have when it comes to 3D printers. There are so many printers on the market and so many ways to modify those 3D printers.
My recommendation for people getting into the 3D printing world is to start cheap and simple. Some thoughts are here:
- Stay at or below $250.
- Purchase one that is ready to use out of the box.
- Start with simple prints.
My Printer – Monoprice Select Mini
 For my birthday last year I was gifted a Monoprice Select Mini 3D printer. It runs around $190. It also works right out of the box. The only adjustment required would be to level the bed. That just means that every part of the printing bed is equally distant from the nozzle when the nozzle is over that part of the bed.
This printer has been really great for me. I am currently using it to print some game design pieces for a vertical system in a game.
This printer is great for small game design components. The print volume is 12cm x 12cm x 12 cm. I have four different filaments so I can currently make components for games up to 4 players. With more filaments I could add more players.
What Filament to Use?
Most 3D printers use PLA, which is a plastic. PLA stands for Polyactic Acid. But don’t let the “acid” part scare you. This is just a common plastic material.
Other printers and some of the 3D Pens use ABS. ABS is Acrylonitrile Butadiene Styrene.
My printer uses the PLA. I purchase PLA on 1kg spools in whichever color I desire. I prefer the 3D Solutech brand but the Hatchbox products are also nice. Be careful when you purchase filament. They often list a +/- value of 0.05 or 0.03. Anything over these values may lead to poor print quality as it means the filament is not consistently thick.
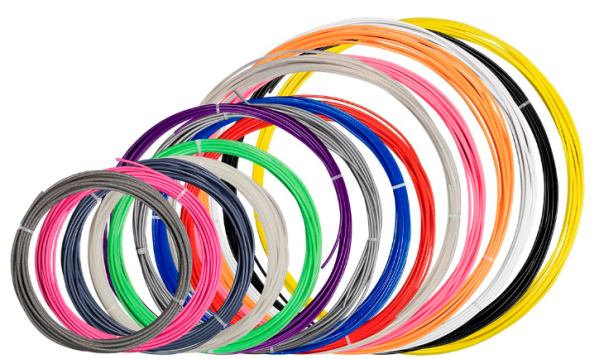
One thing I recommend for getting started is to purchase a filament sample pack. Monoprice sells one but it is currently out of stock. I’m sure you could find an appropriate sample pack at your favorite online retailer.
What about the 3D Models?
I am an engineer so I happen to have access to 3D solid modeling software. But if you’re not an engineer and don’t have access, do not fear! There are numerous 3D modeling tools out there that are free to use. Unfortunately I cannot speak for any of then.
Ultimately, to print in 3D you will need a .STL or .gcode file. You can make your own 3D geometry and save in this format or you can visit some of the following websites with loads of 3D files readily available!
- Thingiverse – Free.
- MyMiniFactory – Free and Paid models available.
- Shapeways – Upload your model and someone will print it and mail it to you.
- YouMagine – Free.
What about Slicing Software?
3D printed models are printed one layer at a time. To be able to tell the 3D printer what to do you will need to utilize a 3D printing software that can generate a .gcode file from your .STL file. You can pay for software like Simplify3D ($149) or you can use a free one.
The software I prefer, because it is relatively easy to use and understand, is Ultimaker’s Cura software. When you install the software you tell it which printer you have. It then knows how large of a print area you have available and other settings specific to your printer.
Bits for Board Gamers
There is a great thread on BoardGameGeek about 3D printers. They share a lot of the same links that I’ve compiled on this page. On the thread you can see prints available for a lot of your favorite board games.
Now that you’ve got a great framework to get started in 3D printing, what are you waiting for? Please feel free to comment with your experiences in 3D printing for board games.
Game Design: Starter Prototyping Tools
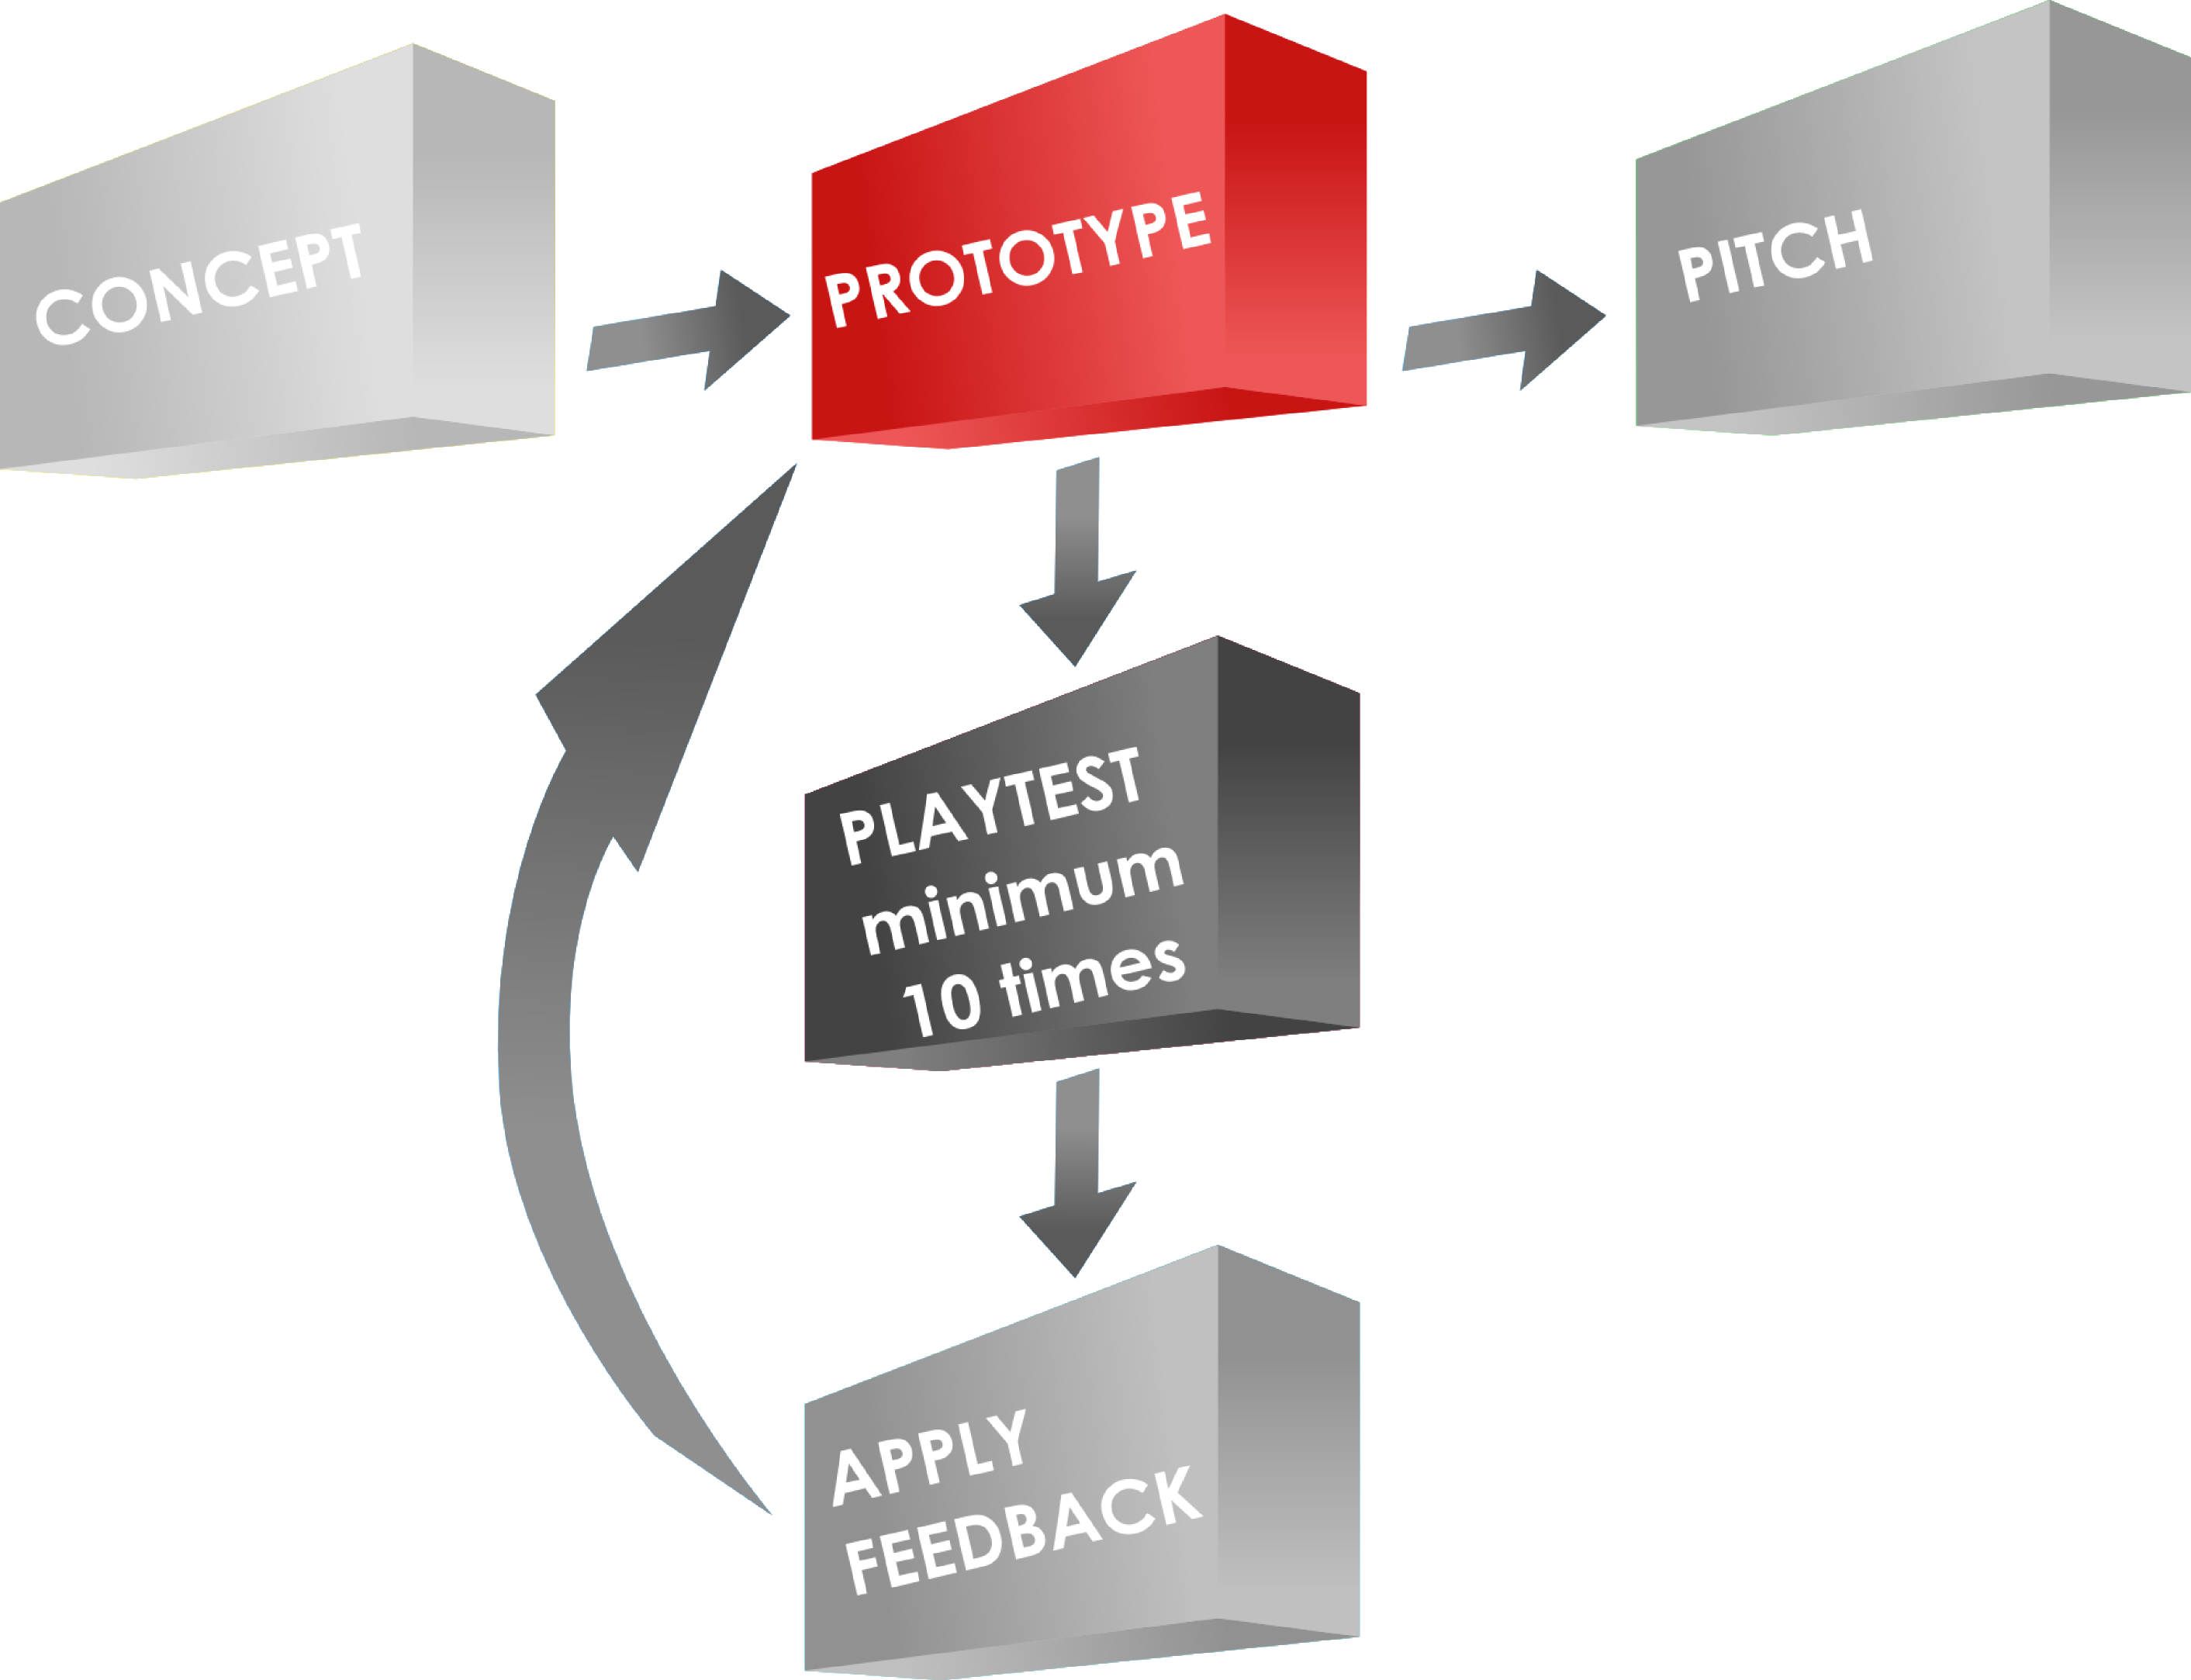
Game Design Process: Prototyping
I recently asked myself the following question: “If I were to start over with game design, which prototyping tools would I buy to get started?” I’ve made numerous prototypes and I’ve learned what to do and what not to do. So today I present a set of prototyping tools to help get you started as a game designer.
When I got started out I didn’t want to throw a lot of money at prototypes. This was because I had no idea if the prototypes would ever actually go anywhere. I was fortunate to have a wife who used to do physical scrapbooking. So I had some tools available to me that wouldn’t have otherwise been available.
Never-the-less, there are some key tools and resources that I think every game designer can utilize to make high quality prototypes at low(ish) cost and with relative ease. For the sake of this article I will assume that you can print on photo paper (I recommend Kodak 8.5×11 – 100 sheets).
Game Prototyping Resources
First, let’s cover where to get some basic resource type things. These are my go-to retailers for these items:
- CUBES: 1,000 1cm cubes from EAI Education for $16.95
- MEEPLES: Avatar pawns from TheGameCrafter.com for $0.15 each
- DICE: Buy a set of Tenzi dice! (Or search Amazon or eBay)
- CARDS: Blank Cards – Different Sizes – from TheGameCrafter.com
Game Prototyping Tools
Things that are not mentioned above include boards, tiles, tokens, reference sheets, rulebooks, and more. I generally use the same process to make all of those except a rulebook. I don’t typically make a rulebook.
To make my prototype components feel like high quality I purchase the following materials:
- Matte board remnants from Hobby Lobby for super cheap. You can get a stack of about 25 12″x12″ matte boards for about $6.
- Kodak Photo Paper (100 sheets for ~ $15)
- Non-OEM ink for my inkjet printer via eBay. (I bought 5 full sets of ink cartridges for ~$20)
- Glue Sticks – you’ll want to keep several on hand.
I often create artwork and then print it on the photo paper. I glue it down to the matte board. Then I break out my most highly recommended tool: The Rotary Cutter!
The Rotary Cutter

Easily worth the cost!
This has been my most-used tool for creating game prototypes.
I have a Fiskars rotary cutter similar to the one shown in the picture. You can buy it here:
It isn’t the best cutter. You can pay a lot more money for better cutters. But it does exactly what I need it to do for my prototypes. Other cutter options include:
There are more options than those, so if you don’t like those options feel free to do more thorough searching.
I use this tool to cut out the components that have been printed and glued to the matter board. This cutter works well enough for that.
Punches

Great for cardstock chits!
Other great tools for designers are punches. These are used to quickly create tokens and chits. When I create tokens and chits I usually prefer printing the artwork onto thicker stock paper so they are more rigid. 90lb or 100lb paper is usually a good weight.
There are a plethora of different punches out there, but for the sake of board games you’ll most likely be interested in circle and hex punches and corner rounders. Here are some options.
- Fiskars Squeeze Punches
- Fiskars Lever Punches
- Fiskars Corner Rounders
- List of Punches on Scrapbook.com
As before, go ahead and do some more searching to find the right product for you.
Sharpies

I am firmly in the Sharpie camp. I love them. They are bold, colorful, and extremely useful. Sharpies can be used to create prototype components rapidly, especially in the case where you own blank cards because you took my recommendation above.
By having a variety of Sharpies you become an unstoppable force of game design awesomeness!
I use them to create prototypes. I use them to mark up my prototypes. I use them to revise my prototypes. I use them to draw silly pictures for my kids.
Seriously, Sharpies are fantastic. I feel they are a must-have for any game designer, if for no other reason than to be able to practice your signature for the time when lovers of your games will ask for your autograph for their game box!

I feel like this article needs more tools in it, but those are the only tools I utilize on a regular basis. Are there prototyping tools that you use regularly? Post a comment and let everyone know which prototyping tools you prefer!
