Blog Archives
GenCon Preview 2013
 Yes! GenCon is upon us!
I’m giddy. I’m like a kid in a candy store. Actually, I’m like an adult in a board game store. A really, really big board game store. And I have the freedom to purchase whatever I want. “Psyched” falls far short of how excited I am!
I was planning on writing a nice long article about all the awesome things I’m planning on doing, and all the awesome games I’m planning on playing, and all the awesome people I’m planning on meeting. But I’m so excited I just can’t focus enough to put all the words together.
So instead, here are links to the games I’m interested in checking out:
- Bruges
- Robinson Crusoe
- Rialto
- Kingdom Builder: Crossroads
- Mars Needs Mechanics
- Lewis & Clark
- The Little Prince
- The Phantom Society
- Relic Runners
- Compounded
- Francis Drake
- Relic Expedition
- Spyrium
- Tomorrow
- Pay Dirt
- Maximum Throwdown
- Trains
- RARRR!!
There are also a ton of unpublished games that I’m looking forward to playing. You can find a good list of unpubbed games that are available for demoing on Grant Rodiek’s Hyperbole Games GenCon 2013 Prototype Preview.
I would also like to mention all the awesome people I’m going to meet, but I know I’d leave some people off the list by mistake. There are a ton of you out there! I can’t wait to meet you in person!
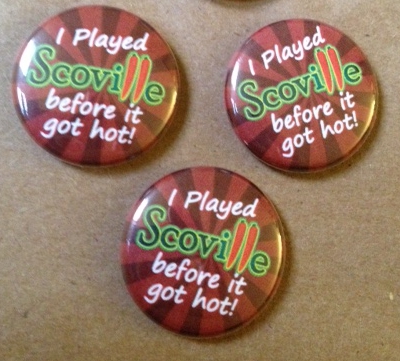
Finally, if you want to demo Scoville feel free to tweet at me (@EdPMarriott) during the convention and we’ll figure something out. The after hours open gaming area is probably the best bet. On Friday and Saturday I’ll likely be wearing these shirts:

Just follow the pepper for your chance to play Scoville!
SWAG! Want one???
And my GenCon contribution to society is that I will be giving away SWAG buttons to the people who want to demo Scoville! I am grateful to Ken Grazier (@demo_ken) of Geek-Craft.com for making the buttons for me! I’m very much looking forward to handing them out!
So if you’re going to be at GenCon, let’s get together for some boards or barley! I’m looking forward to meeting so many awesome people and making so many awesome memories.

Monday Brews: 8-12-13
Oh baby! It’s GenCon week! That means I’ve already been staying up way too late as I prepare for the convention. I’ll be providing my GenCon Preparation blog post tomorrow with tons of awesome goodness (maybe). But today is Monday.
That means it’s time to review the Boards and Barley that I enjoyed this past week. Let’s start with the Barley as usual…
The Barley:
Ben Franklin’s Honey: I am nearing the end of my supply of my second homebrew. I had hoped to have a few of these left to bring to GenCon but that’s not the case anymore. Sorry fellow designers. At least we still have PBR!
Leinenkugel’s Honey Weiss: This excellent Wisconsin beer is enjoyable to drink, goes down smooth, and has a refreshing taste of honey. This is a favorite summer beer of mine, especially when I’m camping.
Lake Louie Warped Speed Scotch Ale: Lake Louie makes my favorite Scotch Ale. Located in Arena, WI, they have made tasty beer for a while now. But just recently, I believe, they just re-opened their doors for tours. This scotch ale is a really good beer.

Warning: May make other game designers jealous!
Boddington’s Pub Ale: A can of Boddington’s isn’t just an enjoyable beverage. It’s also an enjoyable experience. I brought a couple to Protospiel-Milwaukee and could feel the jealousy of our fellow designer’s as Adam and I cracked the can and listened to the widget exhale. This British pub ale is a very excellent beer, even outside of game designer events! The only downside is that it’s a product on InBev.
Alberti Amber: I have had the last of my first homebrew ever. There’s a little tear running down my cheek. My friend’s seemed to enjoy this one so I may brew it again. Alberti and I had an enjoyable ride.
Sierra Nevada Pale Ale: I purchased this and the Leinie’s Honey Weiss for our softball team to enjoy after our last game of the season. Thankfully we won the game and became the league champions! That made this beer much more enjoyable, since I’m not typically a Pale Ale or IPA kind of guy.
The Boards:
It was another slow gaming week for me. I’ve been pretty busy prepping for GenCon and haven’t had as much time to actually play games. But here are the two lonely games I played this week:
Qwirkle: This is a great abstract game. In Qwirkle you are trying to complete sets of six tiles of either the same shape or the same color. There is a fun amount of strategy in this game. It’s pretty easy to teach. And since I have the travel edition it is pretty easy to take anywhere!
Scoville: I had the pleasure of testing Scoville with a good friend of mine. He had previously played the game twice, including the 4th ever playtest in Scoville history. We played a very close game until the end when he beat me to a 16 point recipe and I had nothing to fall back on. I love that about the game though; Sometimes you just have to make sure you get what you want first! I ended up losing, but the game was a lot of fun. Here’s a picture from early on in the game at our camping table:
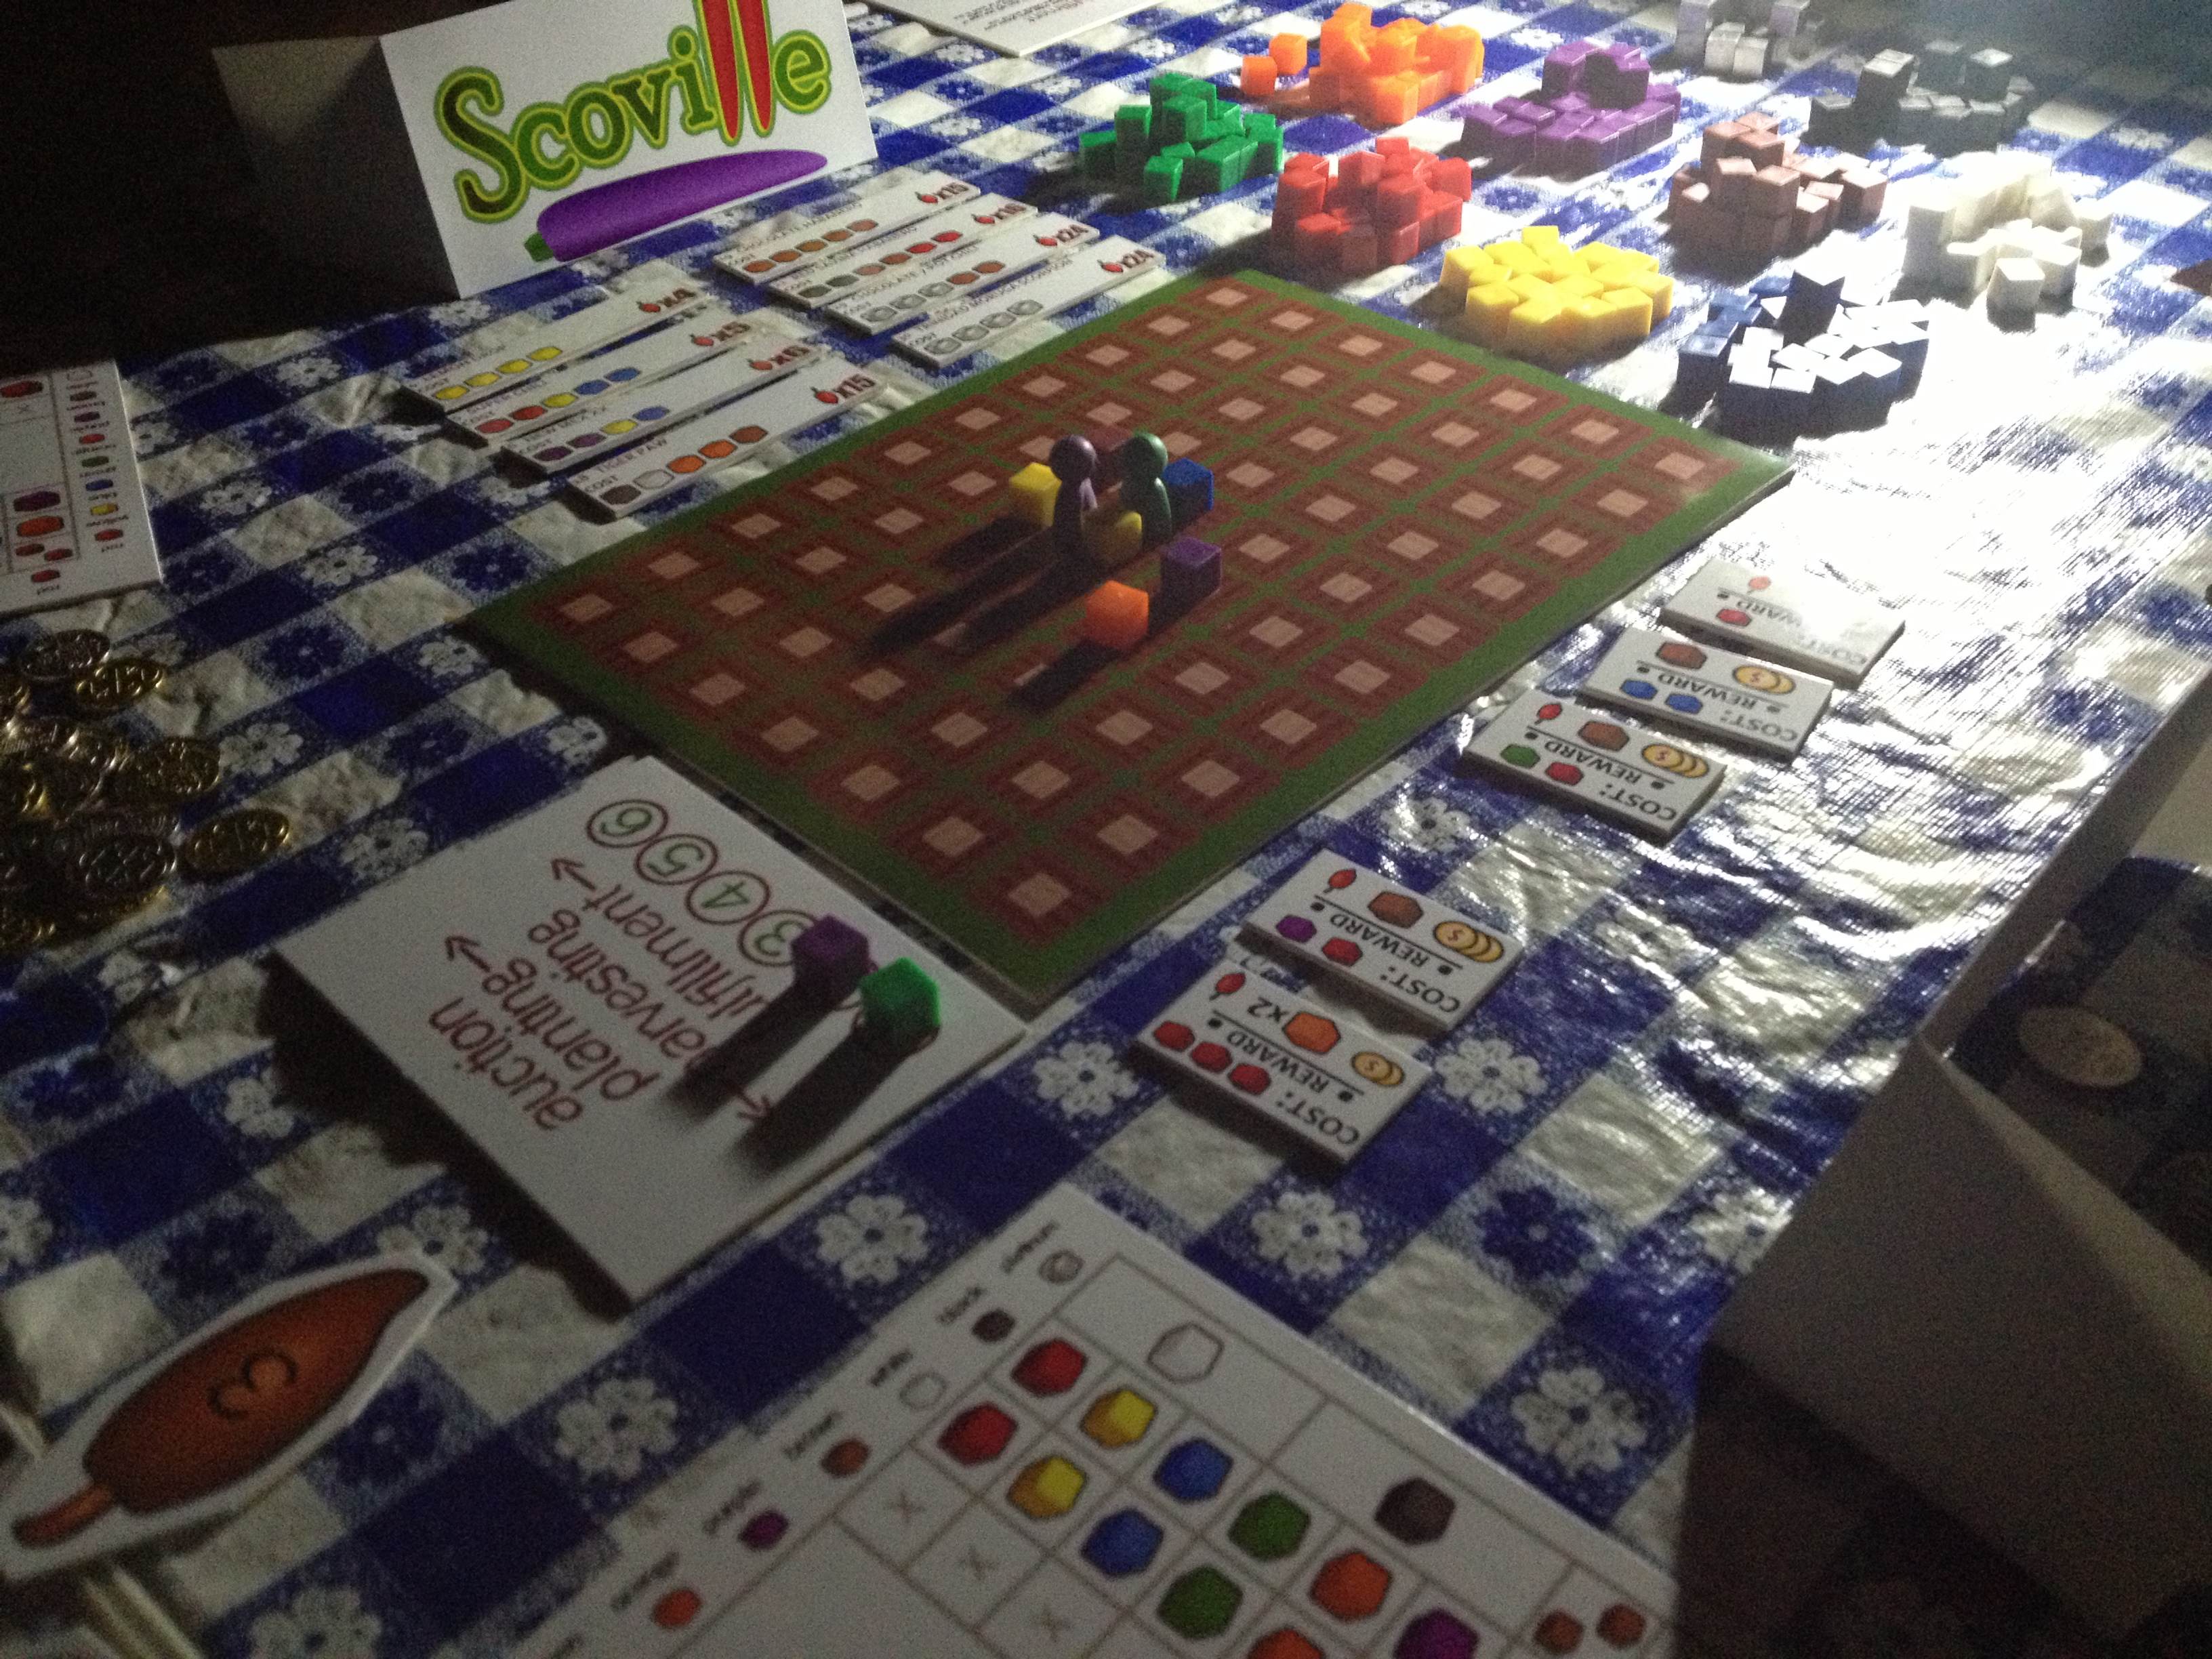
Sometimes playing by the light of a lantern is really fun!
Miscellany…
Last Friday was my birthday. And it happened to coincide with the receiving of two Kickstarter project rewards and one Blogiversary prize!

The special Kickstarter variant “Mimic” box.
On Friday before we left for camping I received my Dungeon Roll game from Tasty Minstrel Games. Dungeon Roll comes is a sweet treasure chest box. It includes a bunch of custom dice and hero cards. I have not yet played, but since there were over 10,000 backers there’s no shortage of people who have gotten it to the table. Congrats to Tasty Minstrel on a very successful campaign!
Then when I got home from camping I learned that my Catan Board had arrived. This was expected to arrive in April, so that’s a little disappointing. But the product looks really nice. I’m hoping that it works as advertised.
And finally my prize arrived for being the randomly chosen winner of the Theology of Games Blogiversary Contest #2. The game I won is Sunrise City, by Clever Mojo Games! I’m very excited to get this game to the table!
Add in the fact that I also received Le Havre: The Inland Port and a set of Beer Glasses for my birthday and you’ll see that all the gifts I received had to do with either Boards or Barley. (Disclaimer: I also received Seasons 1 & 2 of MacGyver, but I already had those so I returned them and bought something for my kids with the money).
And now we’ve got GenCon week! So I’ll pretend it’s my birthday all week!
***
So that’s the Boards and Barley that I enjoyed this past week. Any of you try a new game or new brew that left a lasting impression?
Prototyping Tools of the Trade
Tools of the Trade
One topic that seems to come up a lot is how to make board game prototypes. I’m not talking about coming up with a design. I’m talking about physically creating prototype game components. Game designers are constantly trying to make their components so that they can get right to the playtesting phase of game design.
Today I want to discuss the tools I use to create my prototypes. At this point you should already have your prototype artwork created if you’re going to be printing anything. Let’s assume it’s already been printed. Now it’s time to make it awesome!
Chits…
One common component that is particularly easy to make for prototypes are chits. These are typically just printed artwork glued onto matte board. But matte board can prove to be difficult to cut.
There’s two ways that I’ll cut my chits out of the matte board.
- Straight edge and utility or X-acto knife (not ideal)
- Rotary cutter (ideal)
What we are doing here is separating the chits from one another. When creating your artwork you should line up the edges of the components so that you only need to make one cut between them.
This will help you keep your fingertips!
The straight edge and knife approach is definitely NOT my approved method and I would never recommend it. However, a lot of people use that approach so I needed to mention it. One recommendation is to use a safety straightedge like the one shown here. You only have 10 fingertips so why not spend a few extra dollars and get a straightedge like this and make sure to not lose any fingertips!
I don’t like this method for a few reasons. The first is that you need a cutting mat to go underneath so you don’t scratch your table. The second is that the blade doesn’t always stay straight as you are cutting the matte board. And that can be really annoying.

Just get this thing instead!
My preferred method is to use a rotary cutter like this Fiskars 12″ Scrapbooking version. It is super easy to use, relatively cheap (especially compared to the $40 safety straightedge), and very reliable. And since most of us don’t have printers that print on anything other than 8.5×11 paper anyway, the 12″ Fiskars tool is perfect!
So I will print my prototype artwork on photo paper, adhere it to matte board, and then cut out the individual components using the rotary cutter. Just a heads up when using matte board though: you’ll likely have to roll the cutter back and forth a few times to cut all the way through. That’s still an easier process than trying to run a blade along the straightedge.
On the topic of matte board, I recently went to Hobby Lobby and purchase two huge packs of “matboard” for $6 each. I got a pack of 12″x12″ and a pack of 11″x14″. These are so cheap that I almost felt like I was stealing. They are just the leftovers from the framing department that were cut out from the boards used to mat pictures/paintings for customers. What a great way for Hobby Lobby to reduce their waste and provide a useful product. Here’s what I got for $12:
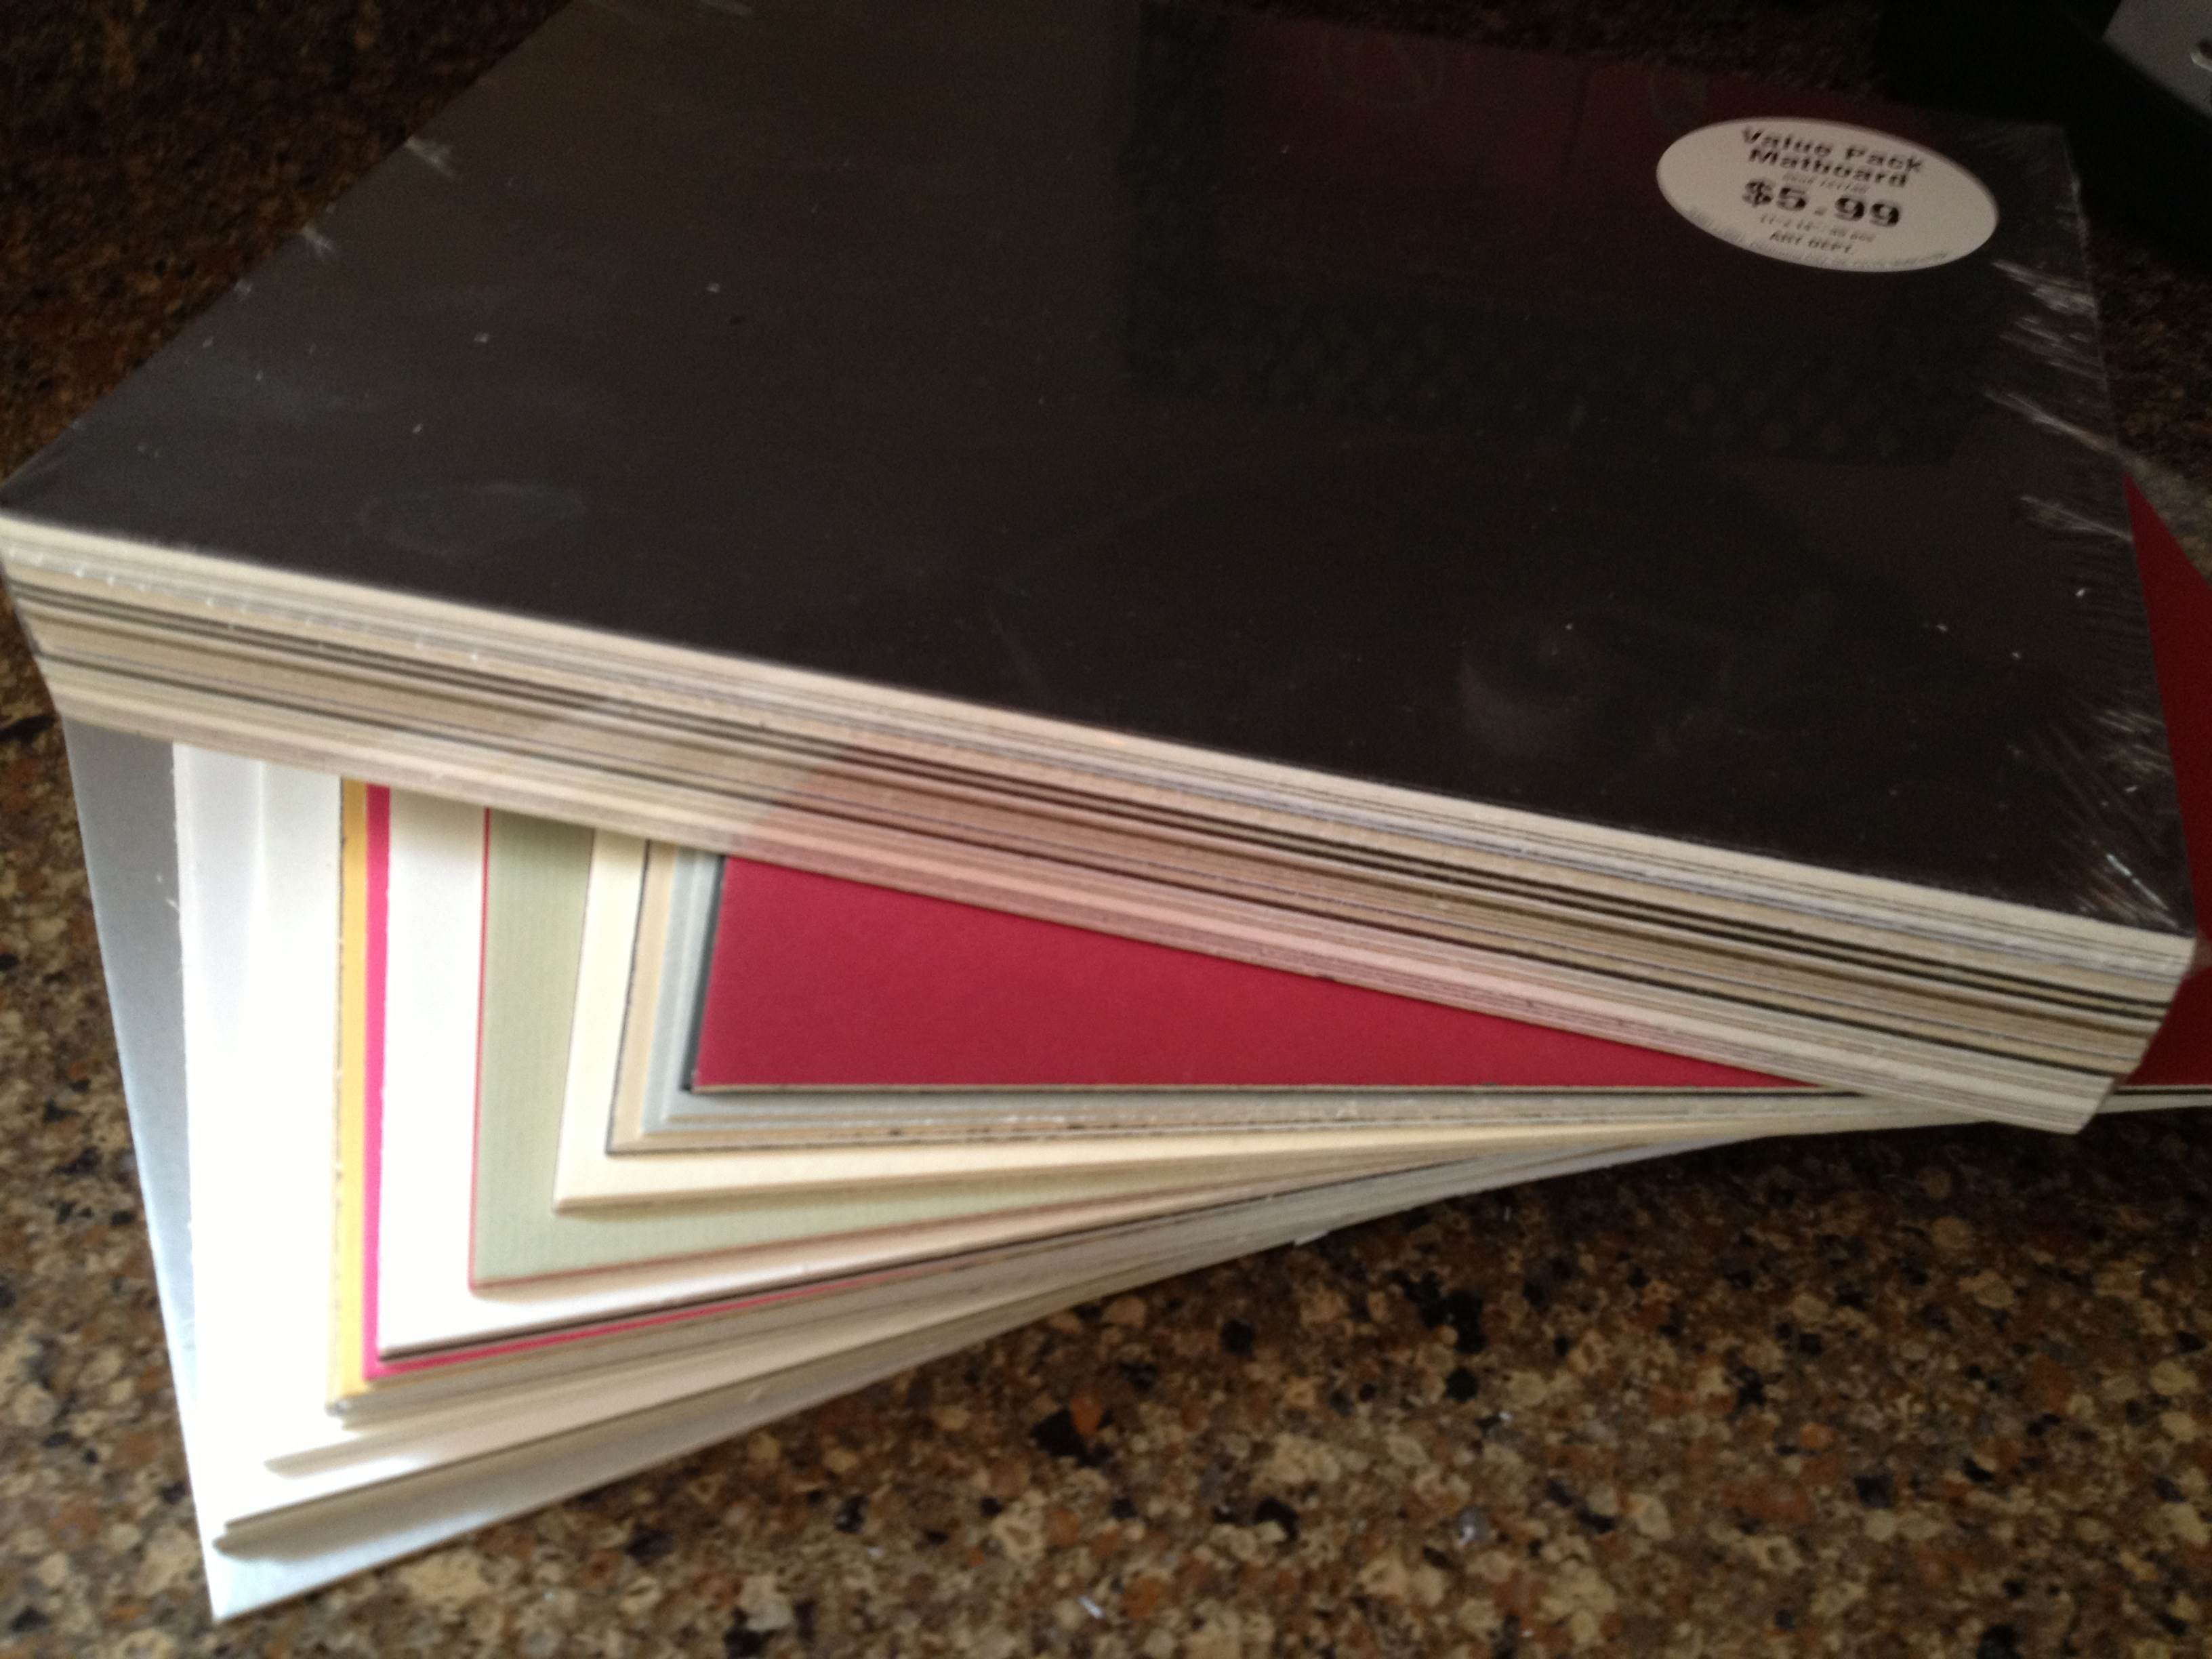
So cheap!
The other key tool of my trade is a glue stick. Some people will use standard glue, some will use spray adhesive. I prefer the glue stick to standard glue since it is simple to apply evenly. This is very helpful when trying to make sure that your components are completely glued down.
Now you know a great method for producing chits. If possible, keep them as rectangles rather than circles of hexes. But since we’re on the topic of circles and hexes let’s move on to another excellent tool…
Punches…
There are times when you don’t want rectangular components. Perhaps your game is a map building game with hex tiles. Or perhaps you require special discs for your game. If that’s the case, then I strongly urge you consider purchasing a punch.

The hex punches from Fiskars work great!
One thing to keep in mind when purchasing a punch is how thick of paper/board are you wanting to punch. Often these sorts of punches are used by scrapbookers who are only punching paper. That means they may not be able to punch through matte board. Sometimes you can only find out after you’ve bought the punch. Bummer.
Here are some recommendations, keeping in mind that I don’t know specifically how thick they can punch. OR you can just do a search for “hobby punch” and find one you’d like.
- Fiskars Squeeze Hex Punches
- Creative Memories Punches
- Older Creative Memories Hex Punches on eBay
- And don’t forget the Corner Rounder punch which can be helpful for cards that are printed on nice canvas/linen finish paper.
These can come in really handy. I use a circle punch when creating prototype coins. I have used a hex punch to create stickers for hex tiles. And here is my little tip for punching, which I mentioned in a prototyping article a long while back, but which is worth repeating.
When punching, flip the punch over so you can visually align the part that you want cut.
So now you’ve got the tools to cut out chits and punch out little bits of awesomeness! What about cards?
Sleeves…
Many game designers come across the need for cards in their game designs. I have made cards numerous times. Early on I would buy 60lb. paper and just cut out rectangles. But there is a problem with that. The edges of the rectangles can be slightly bent from cutting, which leads to great difficulty in shuffling the cards.

Mayday sleeves are convenient and cost effective!
The way to prevent that while also protecting the cards is to purchase card sleeves. These inexpensive beauties will be a little lifesaver by removing anguish from your prototypes. Plus, you can get awesome one’s like the one shown here with a kitten running through a field!
If you want a good go-to source for sleeves then look no further than Mayday Games. Here is a series of links to the sizes you may be looking for:
- Euro Cards (59×92 mm)
- Mini Euro Cards (45×68 mm)
- Card Game (63.5×88 mm)
- Standard USA Cards (56×87 mm)
- Magnum Ultra Fit for 7-Wonders (65×100 mm)
Those should offer some help. They definitely help with being able to shuffle your cards. The only downside is that when stacked they can be really slippery and your stack may tumble over.
Speaking of tumbling…
Dice…
Sometimes it becomes necessary for a game designer to create their own set of dice. Sure, you could always just make a cheat-sheet conversion table, but that can be a huge burden for your playtesters who would constantly have to recheck the sheet. So one of the tools of the trade is to purchase blank, sticker-able dice.

Just think of the potential here!
Look no further than Indented Blank Dice. The best part of their site is that they have labels that you can purchase and print on rather than having to buy blank label paper and try to cut/punch out your own labels and then peel them off.
Don’t buy blank label paper. Don’t cut/punch out stickers. Don’t try to peel them.
Just buy the sticker label paper and save yourself from the frustration.
So this concludes my little article about Prototyping Tools of the Trade. Next week I will be posting a follow-up article on Sourcing Components for Prototyping. It will cover where to purchase boards, bits, and more. So stay tuned!
Bonus Trading Post Post

My Trading Post Logos
Over the past four weeks I’ve been writing about a new game redesign of mine by the name of Trading Post. Since there has been a decent level of interest in the game concept I thought I’d write one more article about the game. So far I’ve covered the following:
- 5-16-13: Origins of Trading Post
- 5-23-13: Early Prototying
- 5-30-13: Hiatus and Re-design
- 6-6-13: Path to GenCon
- BONUS Today 6-13-13: More on Trading Post
Today I’m giving you some bonus material on where the game is at, how to make it better, and some other tasty morsels. But let’s start with how good I am at focusing on things other than actually designing this game!
I’m Good at Wasting Time (and Effort!)
One of my downfalls in life is my desire for perfection. Perhaps perfection is the wrong word. That paints me as someone with OCD, not that there’s anything wrong with that. Perhaps a better word would be aesthetics. I desire for things to look good.
At the end of May an article was posted on Example of Play called, “The Benefits of Crappy prototypes.” I will provide a rebuttal for that article next week, but I wanted to mention it today because I am not a believer in crappy prototypes. And this may be my downfall.
I love a good looking prototype. I love good game art. If you’ve read my board game reviews you’ll see that artwork is consistently mentioned as either a like or a dislike. I approach game design as though I’m reading a story. I like to be enveloped in a different world and escape this one for an hour or so. Artwork is a key way to get that experience across to the players.
What this means is that I spend way, WAY too much time in Inkscape making prototype artwork. The upside is this:
The downside is that I have four logos (as seen above) for a game that no one has yet even played! I just can’t help myself.
So I had a think about what this all really means. I was a little disappointed in myself for the artwork side of things when the game design part of it seemed lagging. But then I remembered the whole purpose:
Games, and game design, are supposed to be fun! Why else design games or play them?
So I’ve realized that though the artwork doesn’t specifically help a game design move forward, I’m having a lot of fun working on the artwork. Thus, I shall continue.
Solo “Playtest” #1
Last week I showed the picture of the game setup. I’m repeating the image here for easy reference:
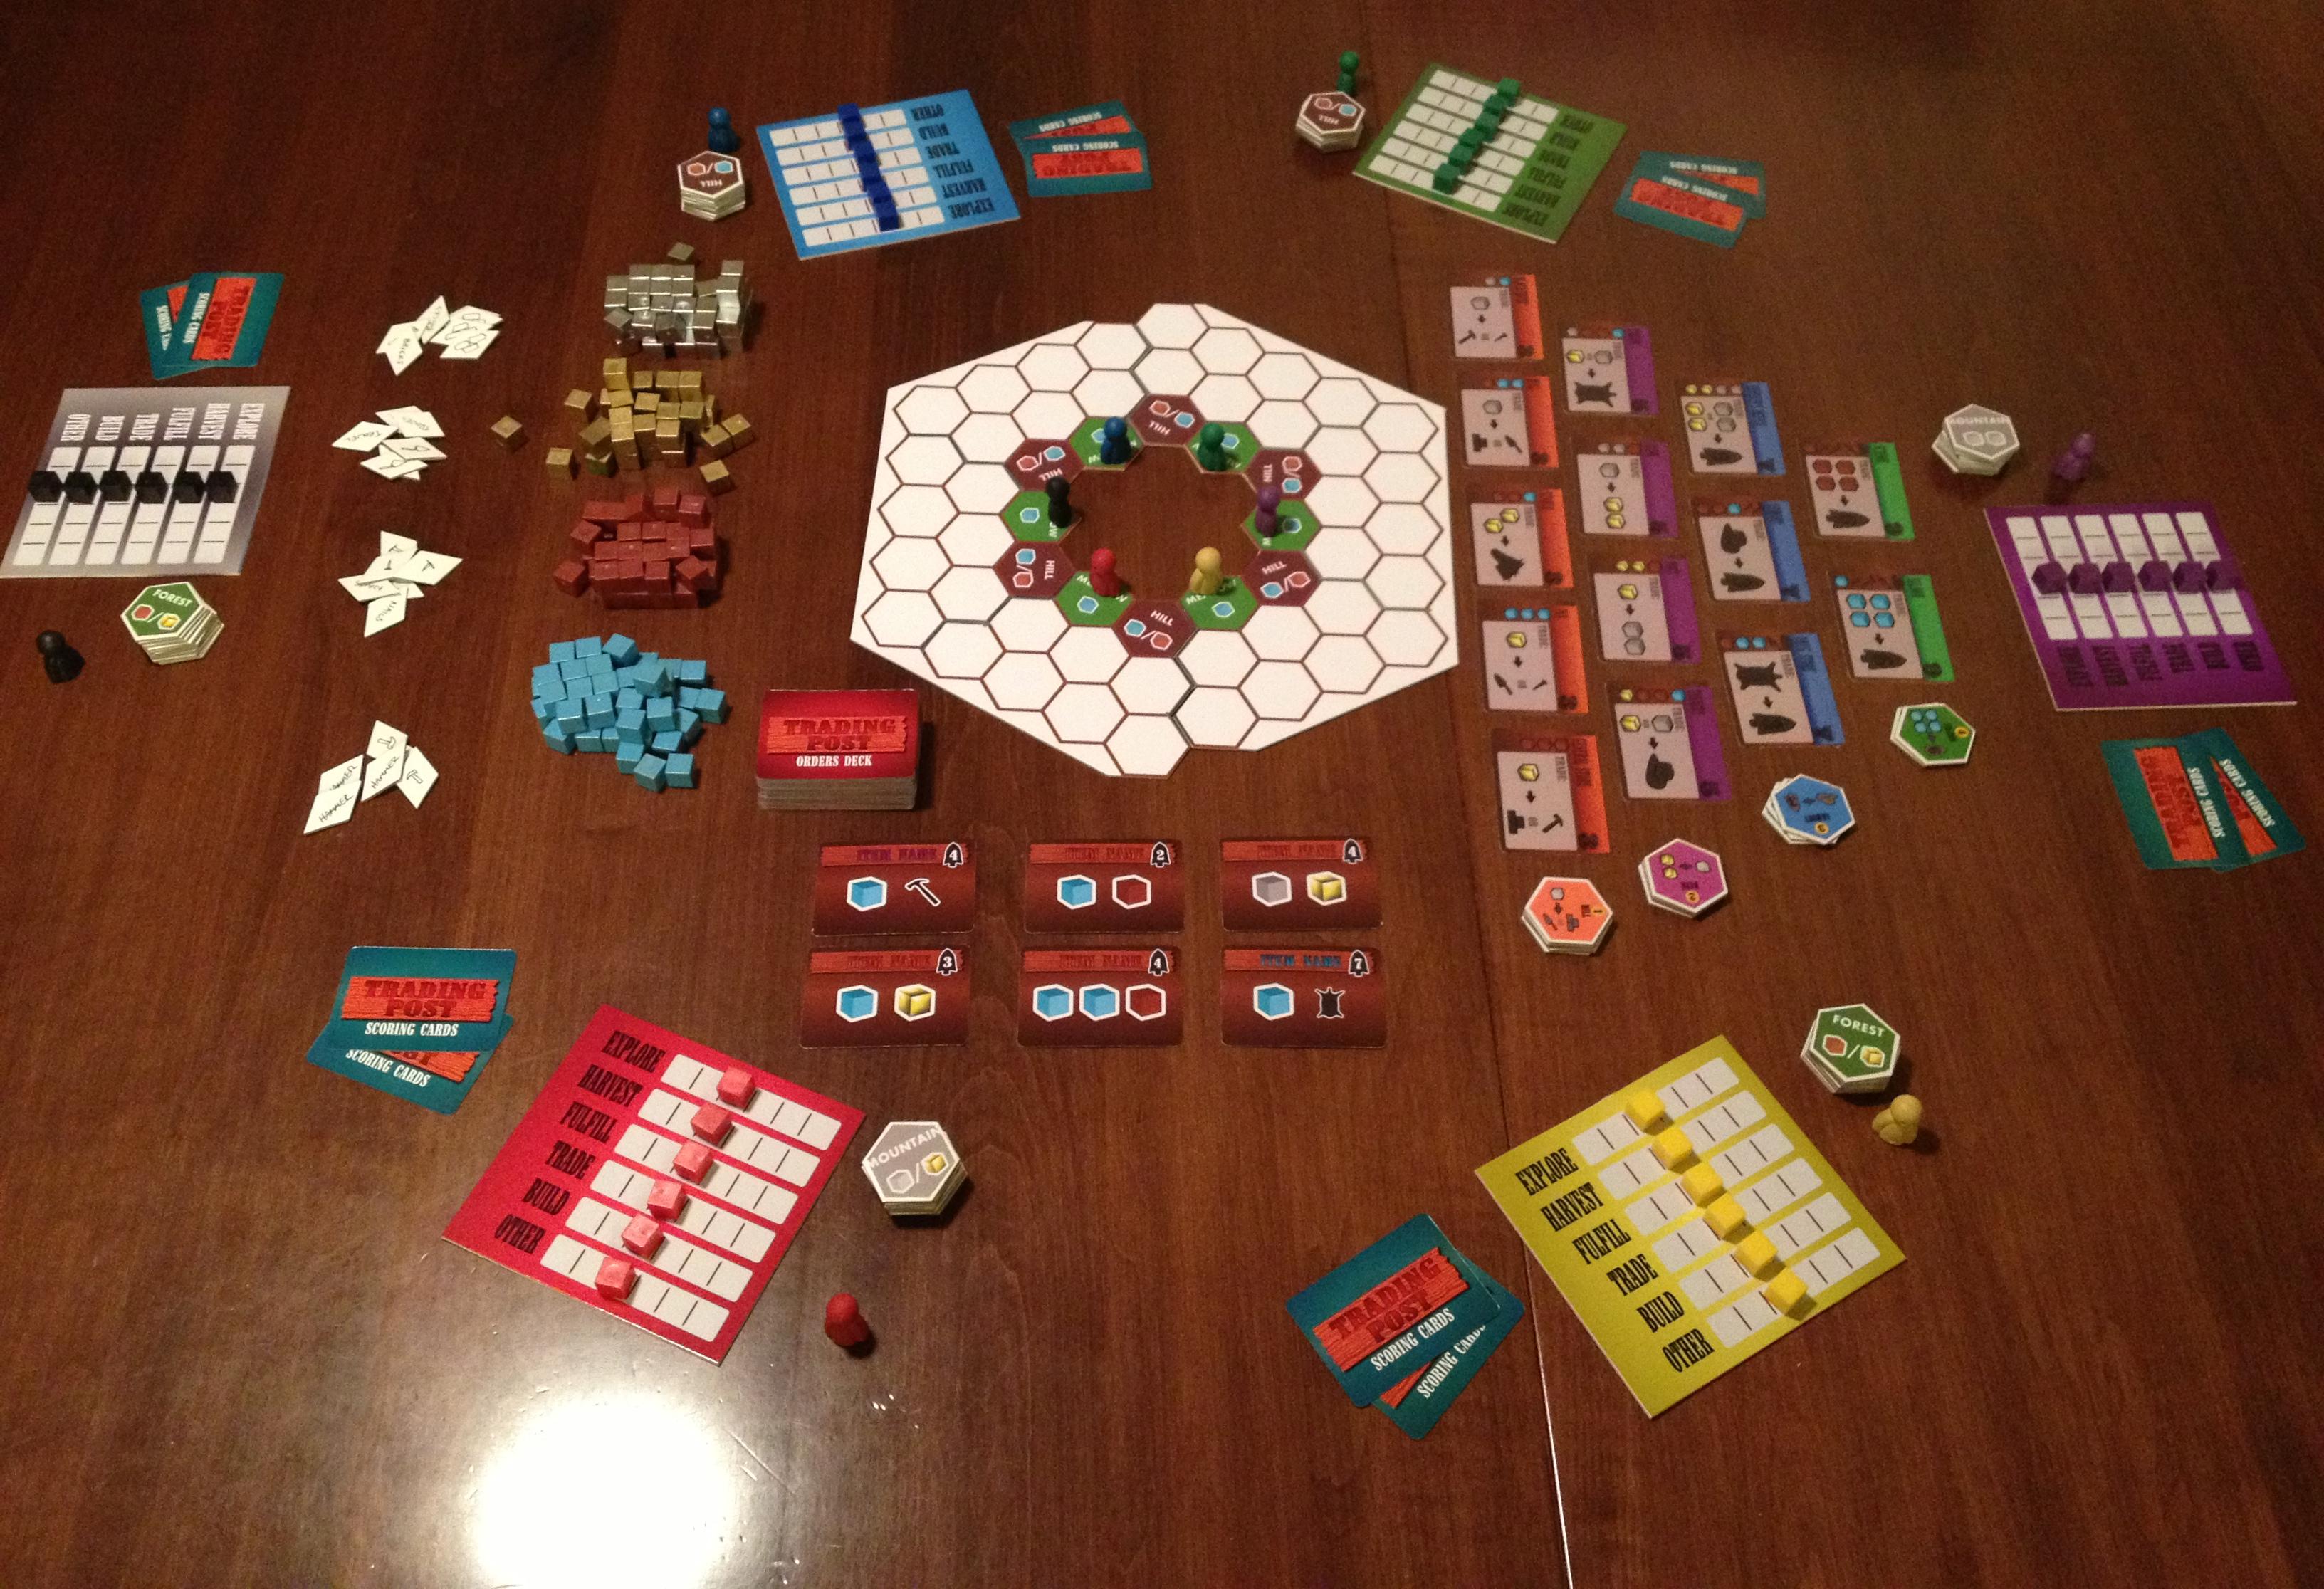
Current Trading Post prototype. I think it at least looks cool!
Since this is an insight into the inner workings of my mind I am sharing the thoughts I wrote down while attempting to play the game for the first time.
First, some rules. On your turn you can take up to 3 actions. These can all be the same, or they can all be different. That’s up to you. The actions you can take are determined by the number of action points you have for each action. For example, if you had three points in the EXPLORE action track, then you could use all three actions on your turn to EXPLORE. After you have taken your 1, 2, or 3 actions, you must then move other action’s track cubes up in value. This is what I am calling a “Zero-Sum Action Point Allowance System.” (I would go with the acronym ZSAPAS, but I’m not going to use the term again in today’s article). Basically, for every action you take there is an equal an opposite reaction.
Here is a little game design nugget that you might enjoy:
During testing, if it seems like the first turn for all players is dictated, SKIP that first turn and make the result the new starting condition in the game.
What that means is that if all players have no choice (or only one beneficial choice) for what their first turn should be, fix it! Ever wonder why players start with 4 train cards in Ticket to Ride???
During the first solo playtest I made it 6 turns before I realized I wasn’t happy with the design. Here is the list of my chosen actions on this six turns:
- Explore/Harvest/Explore – Increased Fulfill/Trade/Trade
- Harvest – Increased Explore/Explore/Trade (I suppose you can always move up three action cubes – so much for “equal and opposite”)
- Explore/Explore/Trade – Increased Harvest/Harvest/Harvest
- Harvest/Harvest/Build (Stable) – Increased Explore/Explore/Explore
- Explore/Explore – Increased Harvest/Harvest/Harvest
- Harvest/Explore Quit.
After 6 turns I had been unable to fulfill any orders and I was only able to purchase one building. In Scoville players only have a total of about 7-10 turns. So after these 6 turns I realized that I have basically done nothing. At least nothing very fun. I need to adjust it so players feel a sense of accomplishment on each turn, or at least feel like they are setting themselves up for accomplishment soon.
Here are the notes I took at this point:
- Should the “Orders” be stacked? (What I meant here is that should the low level orders come out first, then the better ones, then the best, a la Power Grid Power Plants?)
- Should the highest valued Order card be replaced each turn that an order is not fulfilled?
- Should players always get to move their pawn 1 spot per turn without taking an action to do so? (Using the Explore action seemed critical and it was thus used very often. Then it had to be refreshed, so there were turns where I couldn’t move anywhere.)
- It takes too long to build even the basic buildings, which means it takes too long to get the man-made resources. How can this be sped up?
- Should players be able to complete a trade even if their pawn is not on a spot with another player or in the Trading Post (a la Settlers of Catan)?
- How do I make TRADING the focus?
That last point is a big one. Let’s talk about that…
Put the “Trading” in Trading Post!
Thus far in the design the trading aspect of the game has, for some lame reason or another, been the lesser focus of the design. I have always been more interested in the land exploration and development side of things. Why?
I don’t know. So I am going to switch over the focus of the game to actually put TRADING at the forefront. Sometimes I wonder how I get this far without realizing something so critical to the design. Which leads me to another game design nugget:
Designers should step back from their design every once in a while and pick apart every aspect. Ask yourself specific questions about each design decision and try to think if there is a better way!
One big example is when a level 1 friend pointed out that the black and white peppers in Scoville should cross-breed to silver/platinum/other grey color rather than gold. Color-wise it made sense. But since my original design was that they made gold I had simply stayed with it because I had never gone back and questioned why I did it that way. And I never asked myself if there was something better.
So the new thrust of the design for Trading Post is to bring trading to the forefront. Now I think that on every turn you will complete a trade at the start of your turn. This could then aid you when you choose your three actions for your turn. I’m imagining a “Trade Route” of trading cards on the table, which would still represent things the Trading Post needs. They could be set up like the races in Small World or the foraging trail in Morels or the buildings track in The Manhattan Project. In each of those games players can choose the first option(s) for free or pay to take one further done the path. This mechanic would work very well for the “Trade Route.” Or I could use a rondel for increased Euro-y awesomeness!
Another way that trading would become more integral, and increase player interaction at the same time, is to allow trading with other players no matter where you are located. Sometimes it’s easy to let thematic correctness run the show. But this is game design and we can fudge things now and then. Settlers of Catan is a very popular game that allows player to trade resources with other players no matter what. Now, explain thematically how that makes sense. What if your settlements and their settlements aren’t anywhere near each other on Catan? Well, if it’s good enough for Catan, then it’s good enough for this game!
The bottom line is that trading needs to be what makes this game special. If you want a game where exploration is the focus, then find some 18XX game.
How to Reboot…
A game is in there somewhere… I just have to find it!
So I am going to jump back a little and try to re-figure out how to play this game. Admittedly it wasn’t ever really set to begin with. But to make trading the focus will take some effort. I really think this can be a fun theme/game and so I will continue to work on it.
So it’s time to take some of the blank cards I ordered and put them to use. I’m excited to work on the Trade Route/Rondel idea and see how it changes the focus on the game.
Another thing I’ll probably change is that players should draw all their land from their set of ten land tiles as part of their setup. What this would do is drastically lower the exploration aspect of the game. Players would also be able to plan their moves more deeply and more intentionally. I like the sound of that.
Once I nail down how I want the trade route to work then I can put the pieces back together for how the rest of your turn would work. This should be pretty interesting and I’m going to take an open-source approach to this design. That means I’ll be posting about it for all of you to read. I hope to provide you with a designer’s perspective on making appropriate choices within the design process, and how to keep things simple. Trading Post posts likely won’t be weekly from here on out, but they will definitely pop up now and then as I work through stuff.
Thanks for reading and joining me on this ride!
Interview with Bellwether Games
![]() Today is Friday so I should be posting a board game review, but instead I will provide something even more awesome.
Today is Friday so I should be posting a board game review, but instead I will provide something even more awesome.
About a month ago Bellwether Games (@BellwetherGames) tweeted that they were looking for aspiring game designers who wanted to be interviewed. Since I am an aspiring game designer I figured I should see if I would be the right person for the interview. They took a look at my website (this website) and replied that I was in fact the right kind of person for the interview.
I might have done a little dance with my hands in the air at that point. Don’t worry, no other humans eyes were injured by watching me dance. I was alone.
So they sent me an email with a few starter questions and I got right to filling them out. After a few back and forths with follow up questions they told me that the interview would be posted at the end of the month. Well, today is the end of the month and right on time the interview has been posted!
Ed Marriott Designer Interview with Bellwether Games.
Let me know what you think!
