Blog Archives
Brewing Process: Bottle Prep
When it comes to home brewing there are two approaches to the bottling stage. The first is kegging, which is awesome, but very expensive. The second is bottling. Bottling can be nearly free and today I’m discussing my three step process to prepare bottles for holding your precious creation.
Step 1: Bottle Procurement
Everyone has friends. And if you share the other hobby that this blog covers (board games) then you likely get together and hang out quite often. Well, if you’re a home brewer this is a great opportunity for you. During our board game nights my friends typically each bring a 6-pack of beer.
Is it weird when at the end of the night I ask to keep their empty bottles? Not at all. One friend thanked me for taking his trash. But beware… here are some tips for successful bottle procurement.
- Don’t be sneaky. Just ask if you can have the bottles.
- Don’t take any twist off bottles since they aren’t good for home brewing. (Life tip: avoid twist off bottles if you enjoy quality beer!)
- On the drive home, put the bottles in your trunk. I can’t emphasize this one enough!
Now that you’ve procured your bottles (about 50 for a 5 gallon batch) you’re ready for step 2.
Step 2: Label Removal
This is the worst part of home brewing. If I weren’t also trying to save money by home brewing I would just purchase new bottles. But I’m guessing I’m not the only one out there who removes the labels from bottles so here’s how I do it.

It’s a Utility Sink Party!
I first fill my utility sink full of hot water. Then I place the bottles in there for a good half hour. The idea here is to soak the labels and get them ready to be peeled off.
After a half hour I take one bottle at a time and peel off the label. There will likely be some residue left on the bottle. To remove the residue I take a dish scrubber or dish wand and apply a little elbow grease.
This is sort of a buy beware point, though. Some bottles have great labels that basically fall right off. Others have very gummy labels that leave behind some terrible glue that is nearly impossible to get off. In Wisconsin I’m blessed to have the New Glarus Brewing Company in my back yard. They have the best labels ever! Soak them and they fall right off.
And the best part about labels that fall right off is that you can make some really cool art with them. Here is a collage I made with the New Glarus labels:
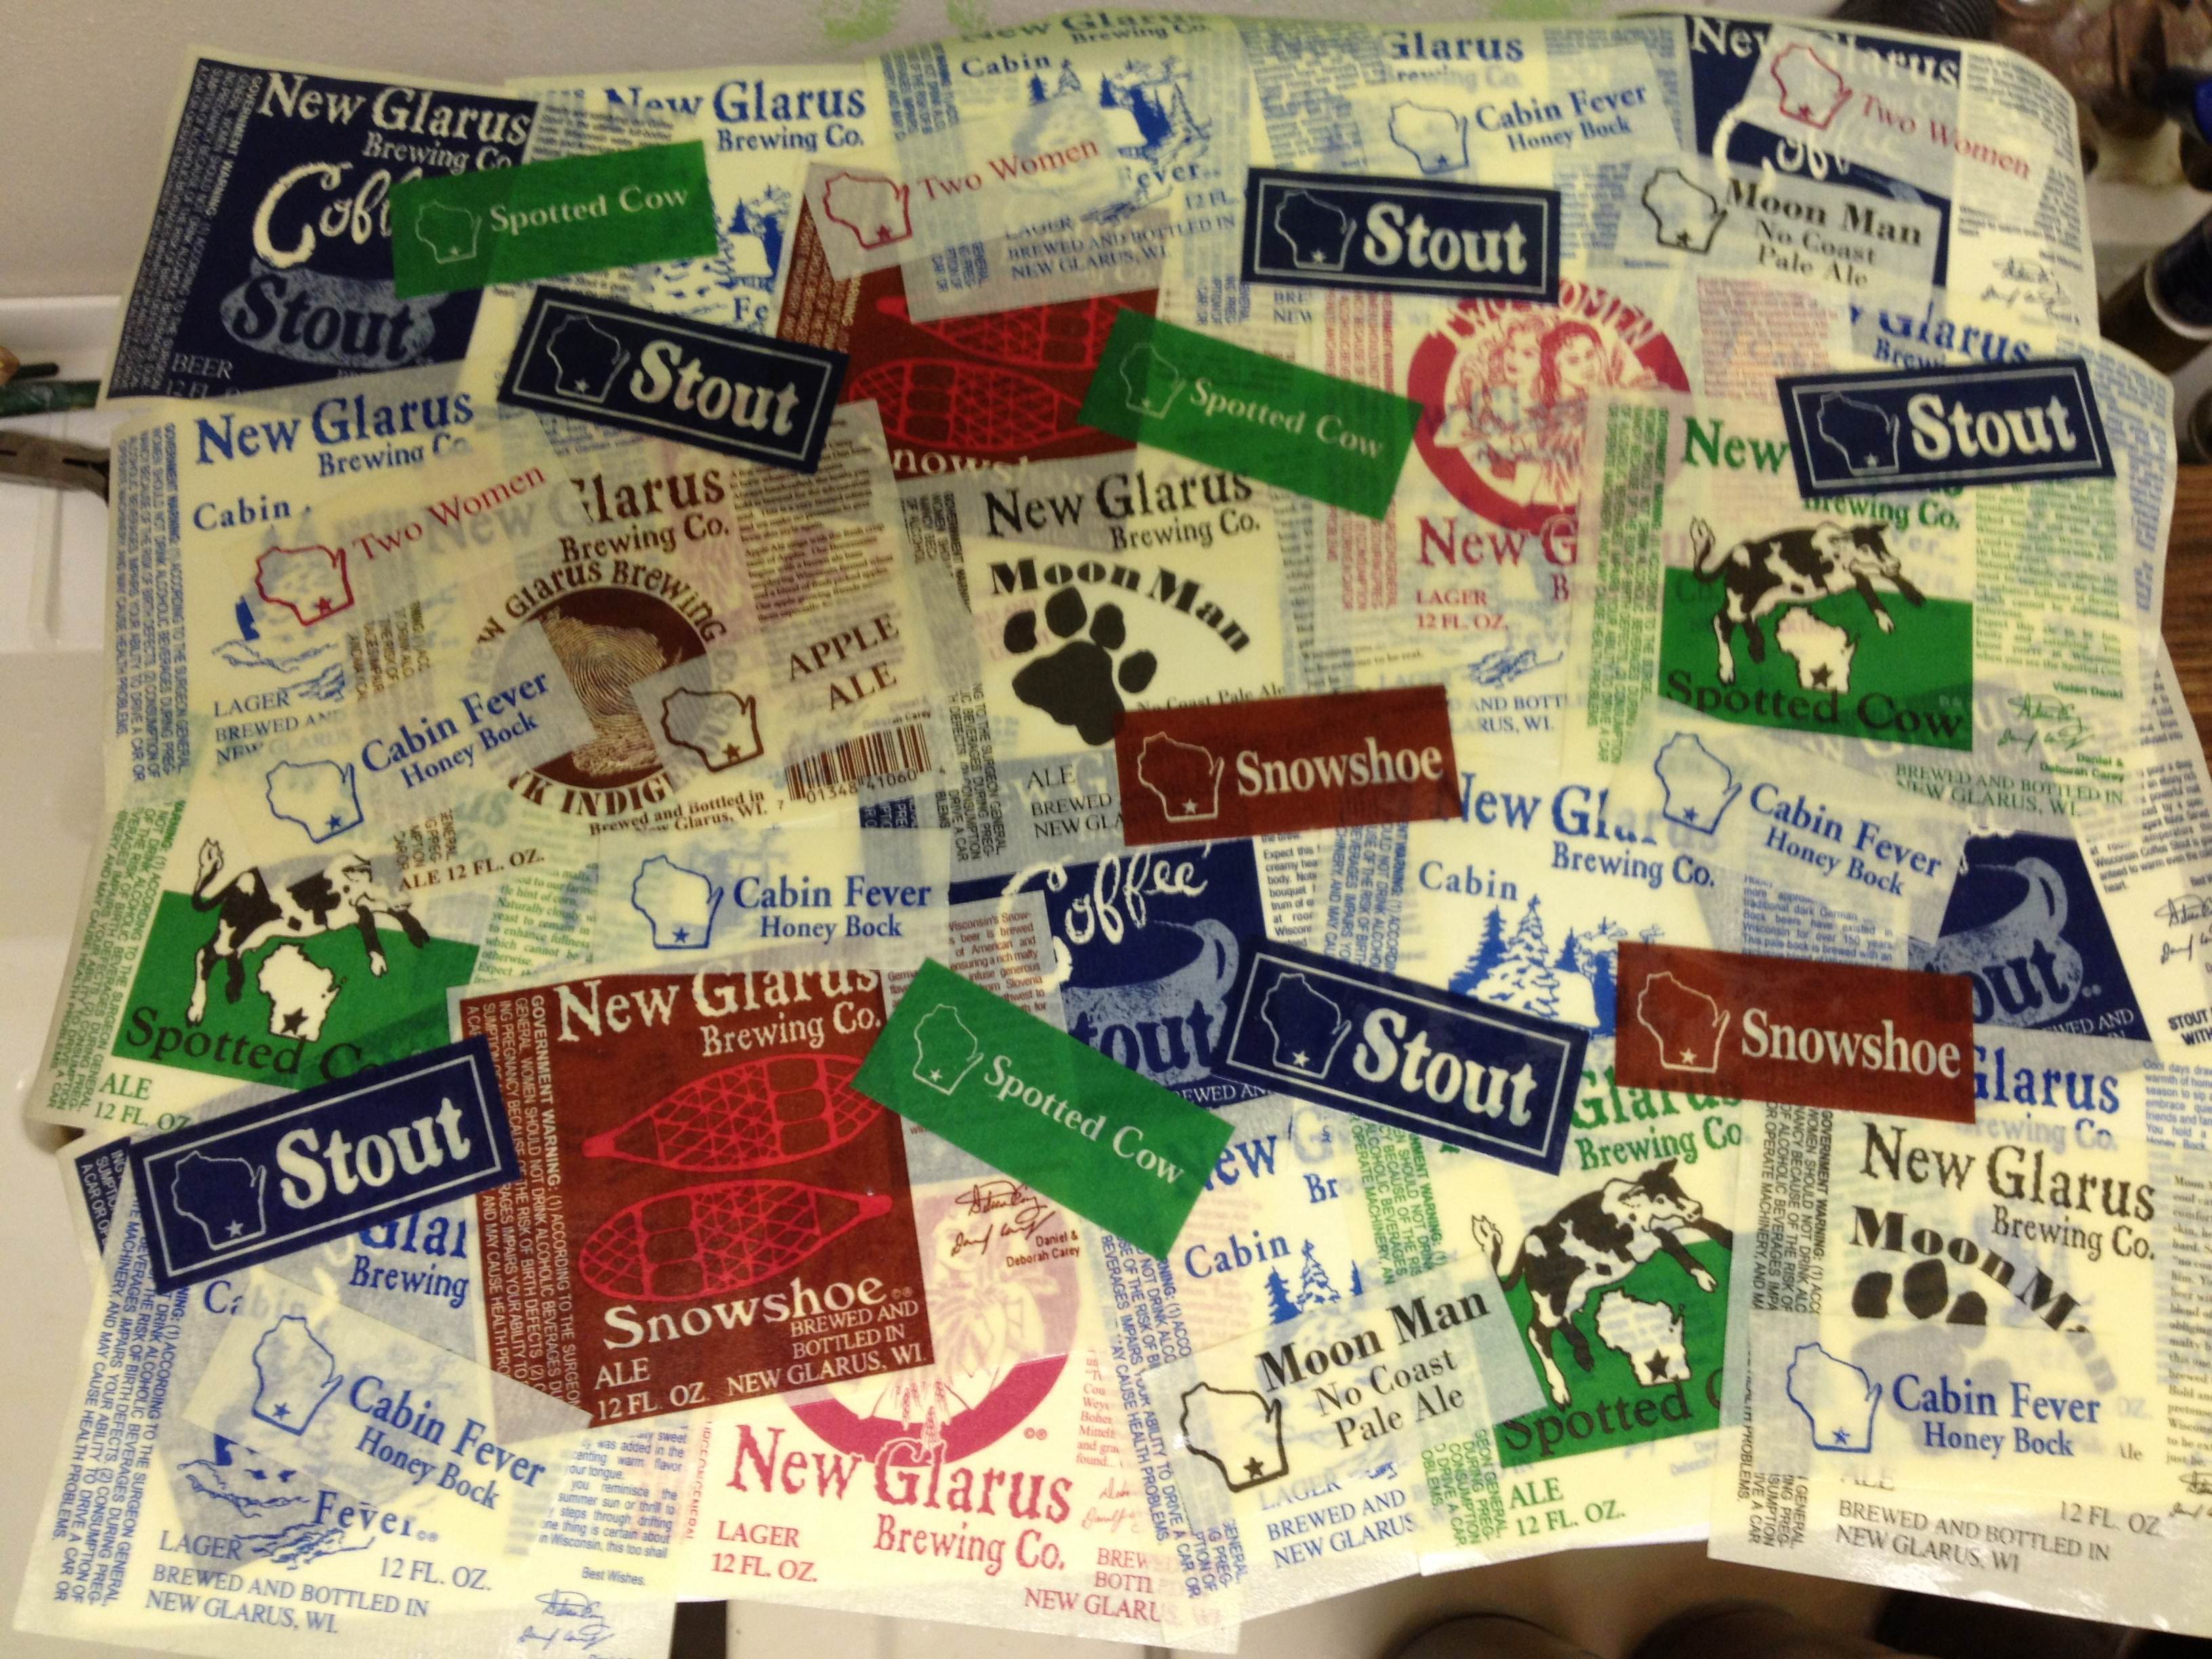
New Glarus Label Art
To get all the labels off and residue removed will take a little while. Be prepared to stand over the utility sink for a while. But once you’ve got the bottles all spic and span I like to move on to step three.
Step 3: The Dishwasher

Dishwasher parties are hotter than Utility Sink parties!
Now that your bottles are free of all denigrating marks of previous ownership they are ready to visit the dishwasher. This step helps to remove any leftover residue from the inside of the bottles and helps to sanitize them as well. And for some reason I really like how they look all lined up in the dishwasher.
The key here is to run it as a normal wash cycle, but do not use any detergent. These bottles aren’t likely to be caked with peanut butter or broccoli or any other typical dinner fare. They were filled with beer. So they really only need to be rinsed.
So run the cycle a few hours before you are going to bottle the beer. That will give you enough time to let the bottles cool off from the hot dishwasher cycle.
Bottle Prep: Simple but Tedious
And that’s it! You now have bottles that are ready to go for bottling. I would, however, make one more recommendation. And that is to do one final rinse in your sanitizer before bottling, especially if these are sitting around for too long. Better safe than sorry. If you have a preferred method for bottle prep, please let me know. I’m always looking to get more efficient!

The Monday Brews 6-3-13
Well, we’re off to the start of a great week! And since it’s Monday, that means I get to talk about beer! It’s been a while since I discussed my brewing adventures. They’re just not as exciting as board game design. But I’ll get you all up to date on what I’ve been up to.
Alberti Amber
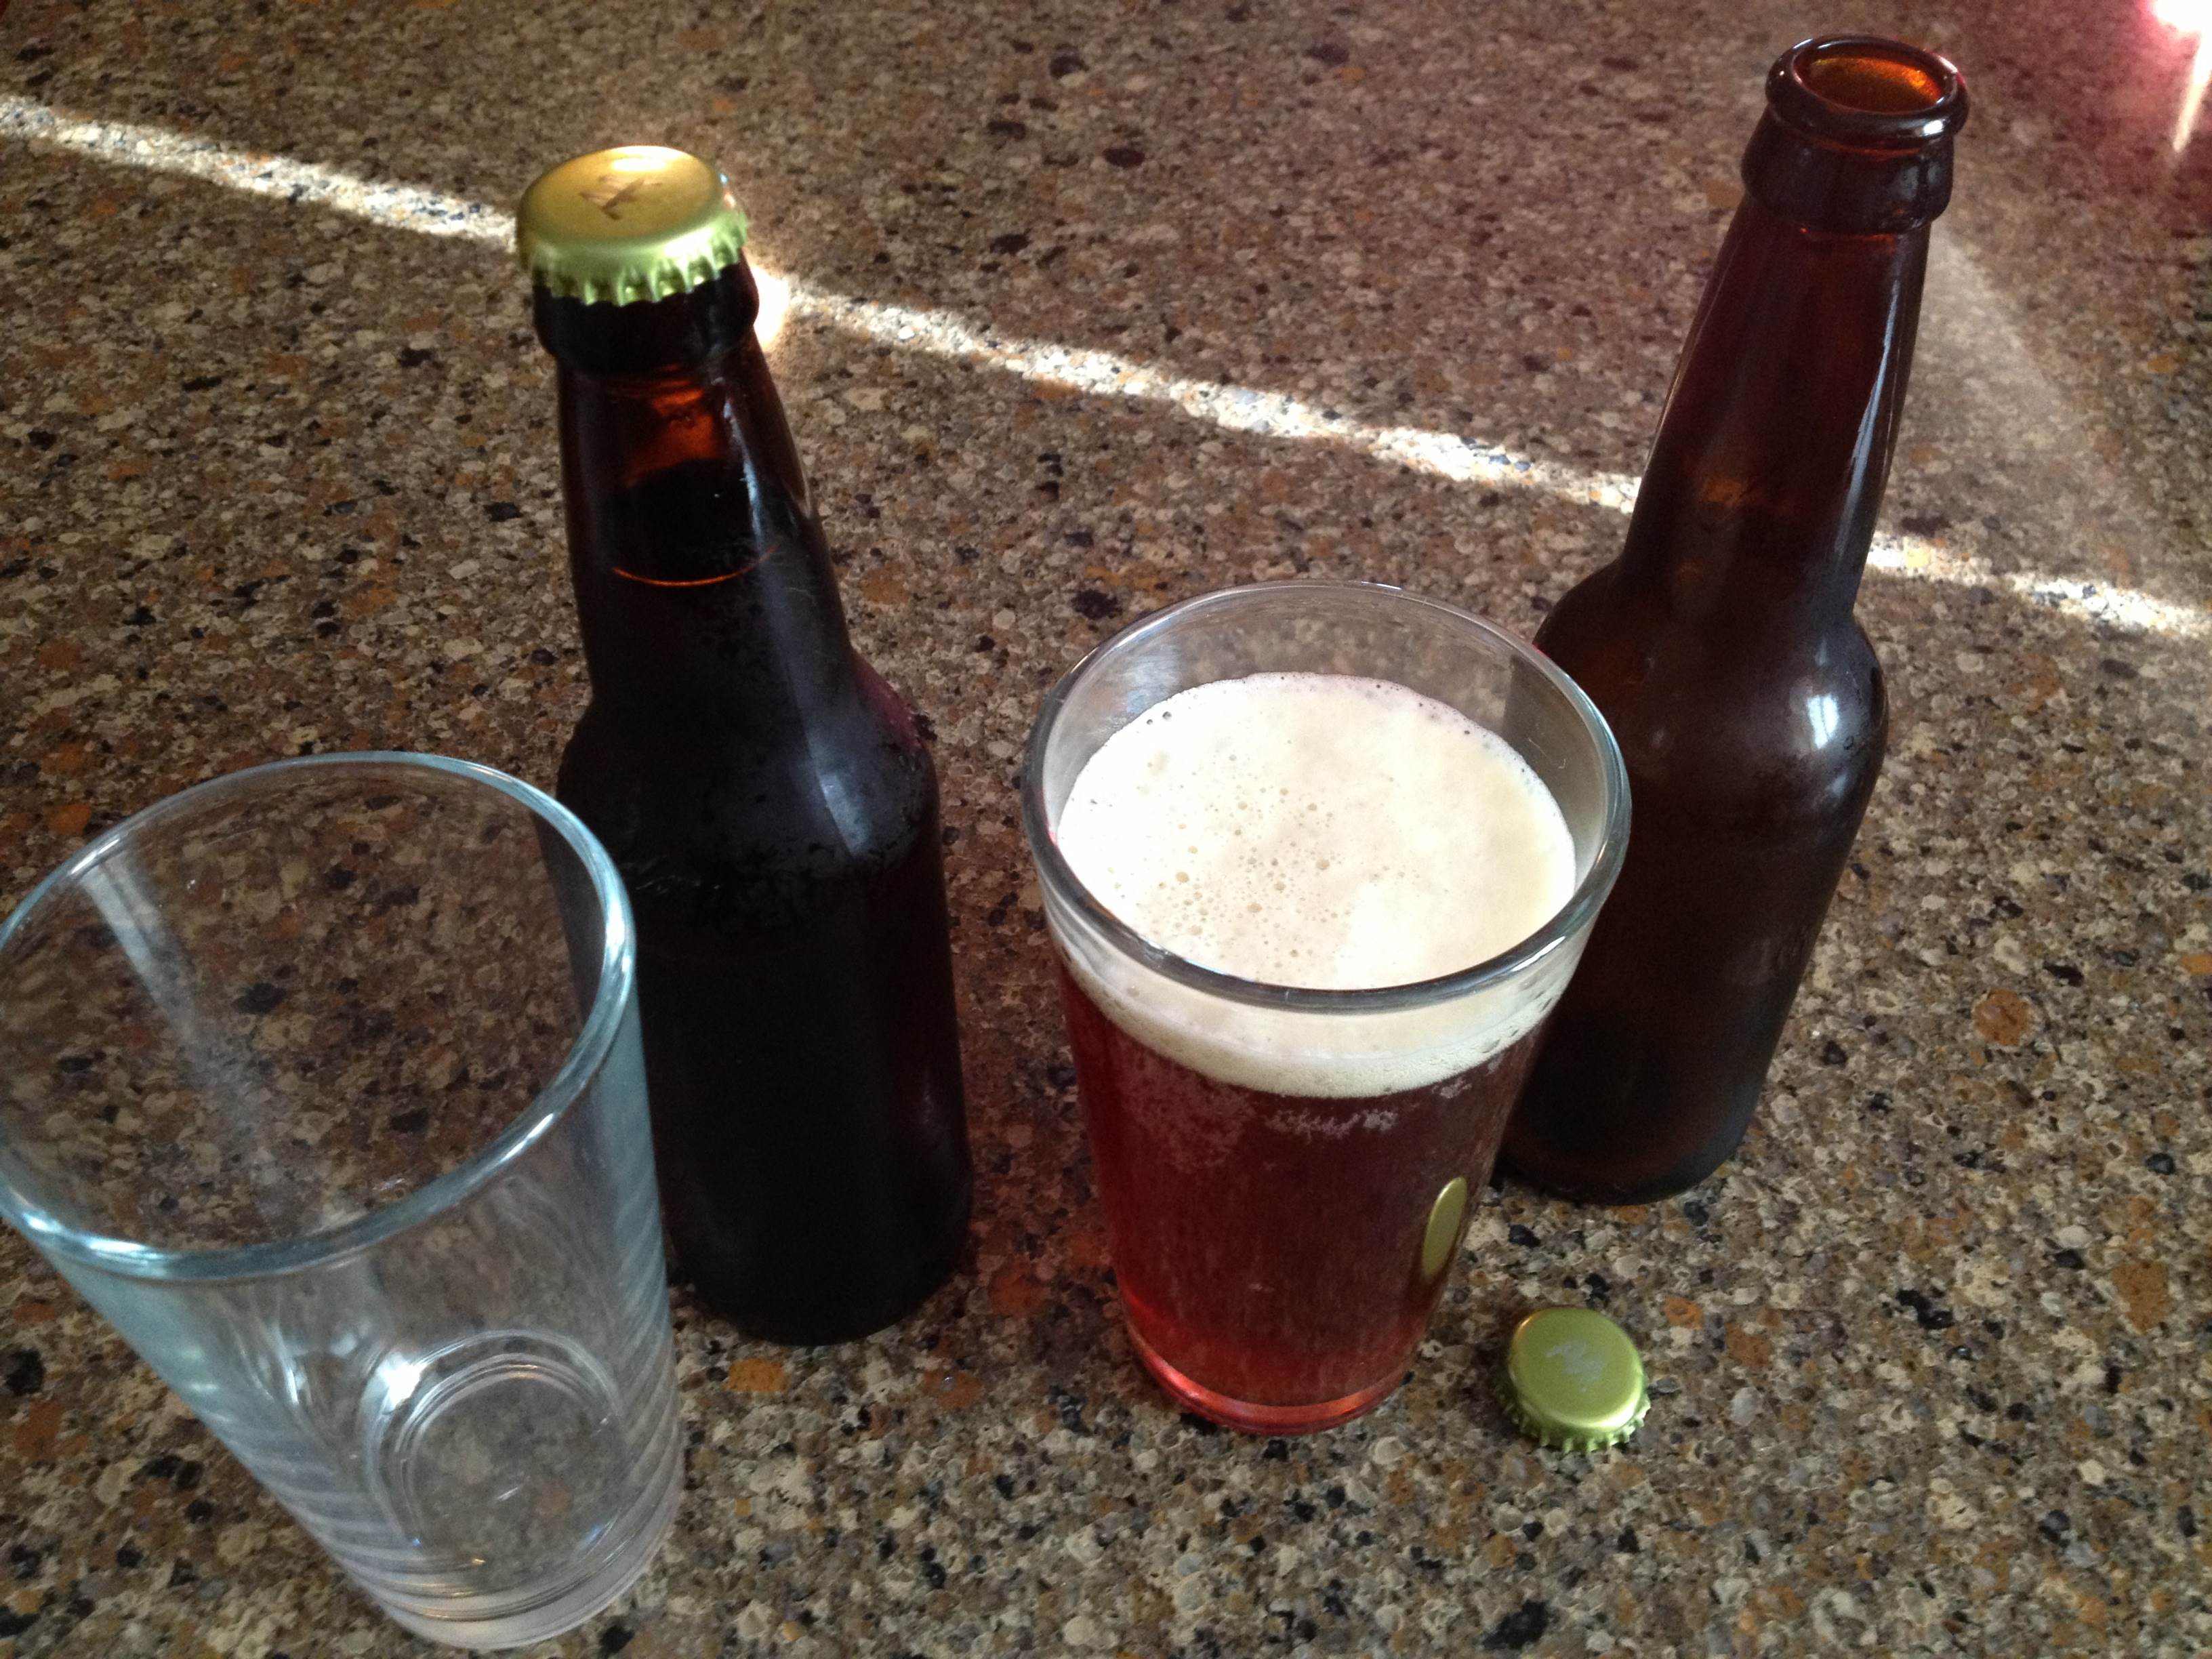
My first taste of Alberti Amber
As you know I bottled my first beer about a month ago. That was my Alberti Amber. It is named after Leon Battista Alberti, a 15th century Italian renaissance man who invented the Alberti cipher.
I have now been able to enjoy the beverage and I was asked to give a 140 character “Tweetable” review of the beer. After the first bottle, which had been in the bottle for about two weeks, here’s what I had to say:
I have since had a few more and I can tell that maturing is making them better.
One of the things that I was worried about was during fermentation my basement was a little too cold for the yeast to throw the kind of party they like to throw. So the result is that this particular Amber Ale is a little sweeter than normal. I actually think it helps to give the beer a little character.
Overall I’m very pleased with how it turned out. I may try to brew the same thing again and see how much different it would taste.
Ben Franklin’s Honey
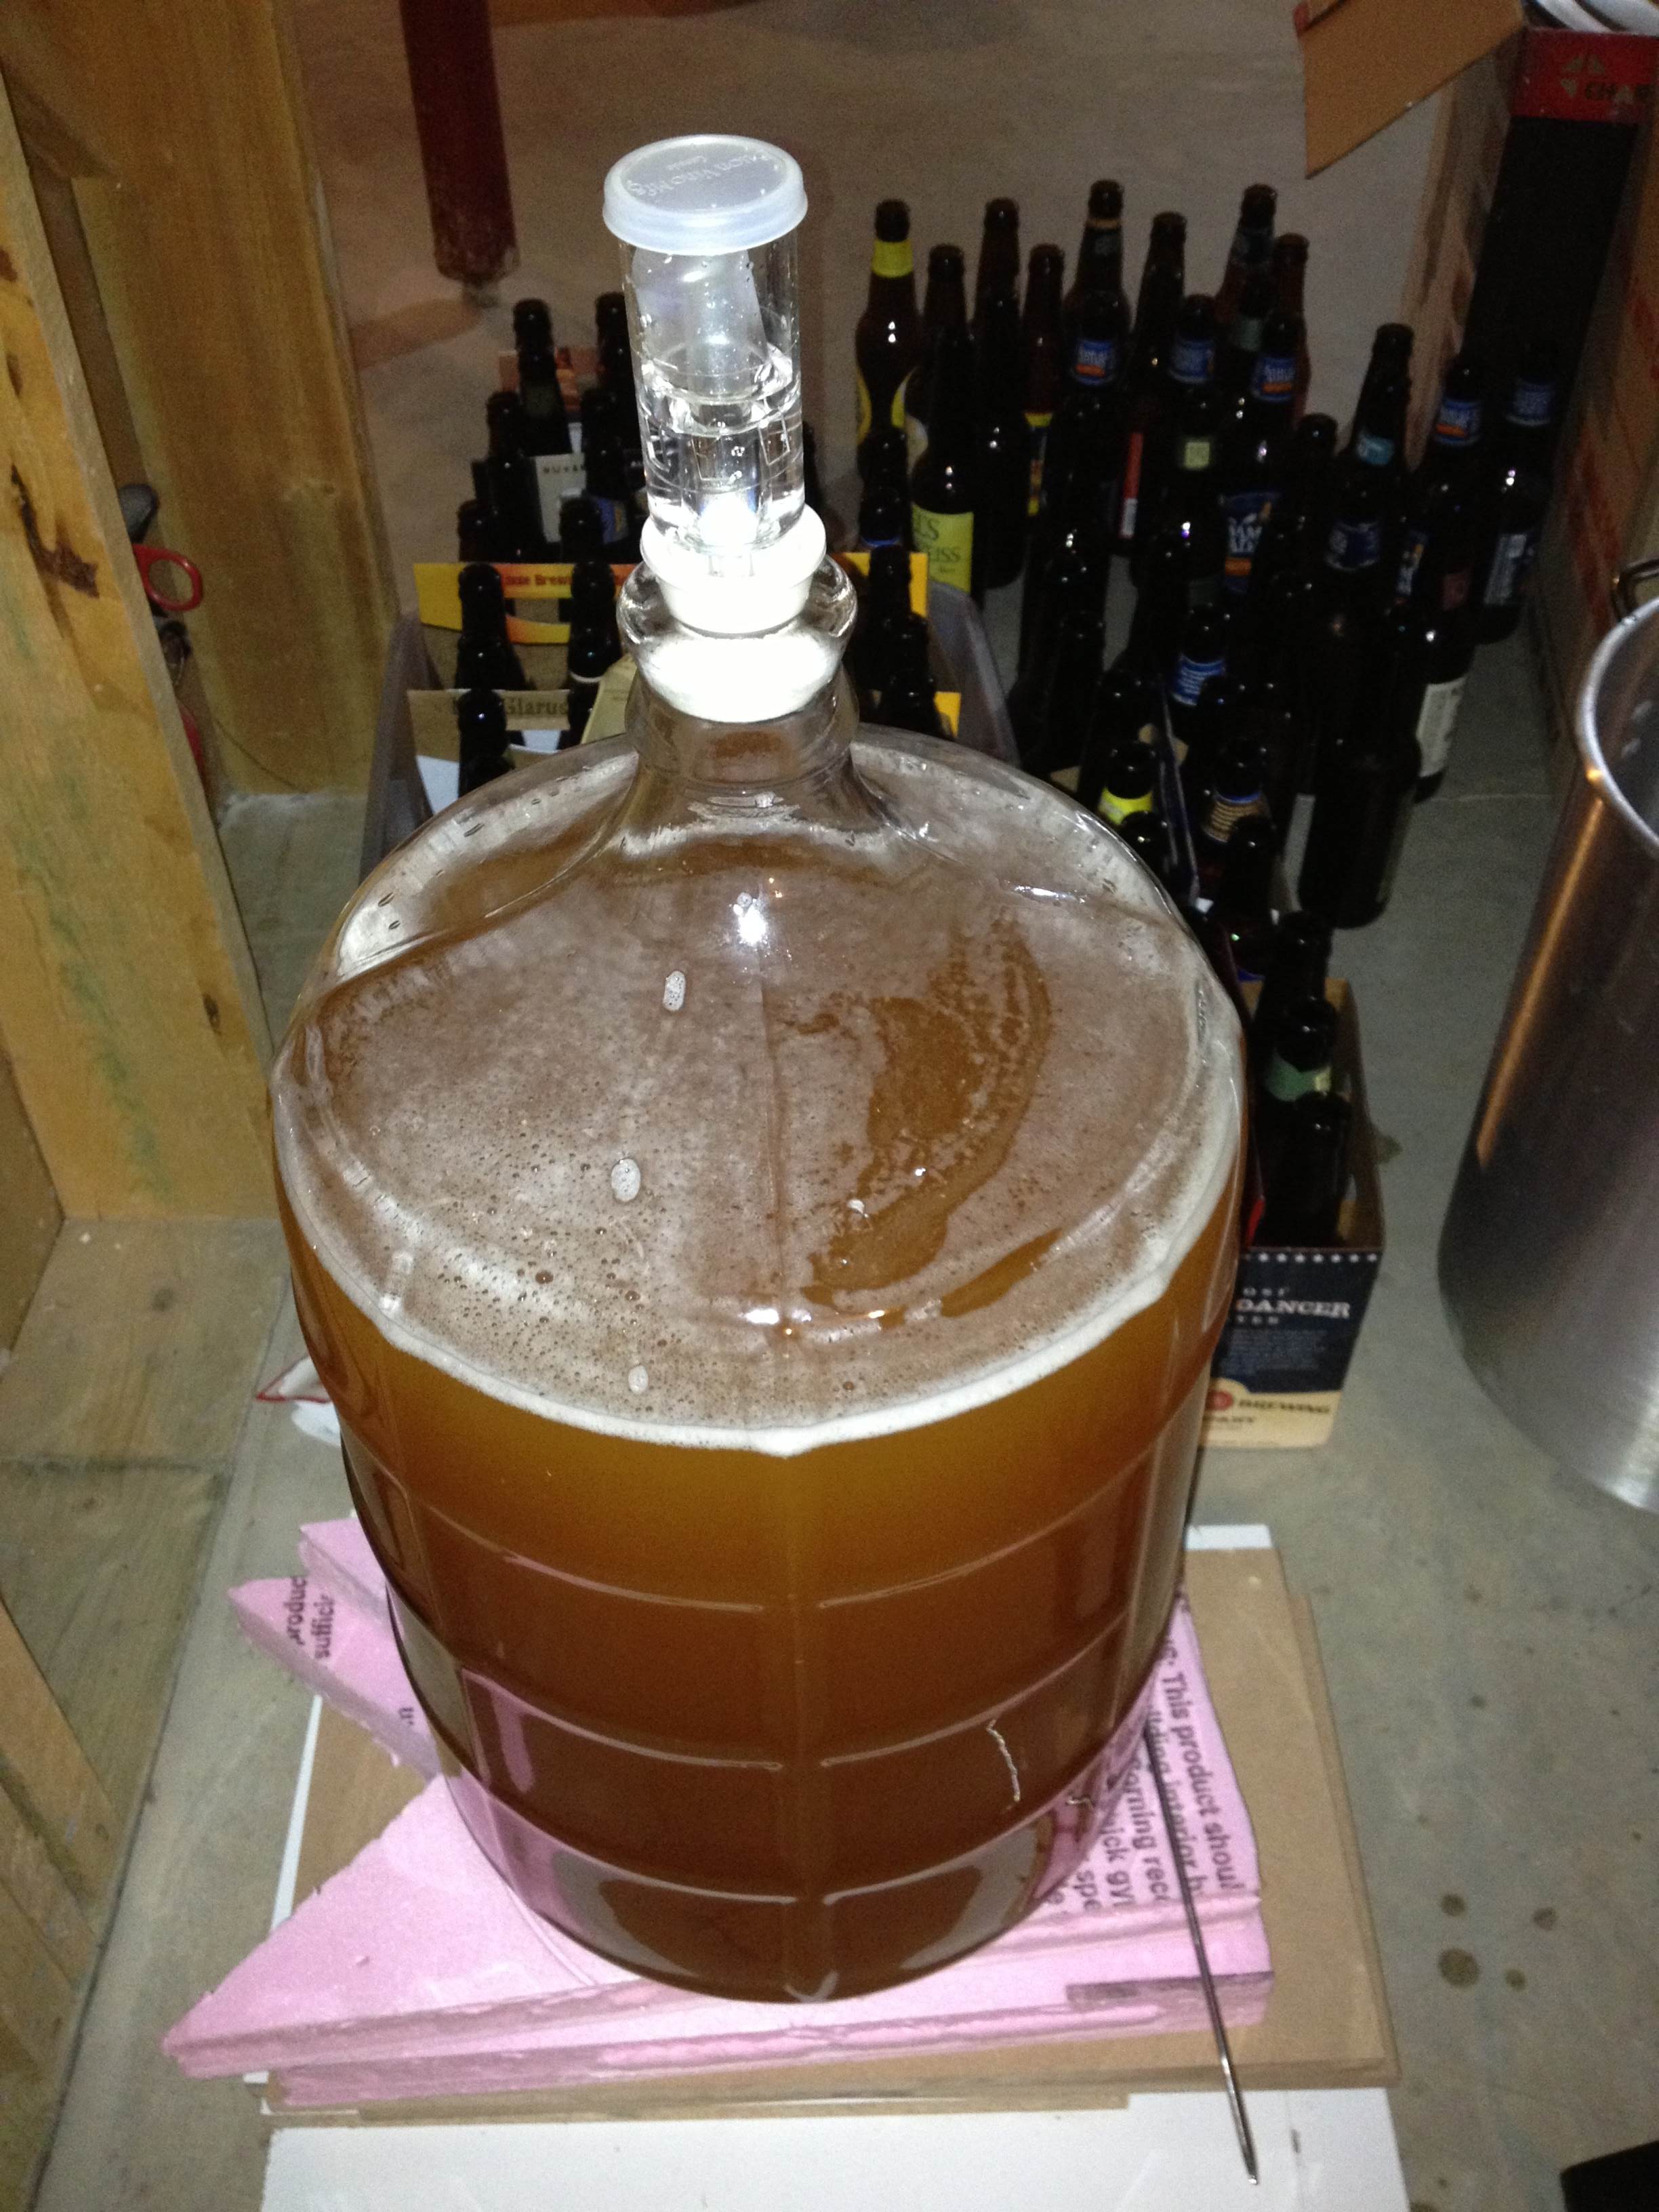
I think this one will be good!
My second beer is currently in the carboy. It has been in there for just over a week and is therefore ready for bottling.
When this was in the plastic fermenter it was really bubbling like crazy. Bubbles were coming through the fermentation lock every two seconds. For the Alberti Amber at its peak bubbles were coming through every five seconds. The faster bubbling could be due to the large amount of honey in the brew. All that sugar was really giving the yeast something to chew on.
So the brew is sitting patiently in the carboy, just waiting to be bottled. I may try to get that done tonight since I’ve got a busy week. I sure hope it goes better than with the Alberti Amber.
The bottling process seems to be the worst part about brewing. You have to peel off the labels of the bottles, unless you buy new bottles. You have to wash the bottles. You have to boil the sugar that will get added to the beer so that it can carbonate within the bottles. You have to transfer the beer from the carboy back to the plastic fermenter. I suppose you don’t “have” to transfer it, but it’s easier if you do. And then you have to fill and cap about 45-50 bottles.
That’s all part of it though. I hope this turns out to be an awesome summer beer! Hopefully I won’t drink it all before summer officially starts.
Brew #2: Bumblebee Honey Ale
Now that I’m a homebrewer and it all comes so easily to me I figured that I might as well brew up another batch while the first is carbonating in the bottles. So I stopped at my local brewing store (Wine & Hop Shop) and picked up a kit called Bumblebee Honey Ale. I chose a honey ale for several reasons:
- I enjoy New Glarus’ Cabin Fever Honey Bock and Leinenkugel’s Honey Weiss
- My wife enjoys honey beers.
- Brewing beers my wife enjoys helps justify my brewing endeavors.
- It’s almost summer and a honey ale would be refreshing on a hot afternoon.
I bought the kit and a couple other things to help with the hydrometer reading and I was ready to brew!
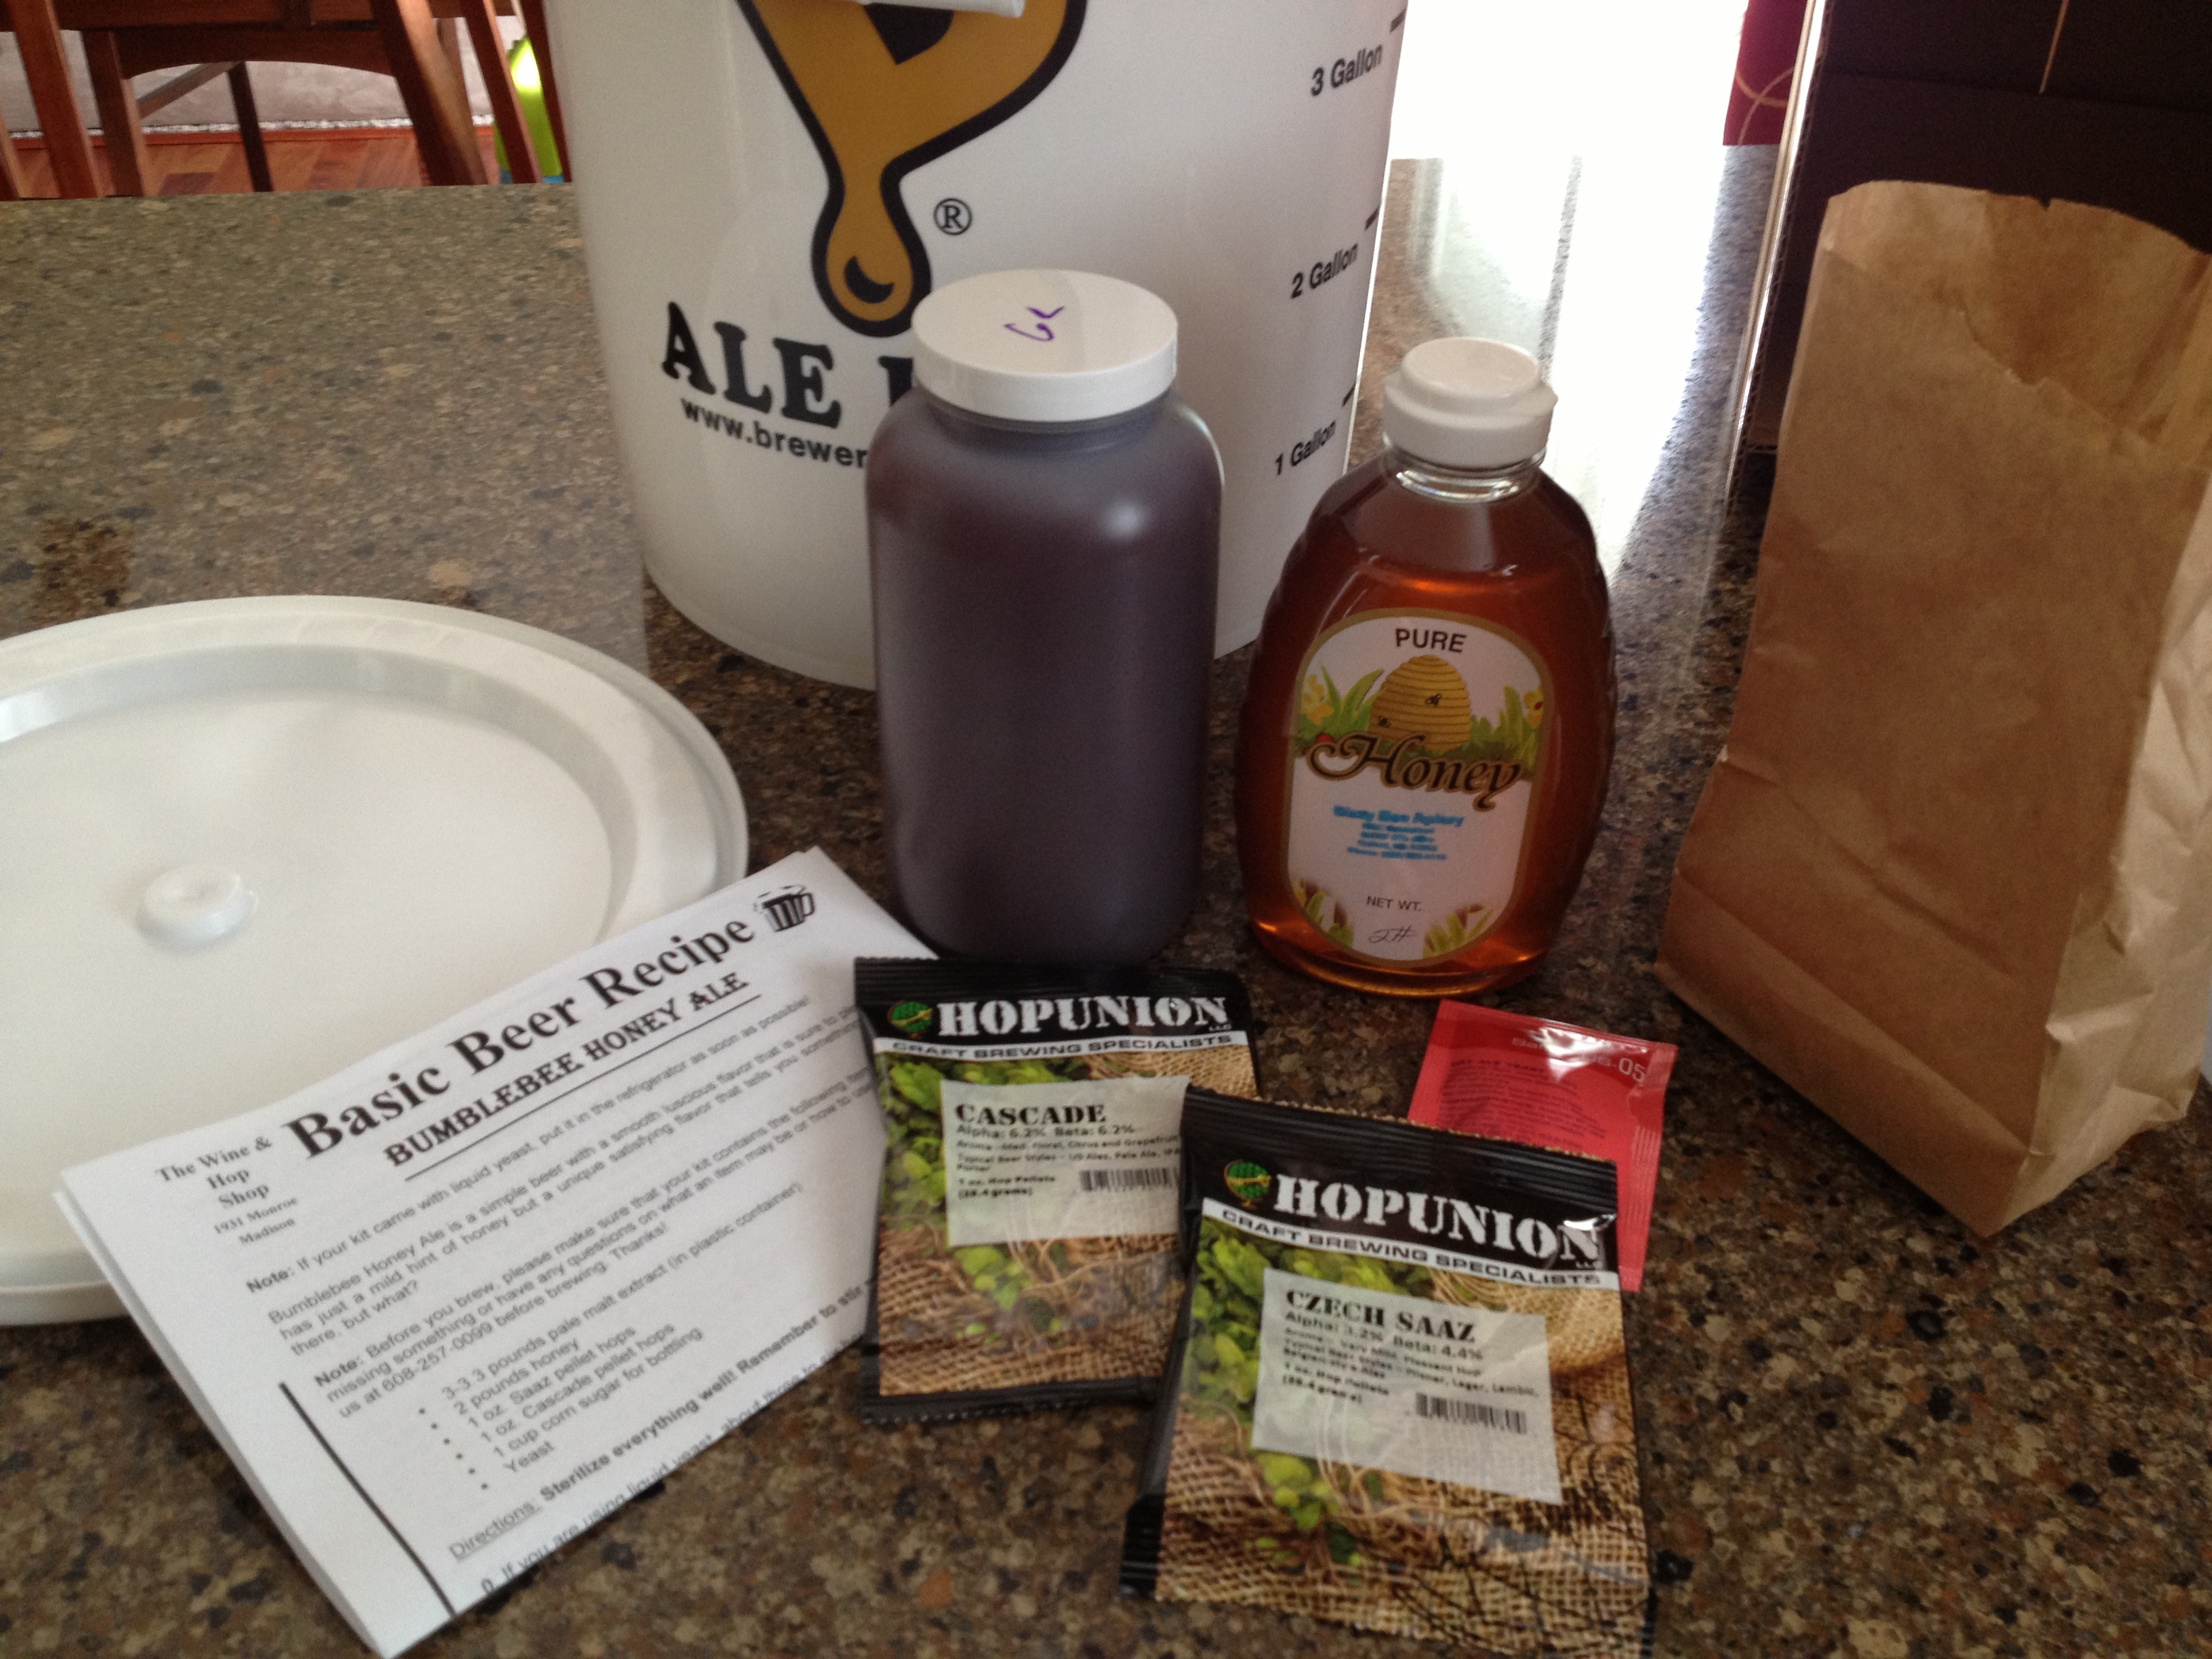
Two pounds on honey in this kit!
So on Saturday afternoon while the kids were napping and when I should have been mowing the lawn I brewed instead! This beer has a 45 minute boiling time. The 1 oz. of Cascade hops get added at the start. Then after 35 minutes a half ounce of the Czech Saaz hops are added. And finally after 45 minutes the rest of the Czech Saaz hops and the two pounds of honey are added.
Before I brewed my first batch I was incredibly nervous. Everything seemed so complicated, so detail oriented, and seemingly required perfection. This time around I just got to it.
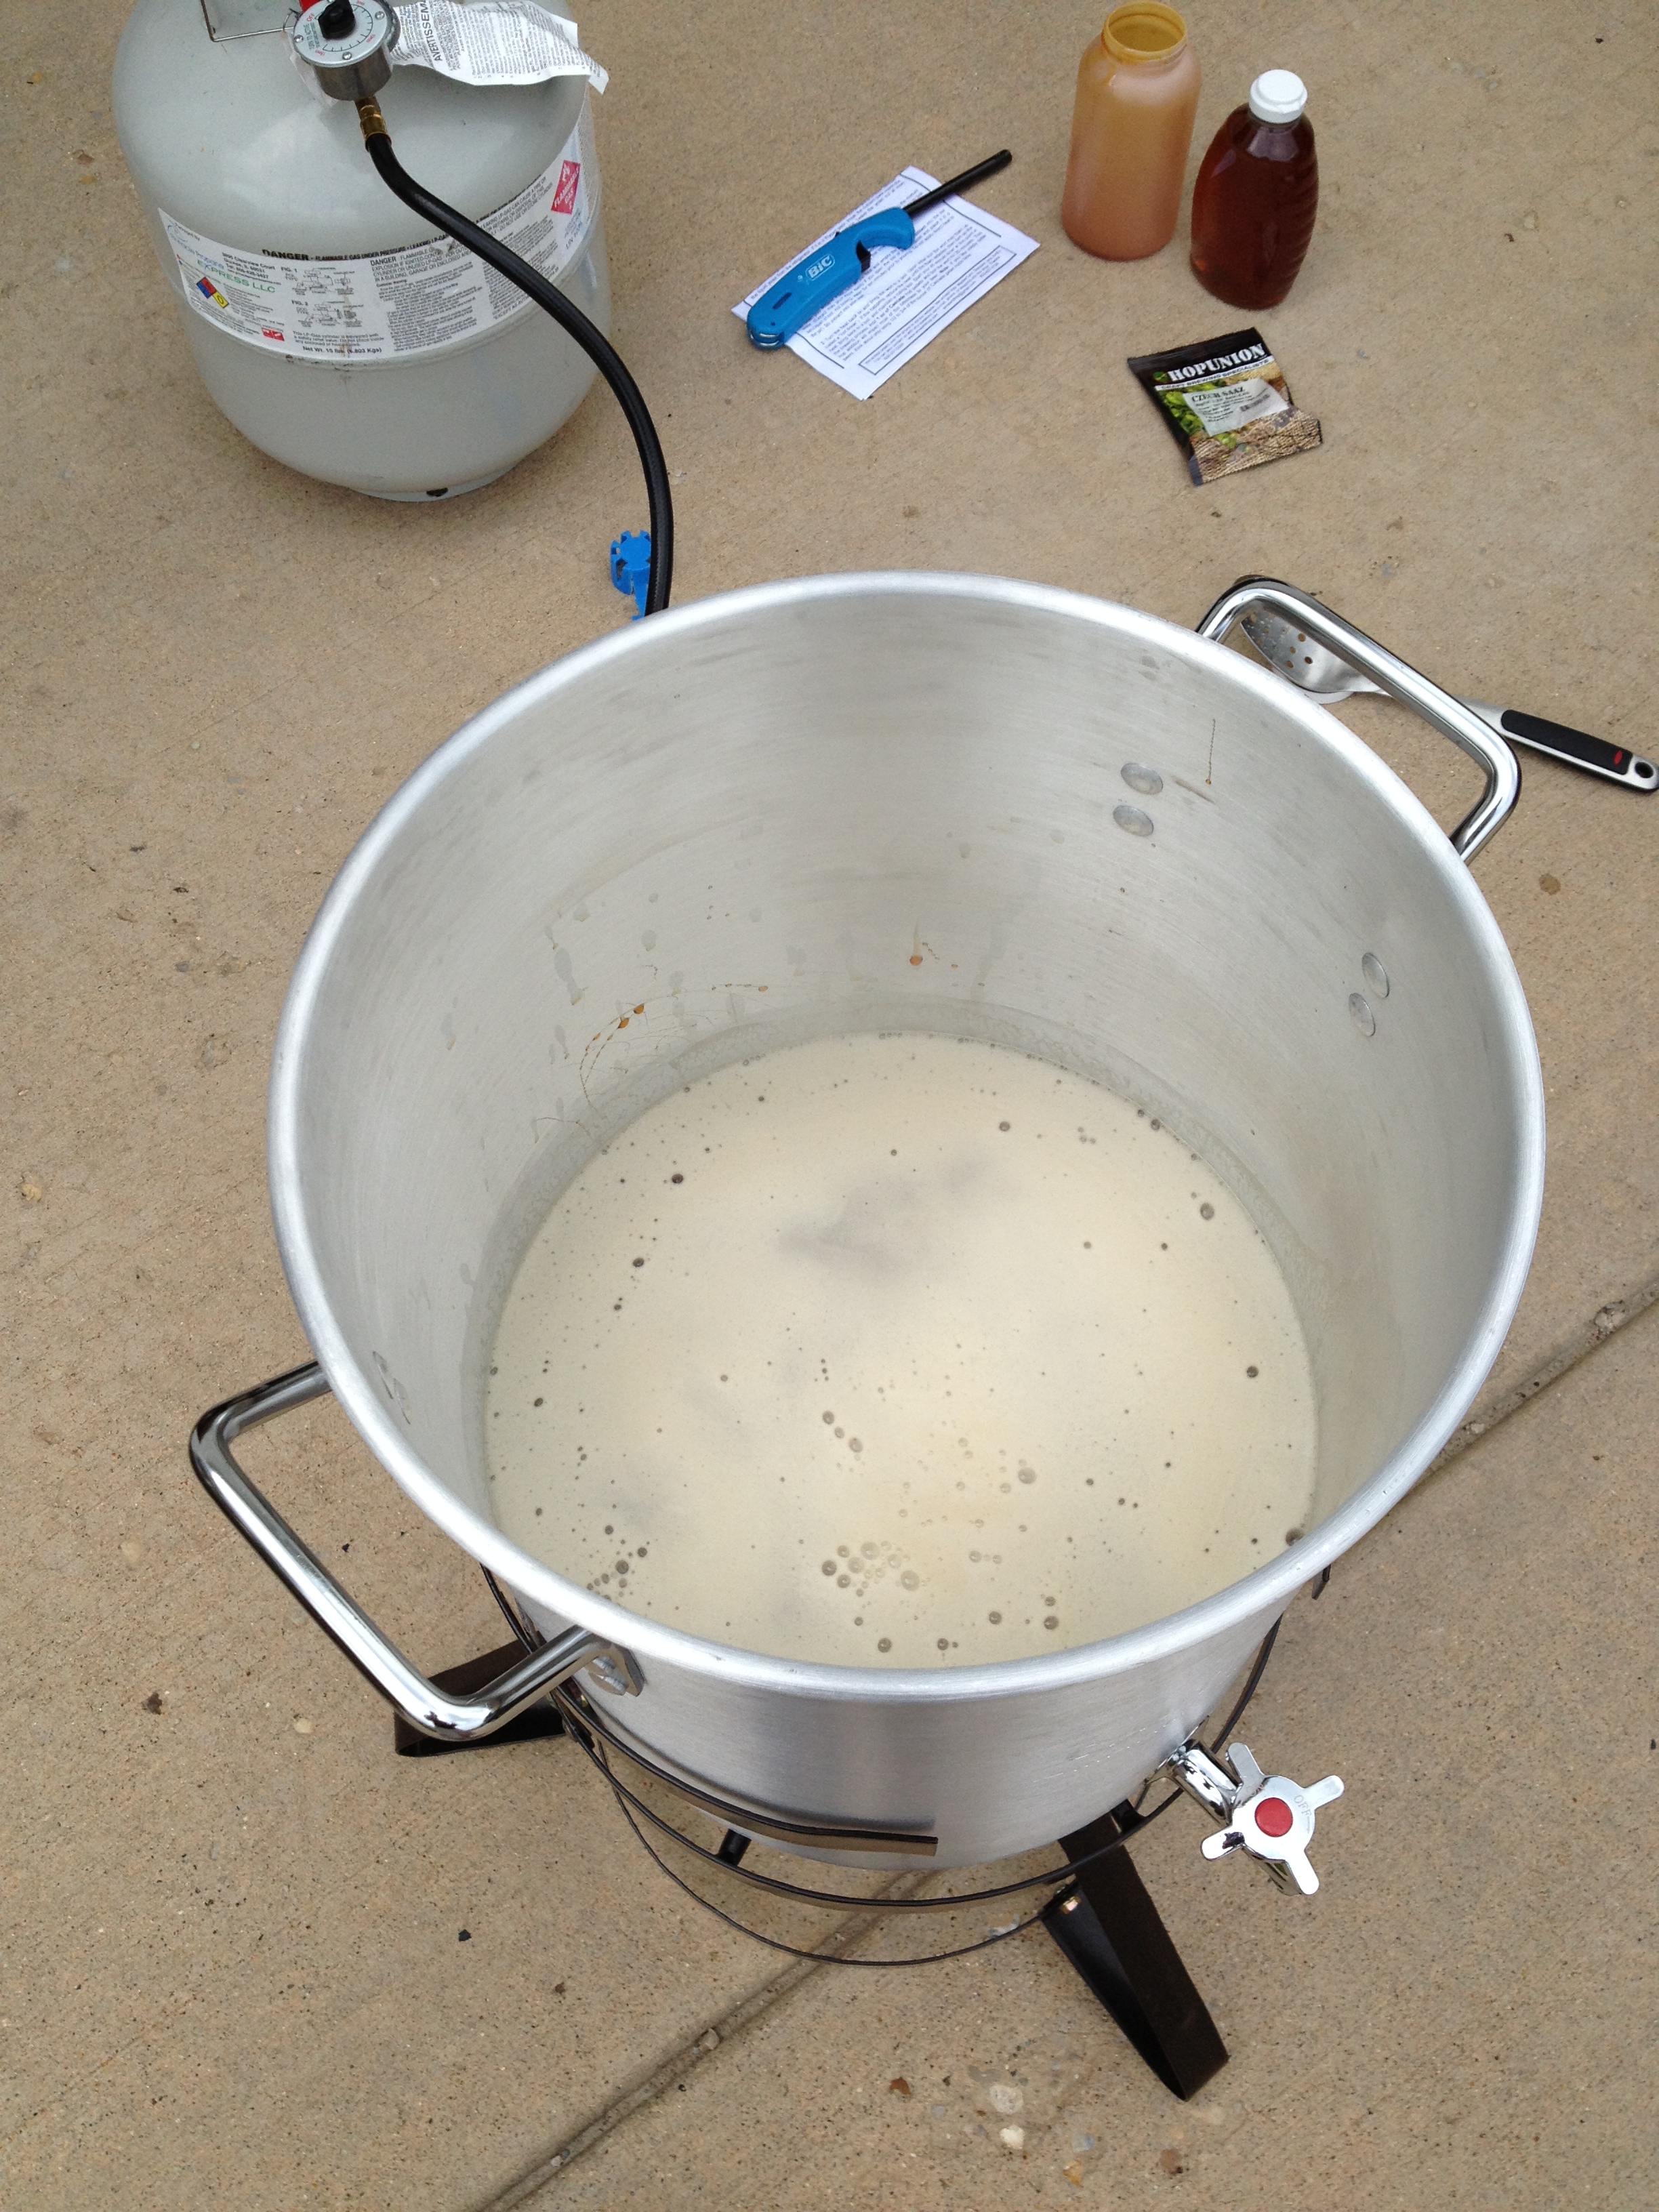
Awesomeness in a pot!
One of the lessons I learned the first time around is how to better control the heat from the turkey fryer. During the first batch it kept foaming up. This time I was able to recognize when that would happen and I turned down the heat to avoid that.
As it was boiling my daughter woke up and came outside. When she got a sniff of the wort she said, “Ooh, yummy!” I’m not sure what to read into that. But I was happy that it smelled good to her. Later though, when I added the Czech Saaz and it smelled more hoppy, she changed her opinion and said, “PU!”
Overall this second brew went very well. I was able to refine my process and speed things up. I didn’t make as many mistakes. And I had a lot more fun. It’s already bubbling like crazy, which is a joy to watch. Seriously, I could sit in my basement and watch bubbles move through the fermentation lock for an unhealthy amount of time. I even took a video of the bubbles.
So the beer is fermenting nicely in the plastic Ale Pail. Next weekend I’ll switch it over to the glass carboy. I’m hoping to have this beer bottled and ready to go by the end of June. I may even bring some to GenCon in August (unless I drink it all by then)!
The only question is what I should name it. I am naming all of my beers after Renaissance men since I consider myself to be a mediocre one. My first beer I named after Leon Battista Alberti. I’m thinking I might go with something like “Ben Franklin’s Honey” for this one. I hope it turns out to be delicious, no matter what I name it!
What You Might Not Know About Beer
My wife uses Pinterest and every once in a while she finds something that might be of interest to me. Since what she shared with me is interesting and relevant to this site I am posting it here. You can find the original over at visual.ly.
If you plan to consume any beverages of the beer variety tomorrow during Table Top Day, pull out one of these tasty little morsels of info to impress your friends! Check this out:

Almost Brew Time!

Beer bottles: a key component of brewing your own beer, unless you’re kegging, then the picture makes no sense. But I’m bottling, so it does make sense. Aye.
I now have stocked up over 50 bottles. That means I have enough for my first batch of beer. I was planning on helping a fellow homebrewer brew a batch so that I could learn by watching, but I think I’ll probably learn better by just getting my hands dirty. So over the course of a month I have been able to obtain the necessary number of bottles from the board game nights that my group has.
My first beer will be an Amber Ale. I chose it because I’ve heard Ambers are easy to brew. I also chose it because an Amber ale is something my wife would drink. I am only missing two things before I can brew:
Turkey Fryer

A turkey fryer will let me boil wort outside and not stink up the house.
A friend recommended I pick up a turkey fryer. He said his wife doesn’t appreciate the smell of boiling beer. And since you often have to boil for over an hour, this seems like it would be a good investment. I had forgotten to purchase a 5 gallon stock pot when I picked up my homebrew kit. That might have turned out to be a blessing in disguise. These turkey fryers typically come with a large pot, since they have to hold a turkey. You can get just the burner, but the all-in-one seems like a better way to go. The pots often have a drain spout, which could also come in handy.
A 7.5 gallon (30 quart) unit runs about $65 at the large home improvement stores, not including the propane tank. I have been looking for one secondhand without much luck so I might just buy one new.
Plus, I could use it when I’m not brewing beer to make deep-fried anything. And we all know that deep-fried anything is good! Though we can’t make deep-fried twinkies anymore. Bummer.
Wort Chiller

Wort Chiller sounds like a bad sci-fi character name.
Another item that seems like a good investment is a wort chiller. Why? Because a wort chiller can save you a lot of time. After boiling the wort you have to let it cool down. Using a wort chiller can cool the wort much faster, cutting hours off your brewing time.
A wort chiller works by running cool water through the copper coils. The cool water pulls the heat from the wort much faster than simply losing heat to the air.
You can buy these for $40 and up, but I think I may make one. All you need is some copper tubing, couplings, and a hose to connect with your water supply. Here’s a video I found of a guy named Fo building his own:
That looks pretty easy, and much cheaper than buying a word chiller.
Timeline
My goal is to be brewing when the weather gets nice sometime in March. There are usually a few warm days in Wisconsin in March, so I hope to have my wort chiller made by then. This is gonna be fun!
